To use Grok Imagine Image 2, open Grok Imagine on the web or mobile app, choose Quality Mode, and decide whether you are generating from a prompt or editing an existing image. Build the first frame with a clear subject and layout, then make one controlled change at a time. Use smart resize only after the composition is settled.
That order matters. If you resize, restyle, replace a product, and rewrite a headline in one instruction, you won't know which part caused a bad result.
Open Oakgen's current Grok Imagine model if you want to compare Grok with other image models in the same workspace. For the release facts first, read the Grok Imagine Image 2 guide.
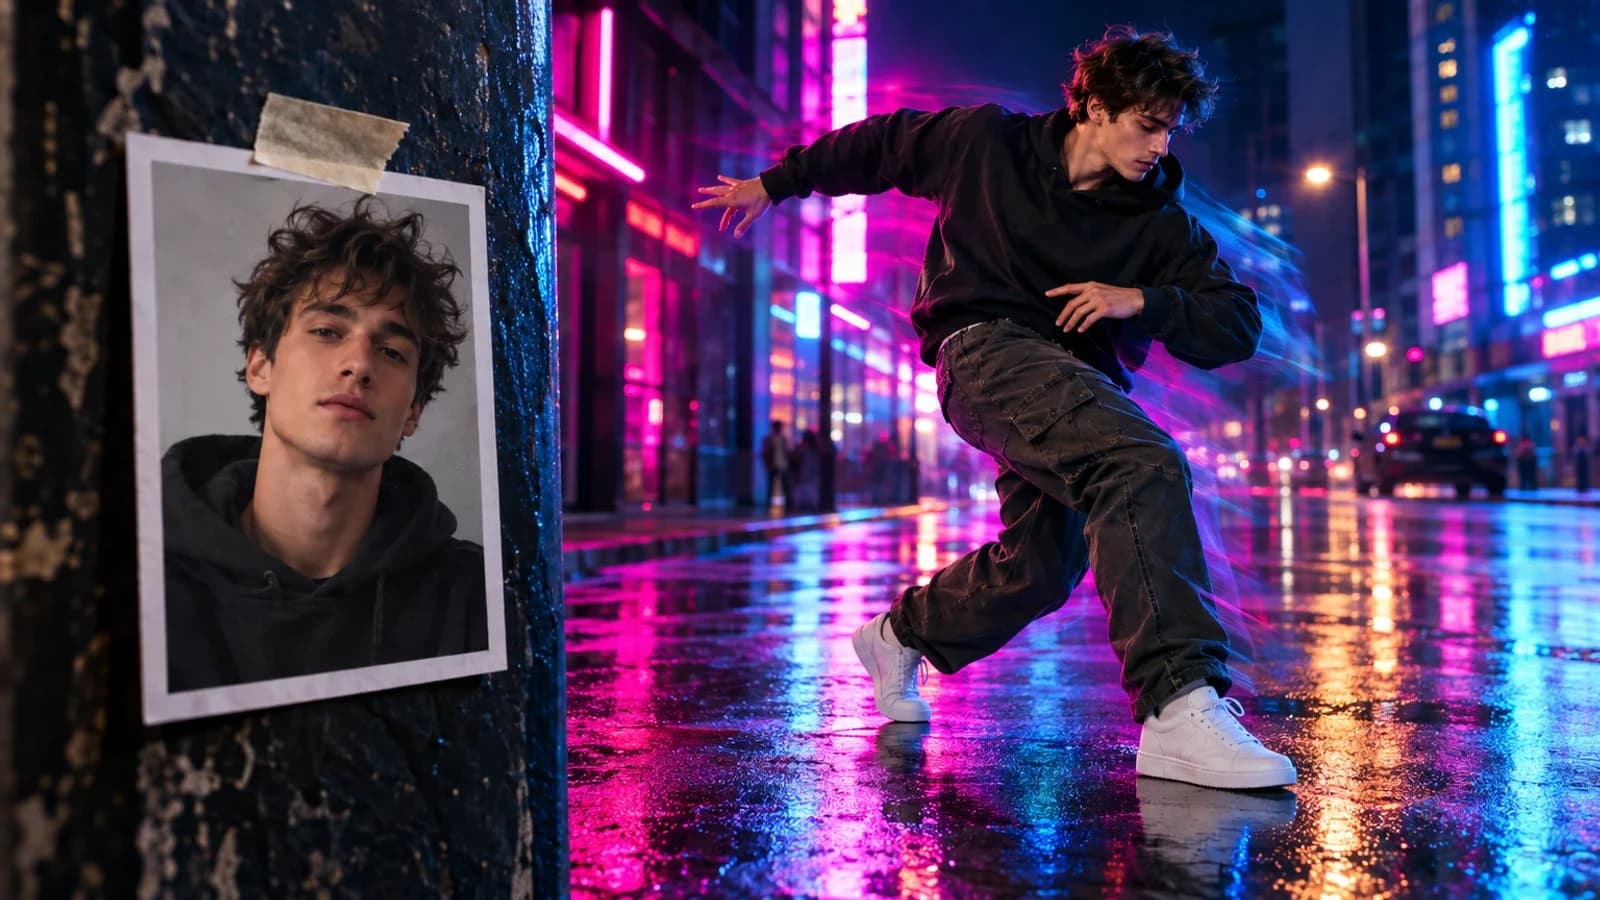
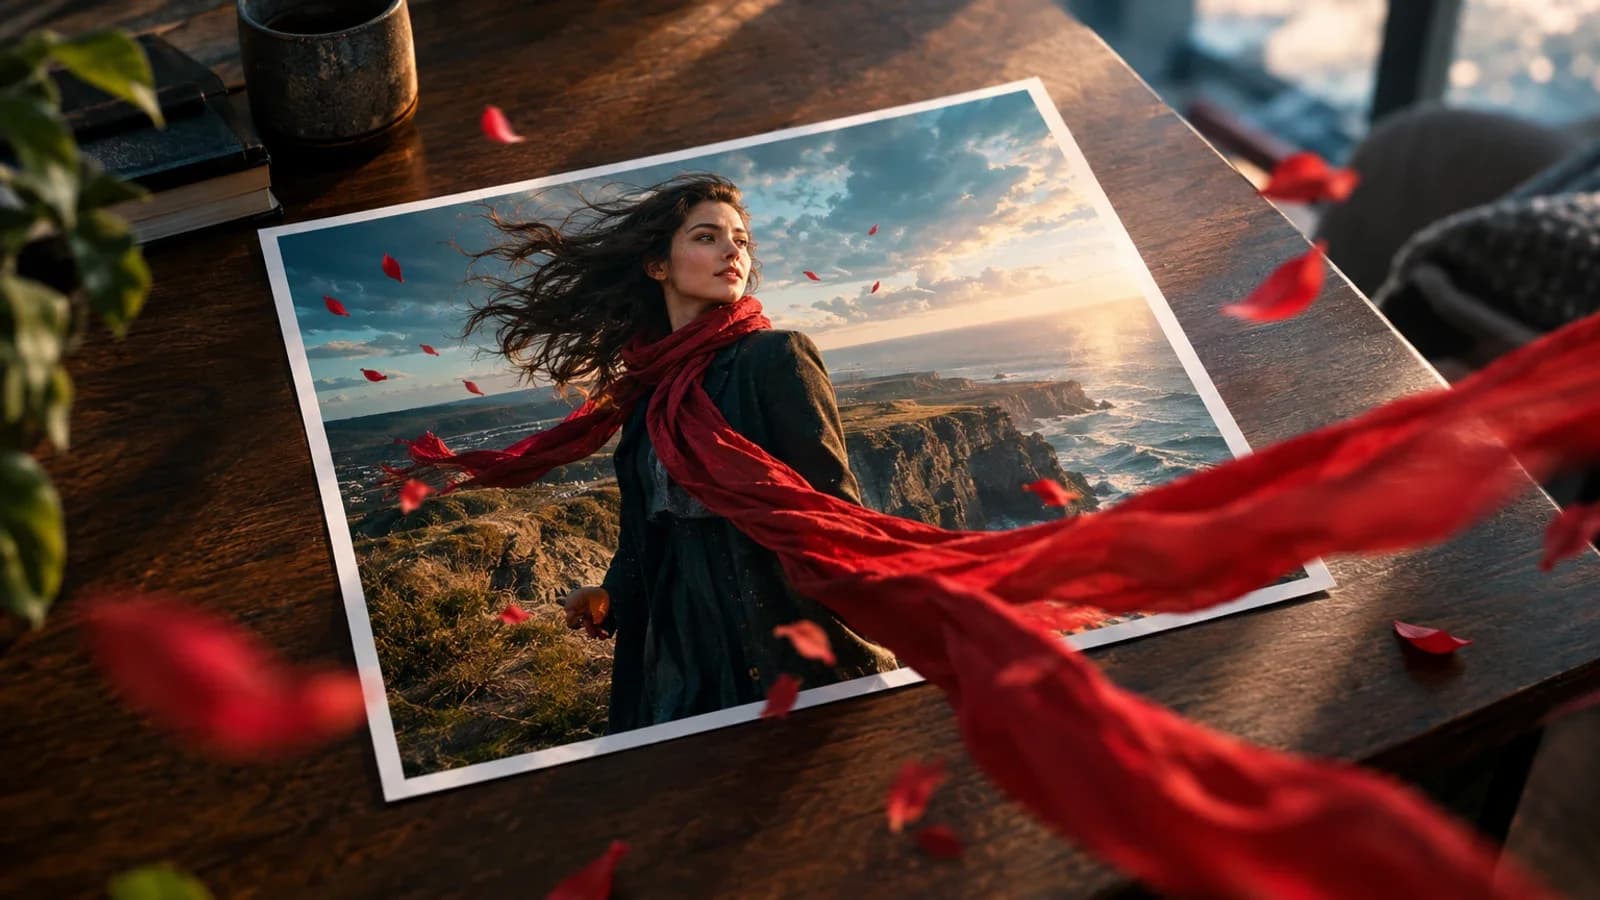
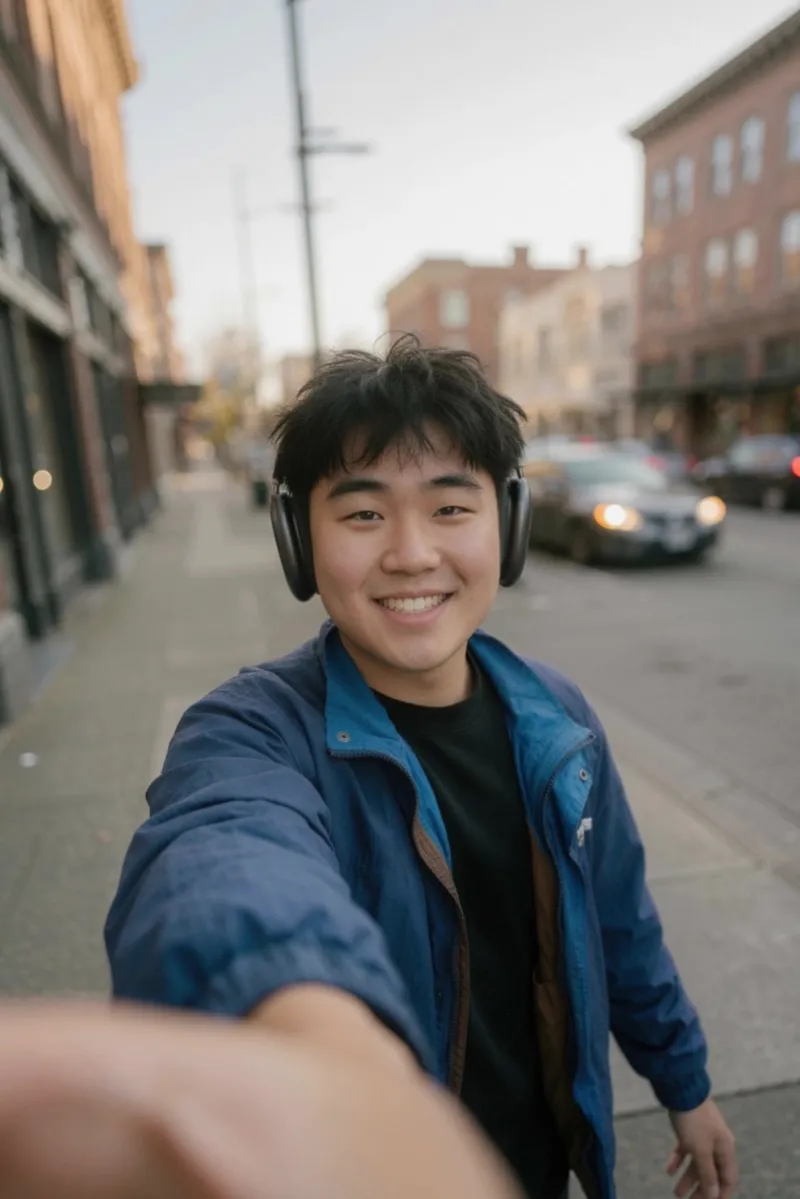
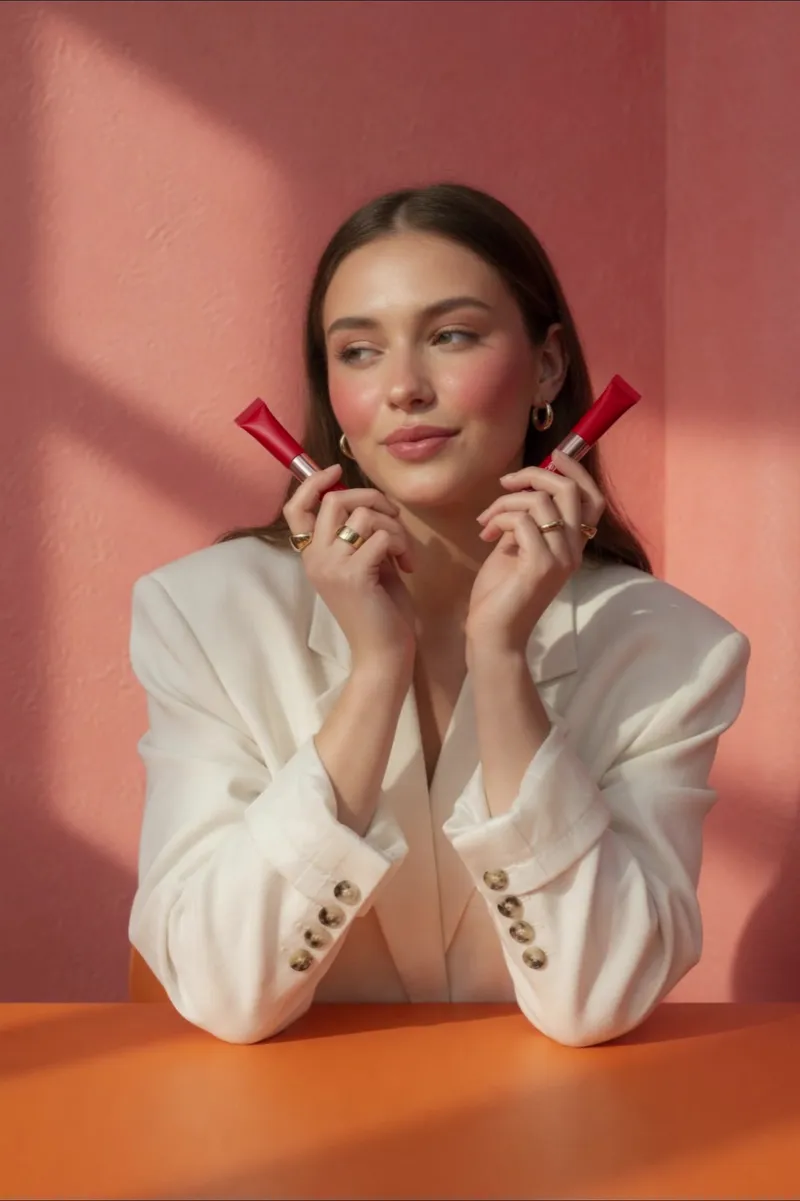
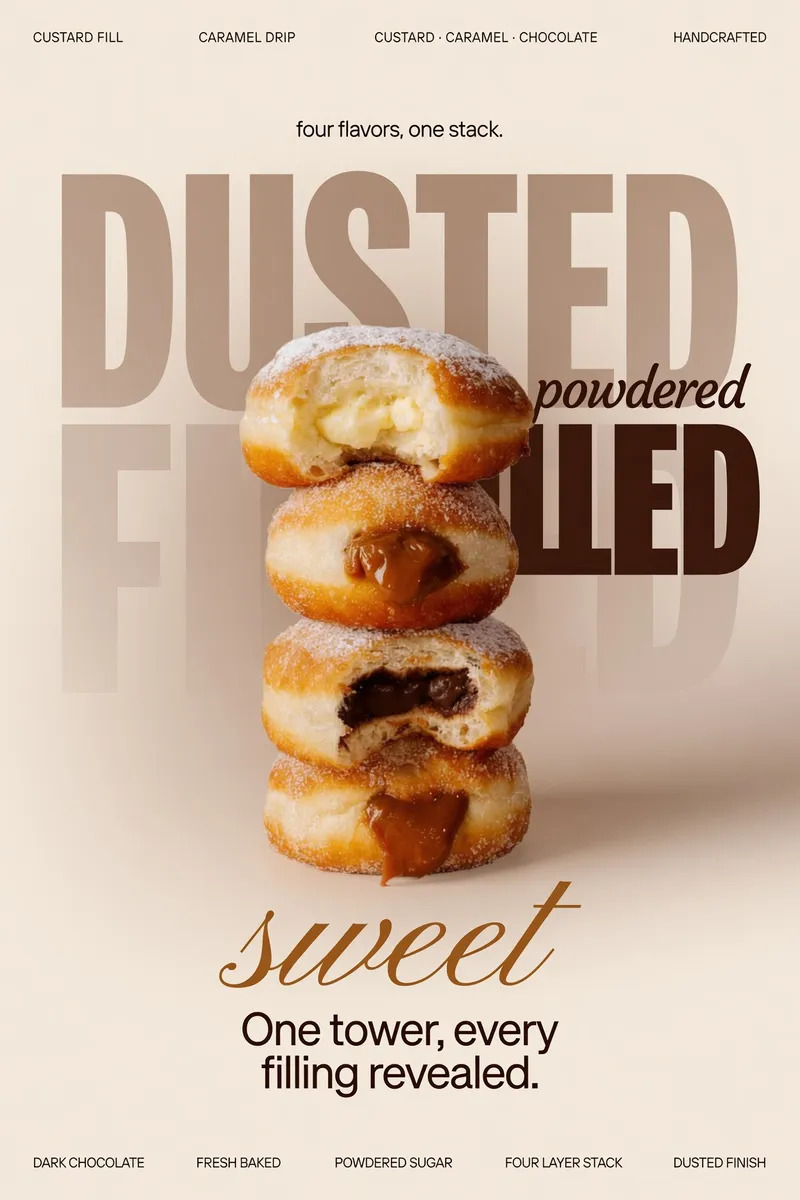
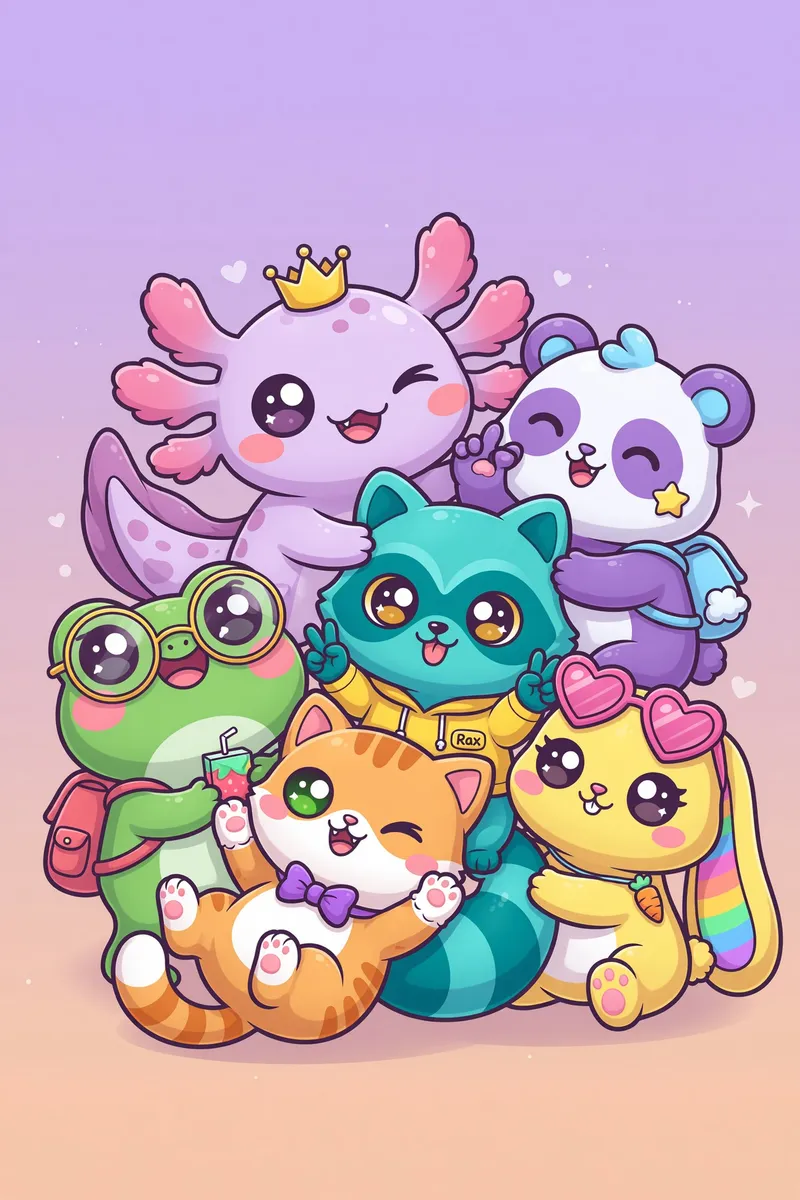
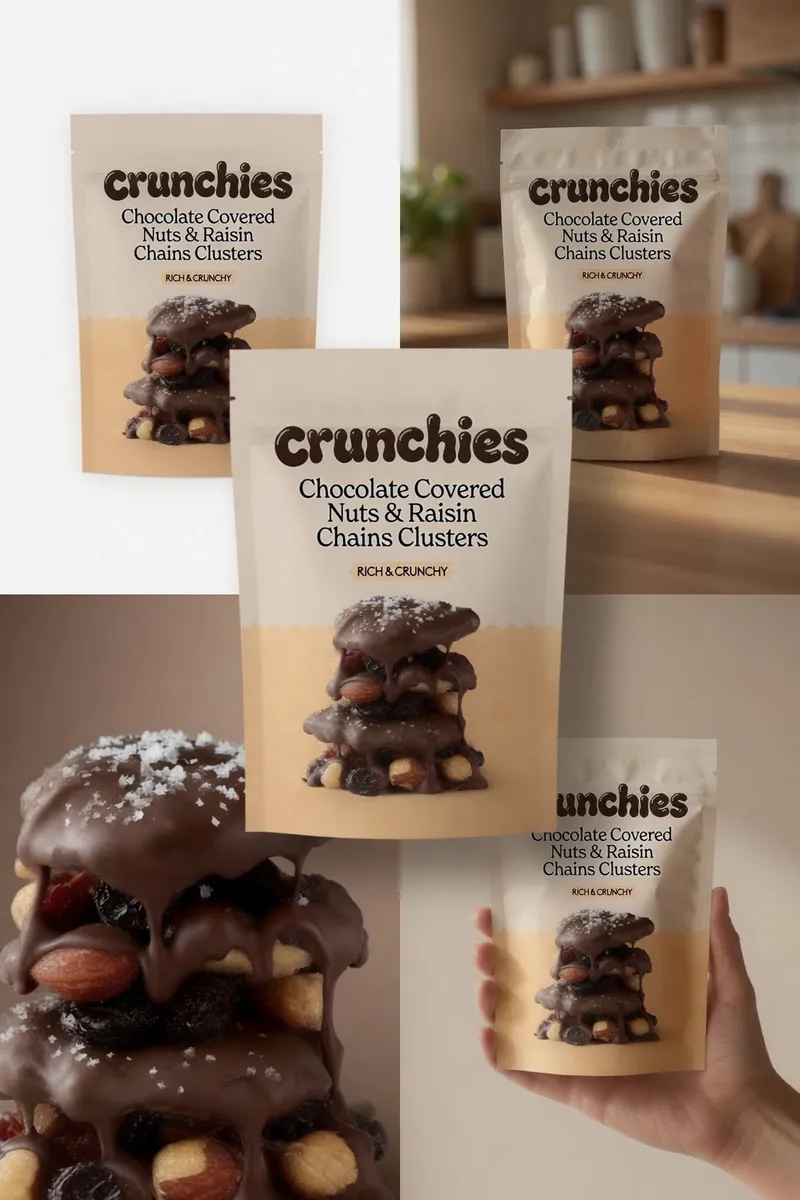
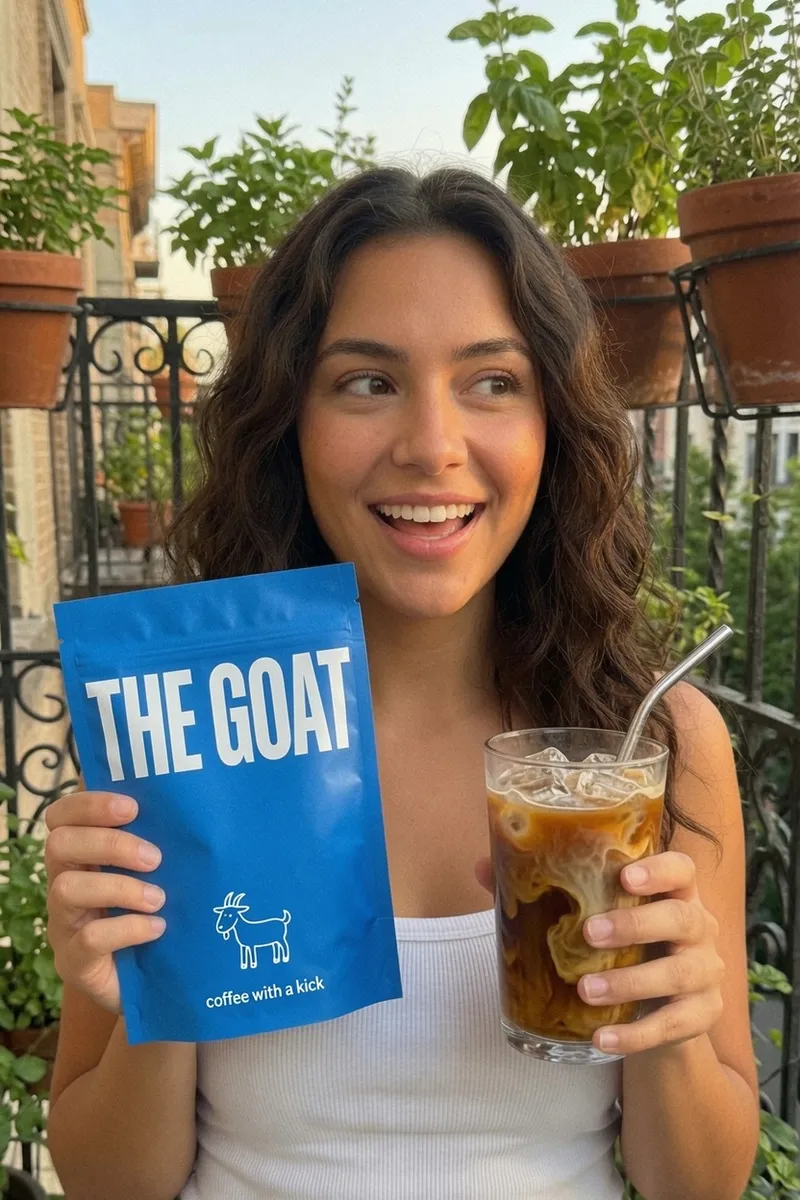
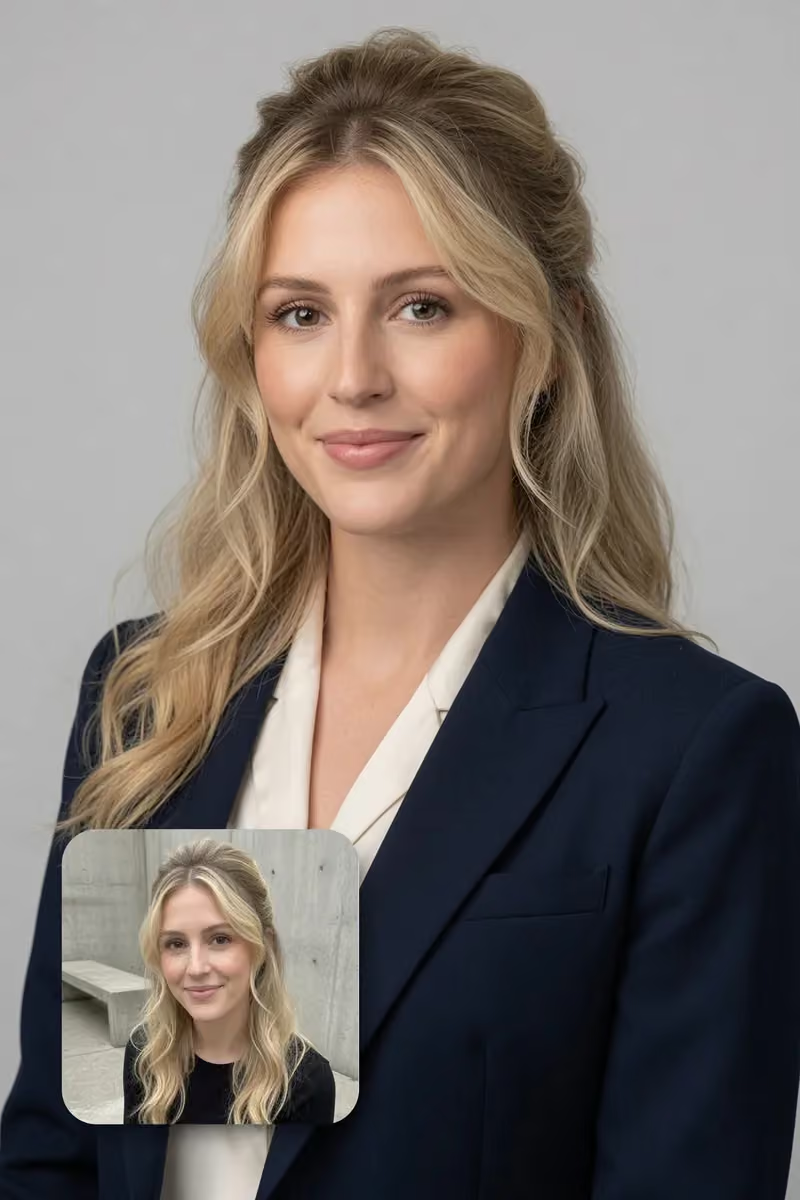
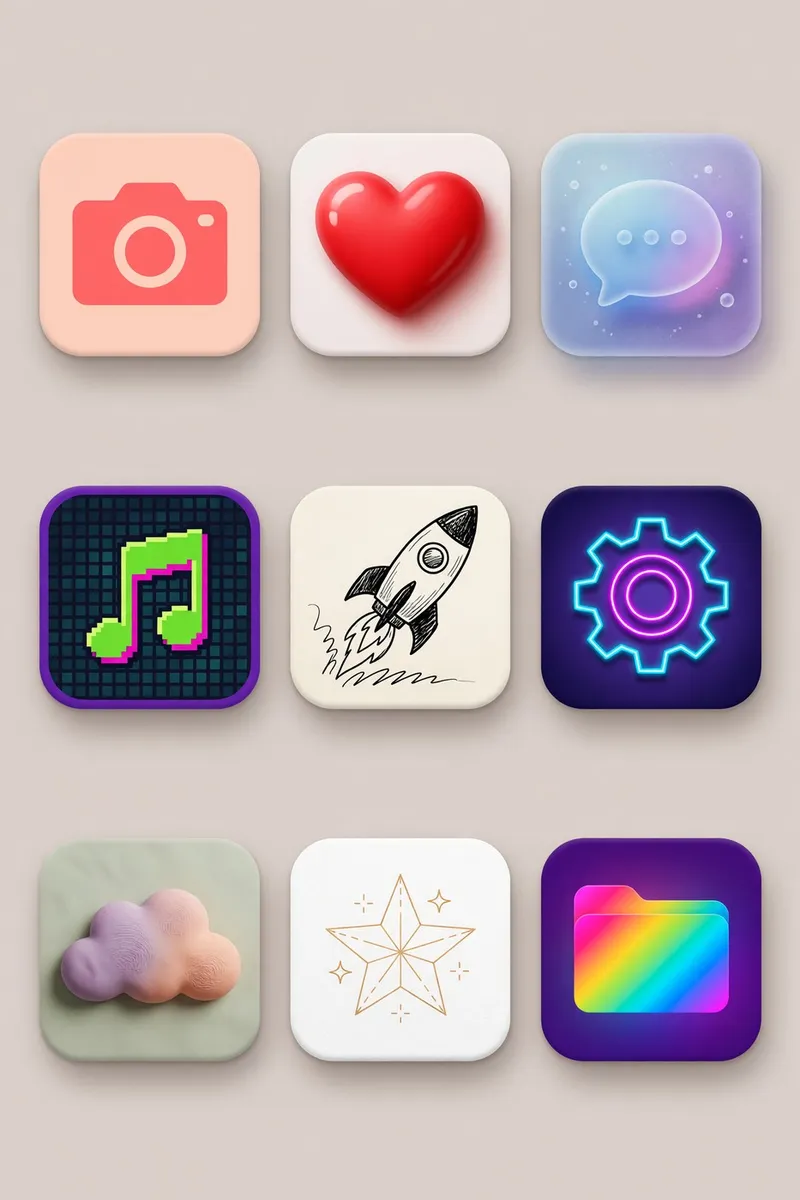
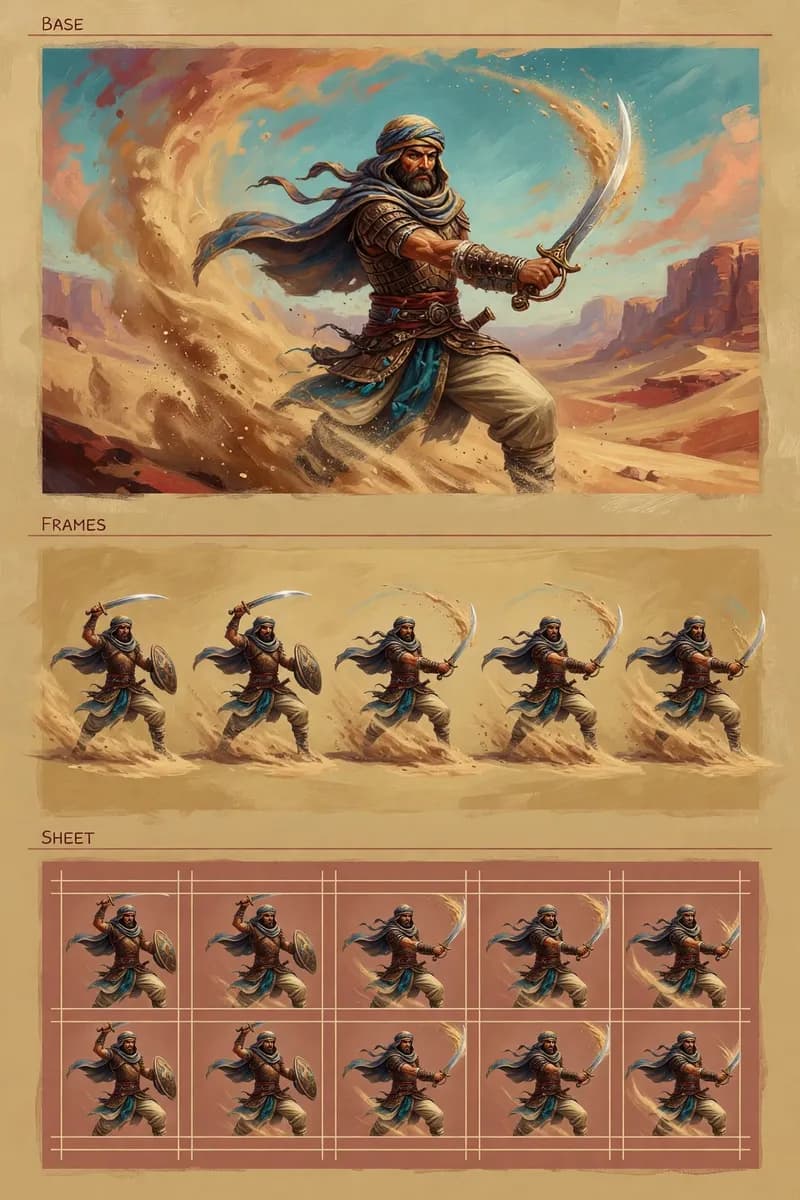
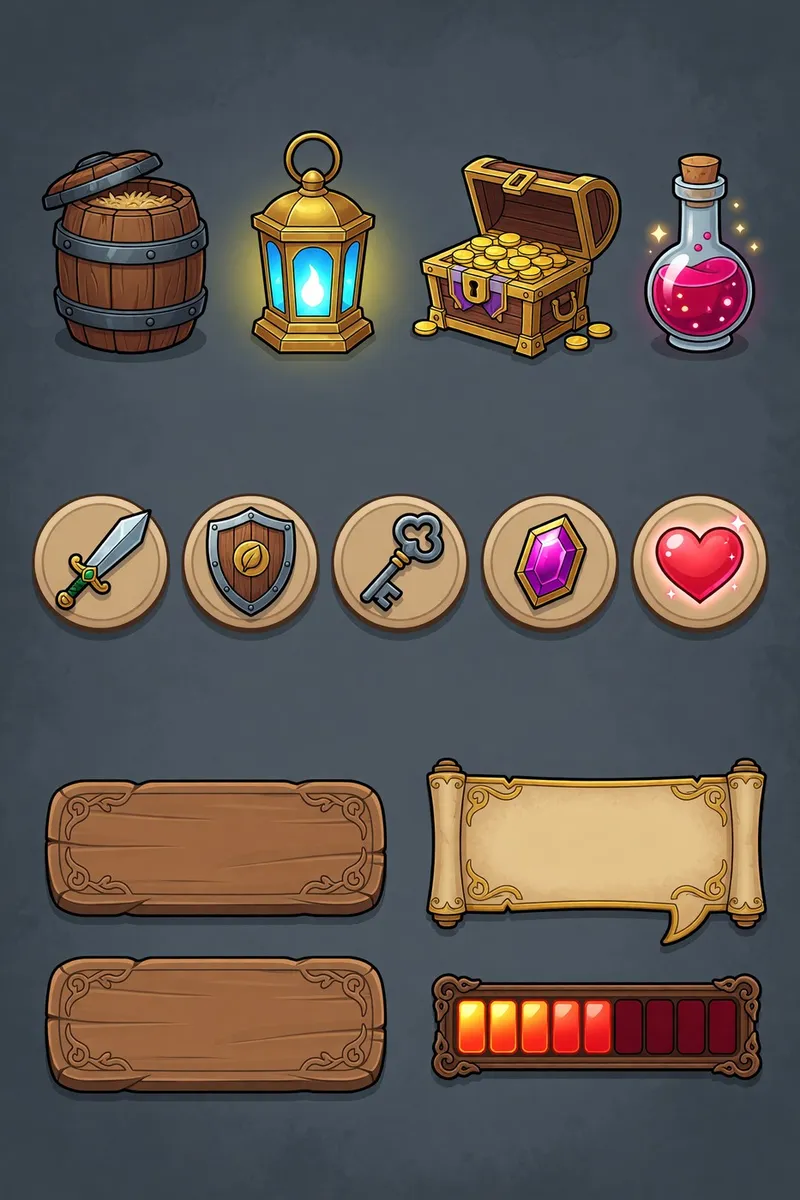
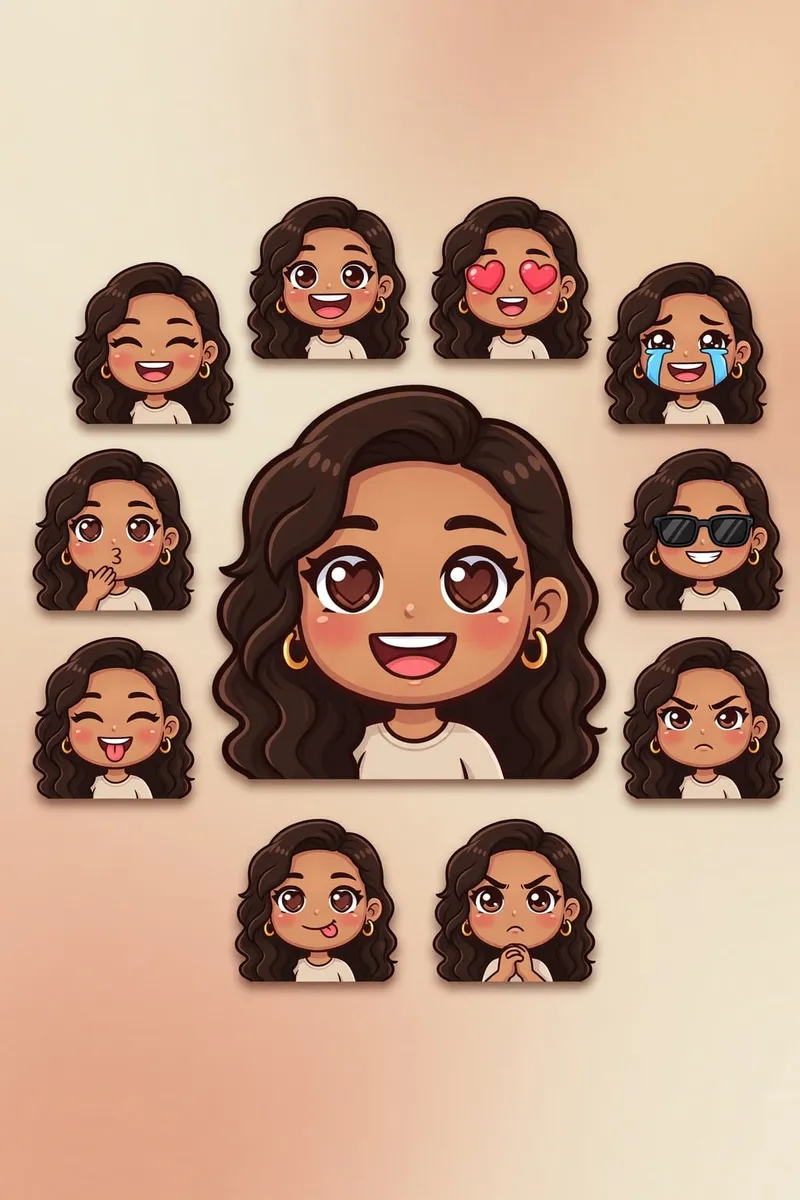
The template covers shown here come from xAI's launch page. They show the jobs xAI designed Image 2.0 around; they aren't Oakgen test results.
The six-step Quality Mode workflow
1. Define the job before the style
Write one sentence that says what the image must do. “Create a square product listing image for a woven bag” is a job. “Warm, cinematic, premium” is only a mood.
Add the delivery size, required text, fixed product details, and references after the job is clear. This prevents a pretty output that fails the brief.
2. Choose blank generation or a template
xAI introduced templates for common jobs such as photo edits, product color changes, ecommerce listings, UGC photos, headshots, icons, game assets, and merchandise concepts. A template can save setup time because it already frames the task.
Use a blank prompt for unusual compositions, strict brand grids, or art direction that doesn't match a preset.
3. Write the base prompt in layers
A reliable prompt order is:
job + subject + composition + exact text + visual treatment + constraints
For example:
Square ecommerce hero for a handwoven travel bag. Bag centered on a pale stone table, camera at product height, soft window light from the left. Keep the red stitching and brass clasp unchanged. No hands, no props touching the product, no added logo.
The prompt library contains copyable structures for posters, product shots, infographics, characters, and game assets.
4. Inspect the first image before editing
Check the parts that cost time later: spelling, labels, object count, face identity, product shape, boundaries, and repeated patterns. Zoom in. Small errors hide in a gallery thumbnail.
If the whole composition is wrong, regenerate. If one area is wrong, edit that region.
5. Make one bounded edit
Use the magic wand or segmentation control to select the affected area. Then write the instruction as a change plus a preservation rule:
Change the bag from navy to forest green. Keep the stitching, clasp, lighting, shadows, camera angle, and background unchanged.
Selection is doing half the work. A broad mask gives the model permission to redraw more of the frame.
6. Resize after approval
Smart resize extends the canvas for a new aspect ratio. Generate the approved master first, then create 9:16, 1:1, and 16:9 variants. Recheck hands, borders, patterns, and objects added at the new edges.
The full ratio workflow is covered in Grok Image 2 editing and smart resize.
Which template should you use?
| Job | Starting point | Keep fixed | Inspect first |
|---|---|---|---|
| Product listing | E-Commerce Photos | Shape, label, brand color | Edges and readable packaging |
| Social product post | UGC Photos | Product identity | Hands, reflections, and scale |
| Profile image | Professional Headshot | Face and hair | Skin, teeth, and eyewear |
| Brand character | Mascot Maker | Silhouette and palette | Consistency across poses |
| Game sheet | Character Sprite or Props & UI | Perspective and style | Grid alignment and missing assets |
| Merch concept | Merch Maker | Artwork proportions | Print boundaries and false mockup details |
How to work with reference images
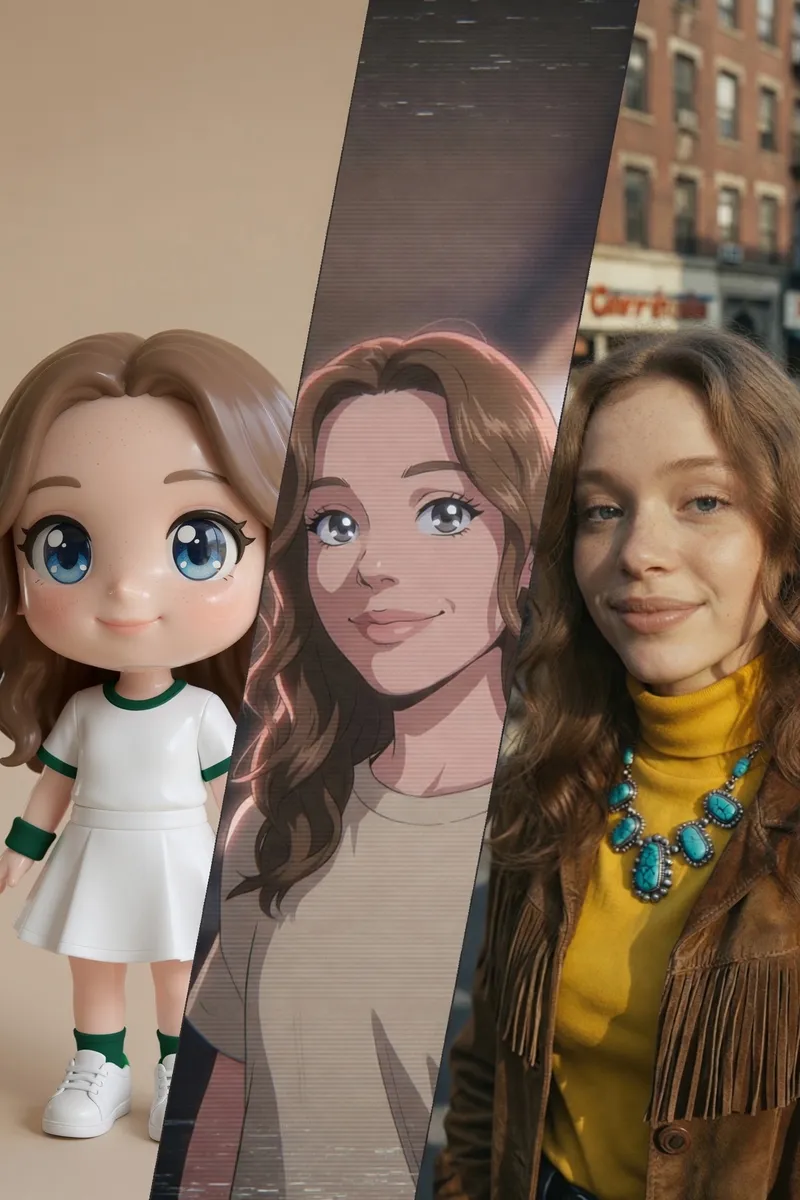
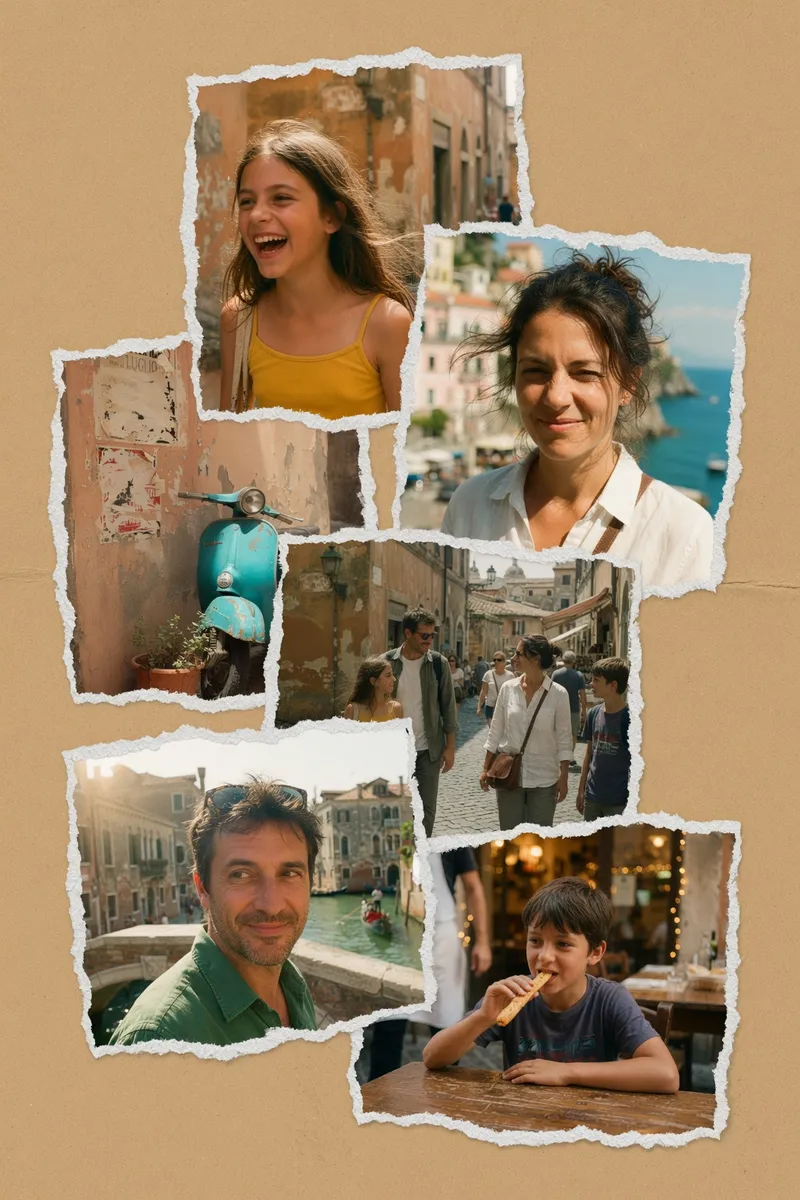
Assign each reference a role. “Image one is the product, image two is the lighting reference, image three is the composition” gives the model a conflict rule. Without roles, it may blend the wrong details.
The consumer launch says multi-reference editing accepts up to five images. Current xAI API docs describe up to three. Those limits belong to different surfaces, so don't assume the browser count applies to an API request.
A faster route for model comparison
If you aren't sure Grok should handle the brief, put the same prompt into Oakgen Image Arena. Compare the Grok result with GPT Image 2, Nano Banana 2, or another available model, then edit the strongest base image.
The point isn't to crown one model for every job. Pick on output: text-heavy poster, product preservation, portrait texture, or style range.
More launch templates to inspect
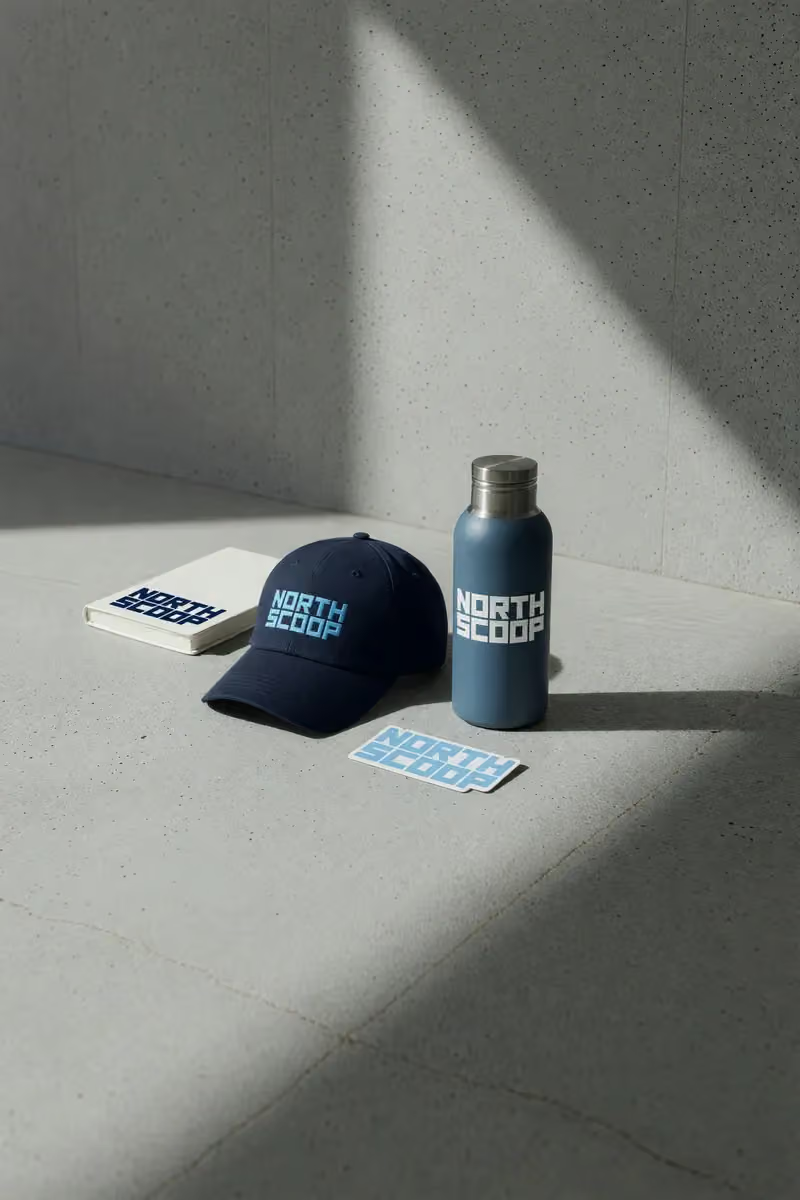
xAI also shows starting points for headshots, icons, character sprites, game UI, emoji, and merchandise. Use these as a map of the supported jobs, not as proof that every prompt will match the selected launch result.
Common mistakes
- Starting with style adjectives and forgetting the delivery job.
- Asking for several edits in one prompt, which hides the source of drift.
- Leaving exact copy inside quotation marks without checking every character.
- Giving five references without explaining which one controls each property.
- Resizing before the master composition has passed review.
- Treating an AI headshot or product mockup as proof of a real event or product feature.
Frequently asked questions
Is Quality Mode slower than other Grok modes?
xAI positions it as the higher-quality option, but the launch page does not publish a consumer latency guarantee. Time several prompts on your own account if turnaround matters.
Can Image 2.0 make product photos?
Yes. xAI includes ecommerce, product-color, poster, UGC-photo, and merch templates. Product identity still needs a close review.
Can it create consistent game assets?
xAI shows templates for character sprites and props/UI kits. Use the same reference set and a fixed style block across every generation.
What should I do when an edit changes the subject?
Return to the last approved image, tighten the selected region, and add explicit preservation rules. Don't keep editing a damaged intermediate frame.
Should I use Grok or another model?
Use the one that wins your brief. Read Grok Image 2 vs GPT Image 2 for text and layout work, or Grok Image 2 vs Nano Banana 2 for a broader workflow comparison.