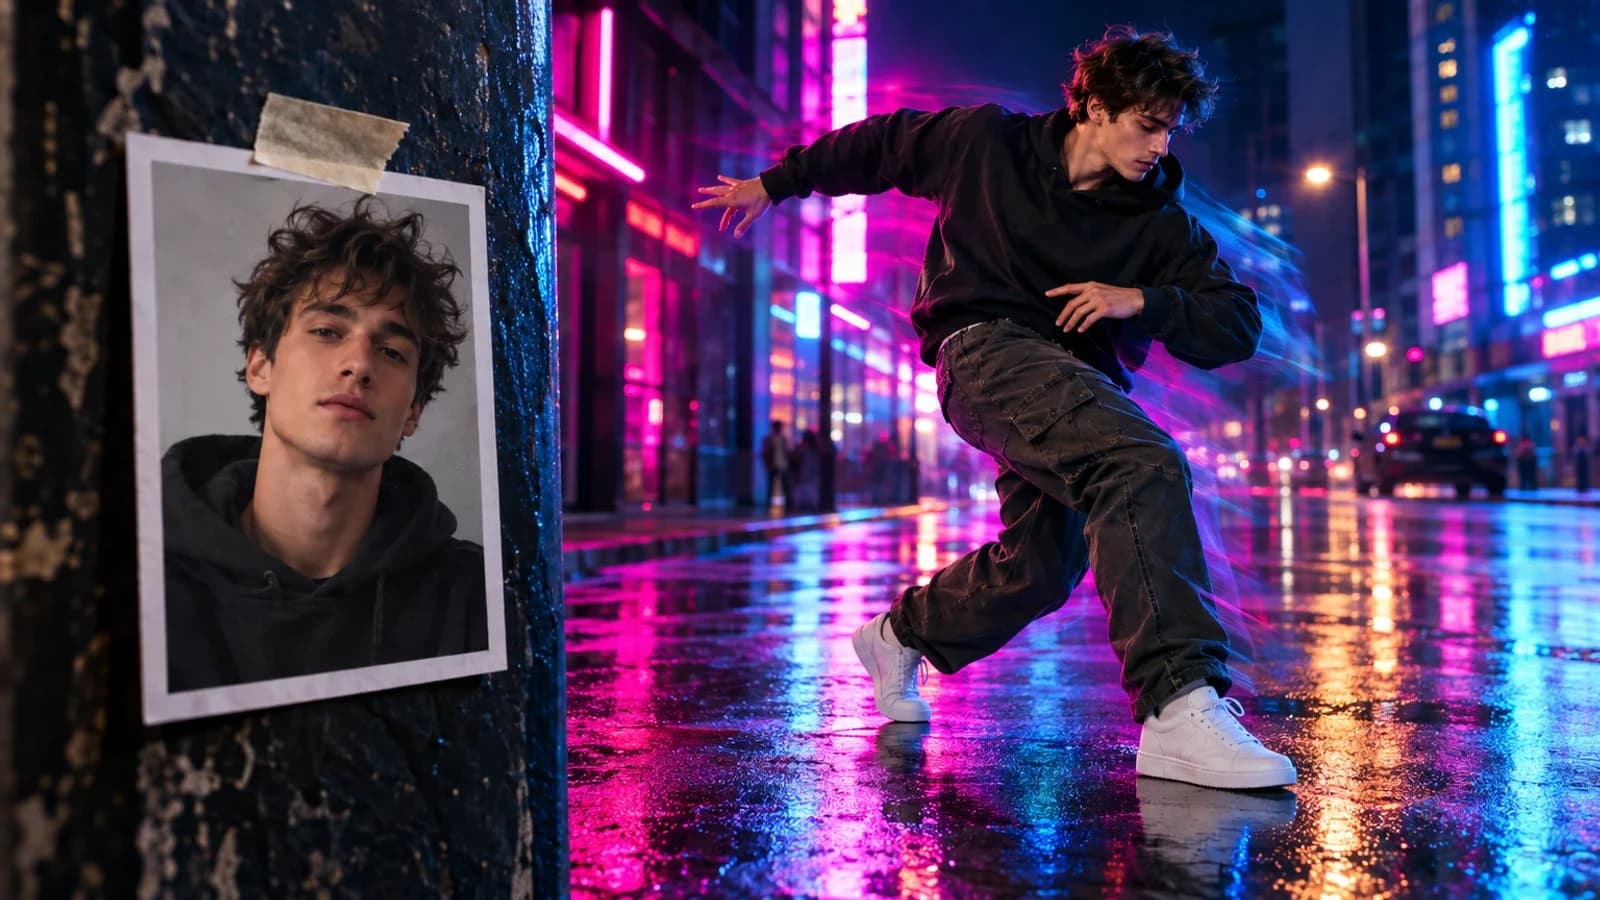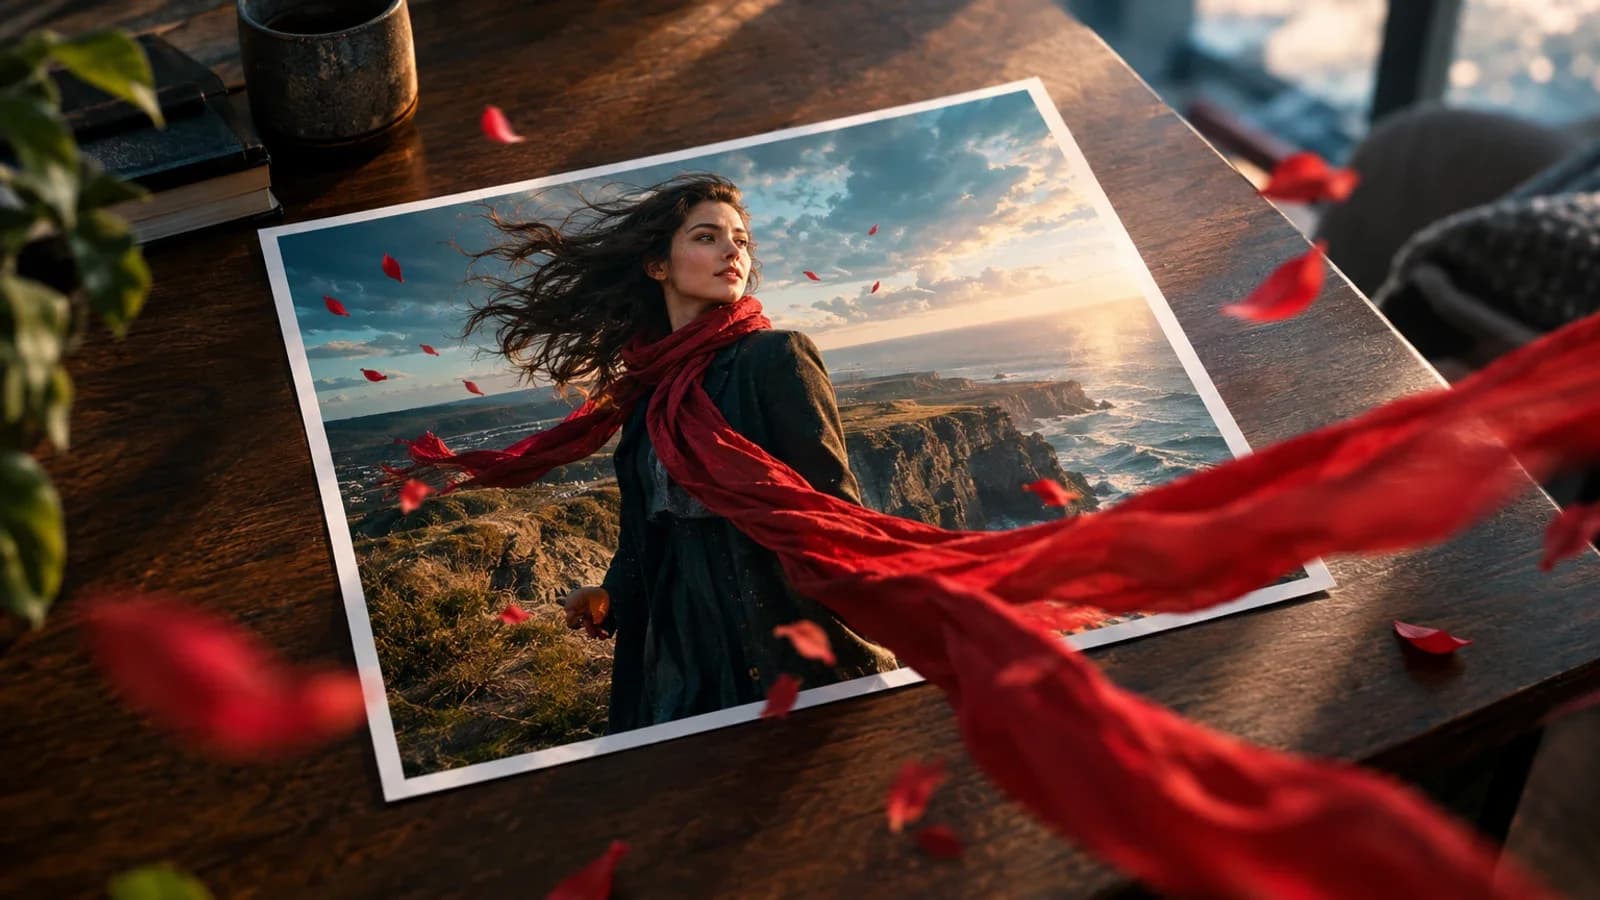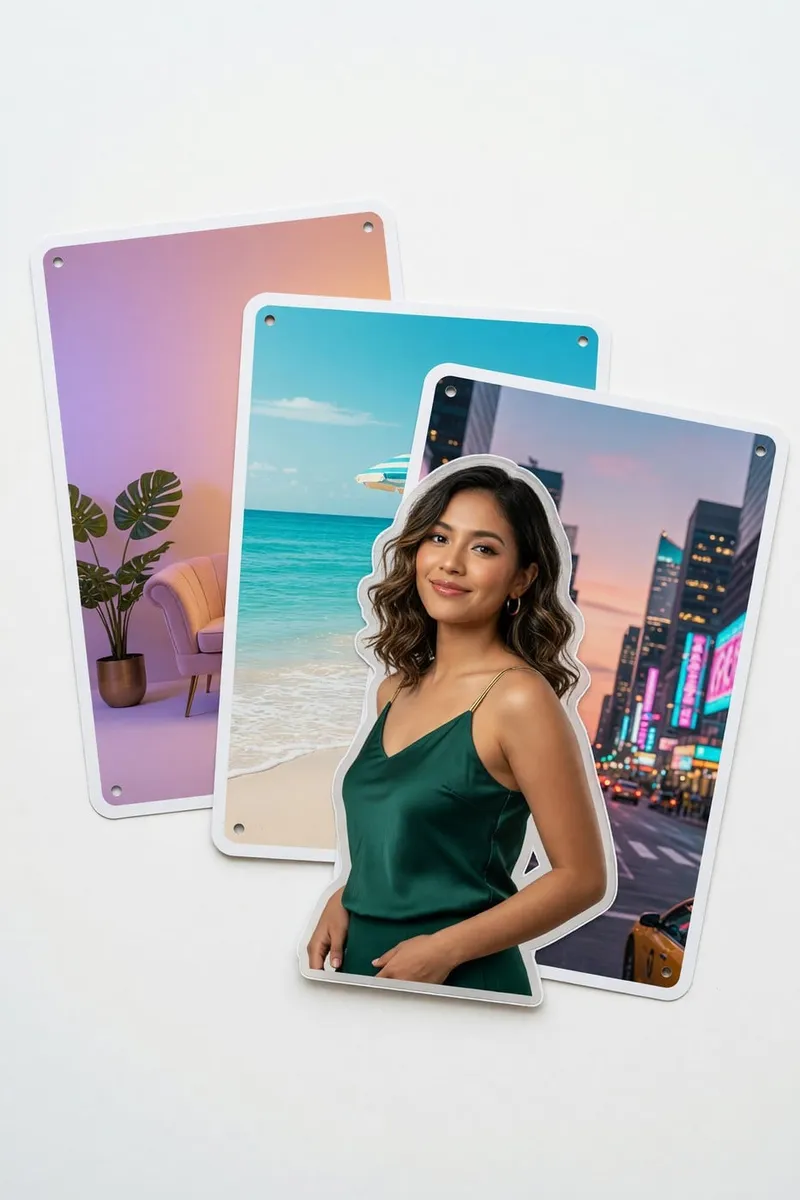
Grok Imagine Image 2 turns editing into a set of separate controls: magic-wand selection for a local change, segmentation for cleaner regions, background removal for transparent cutouts, multi-reference input for compositing, and smart resize for new frames. The safest workflow uses one control per problem.
Generate with Grok Imagine in Oakgen, then move the result into Oakgen's image editor if you need a model-neutral finishing path. For the full release, start with the Image 2.0 launch guide.
xAI's consumer Image 2.0 announcement says up to five reference images. Its current Imagine API docs say up to three. Check the surface you are using before designing a batch workflow.
Pick the control by failure type
| Problem | Use | Prompt pattern | Main risk |
|---|---|---|---|
| One wrong object | Magic wand | Change X; keep Y fixed | Mask too broad |
| Complex boundary | Segmentation | Select named subject or material | Hair and transparent edges |
| Need a cutout | Background removal | Remove background; transparent output | Halos and lost fine detail |
| Combine sources | Multi-reference edit | Assign each image a role | Identity and style conflicts |
| New channel size | Smart resize | Extend canvas; lock original center | Invented edge objects |
Magic wand edits
Select only the pixels related to the change. Then state both halves of the instruction:
Replace the paper cup with a clear water glass. Keep the hand, table grain, shadows, framing, and every other object unchanged.
If the glass looks wrong, return to the source and try again. Editing the failed result usually compounds the damage.
Segmentation
Segmentation helps when a region follows an object's boundary rather than a rectangle. It is useful for clothing, products, sky, hair, or a wall. Zoom into fine edges after the edit; strands, lace, glass, smoke, and reflections are harder than solid objects.
Background removal
Use a transparent PNG when the result will enter Figma, a product page, or another composition. Inspect the edge against white, black, and a saturated color. A cutout can look clean on a checkerboard while hiding a pale fringe.
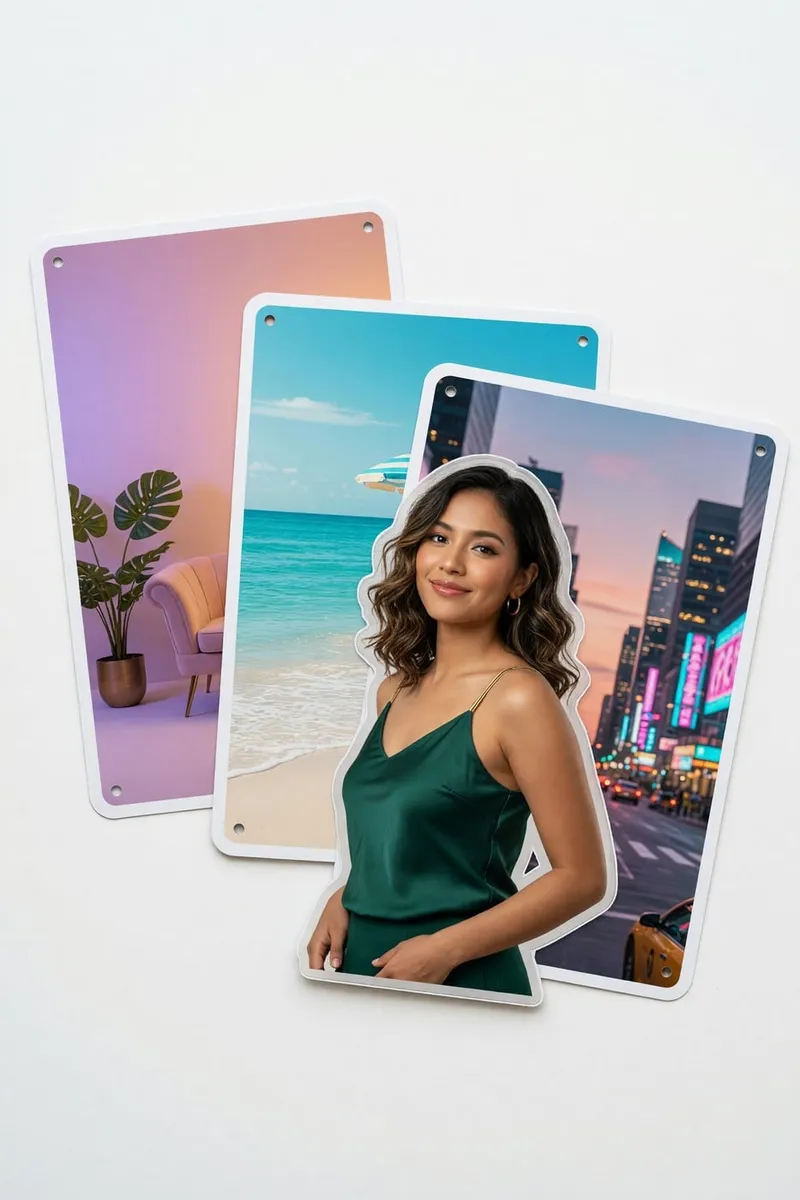
Multi-reference editing
Give every input one job:
- Image 1 controls the person's face and body.
- Image 2 controls the coat.
- Image 3 controls the location and light.
- Image 4 controls the graphic treatment.
Don't ask two images to control the same property unless you want a blend. For product work, label shape and packaging should usually come from one authoritative reference.
The 40-prompt library includes editable multi-reference briefs.
Smart resize without broken edges
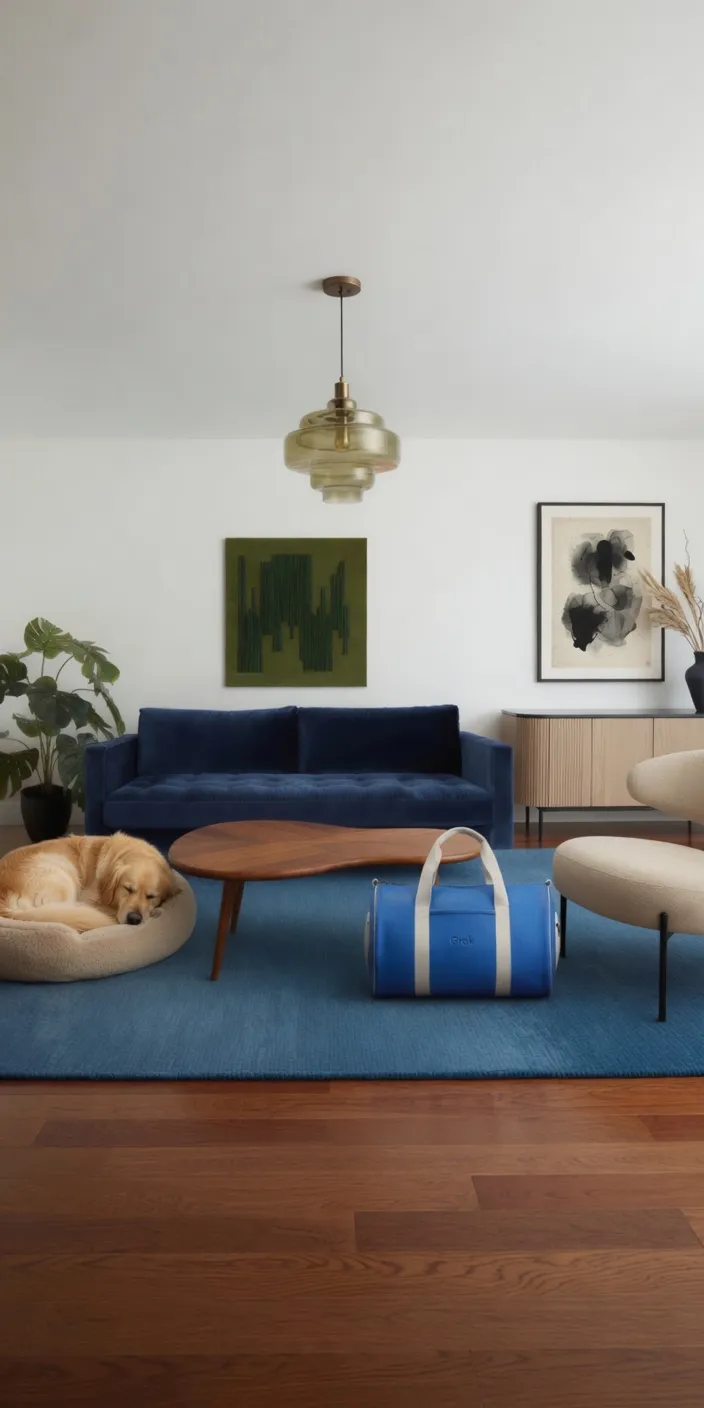
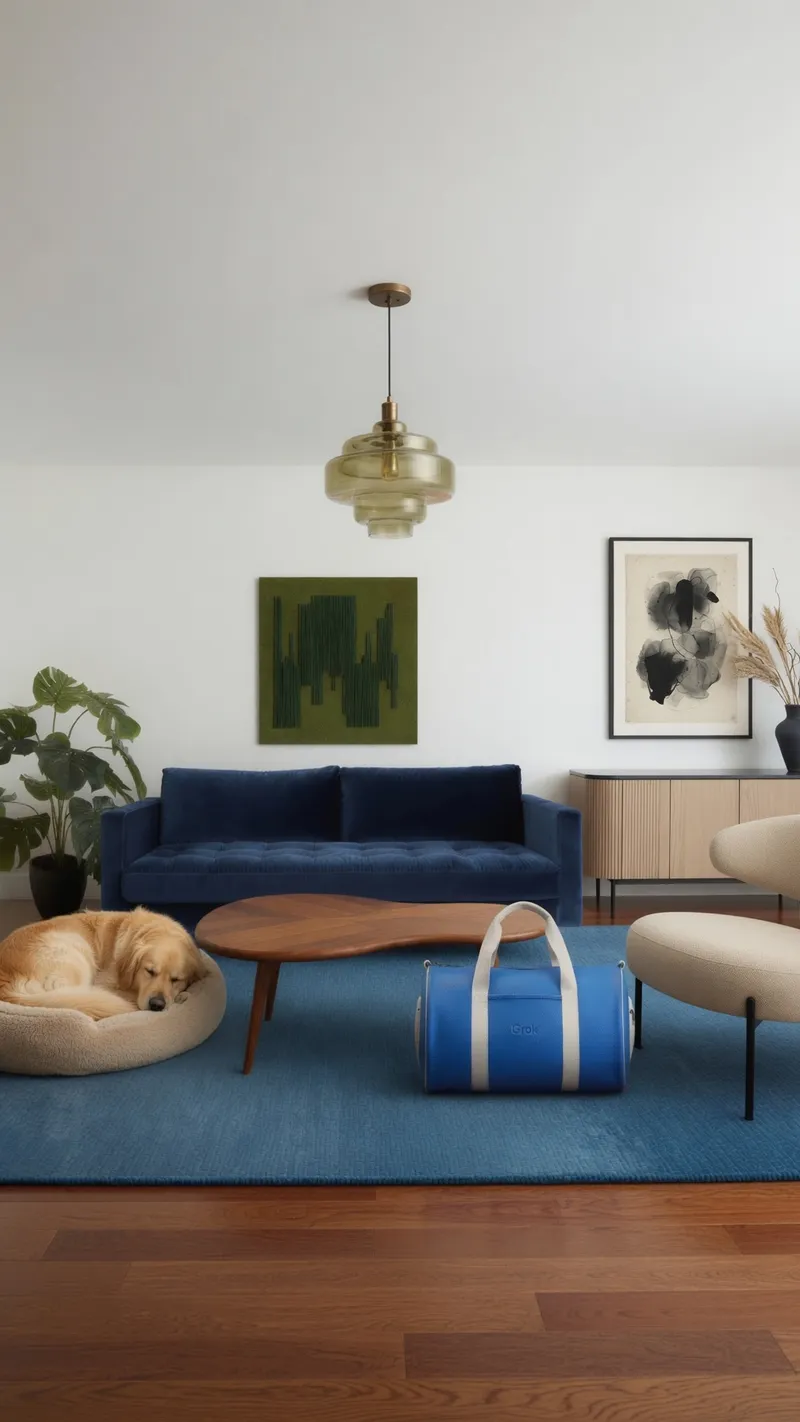
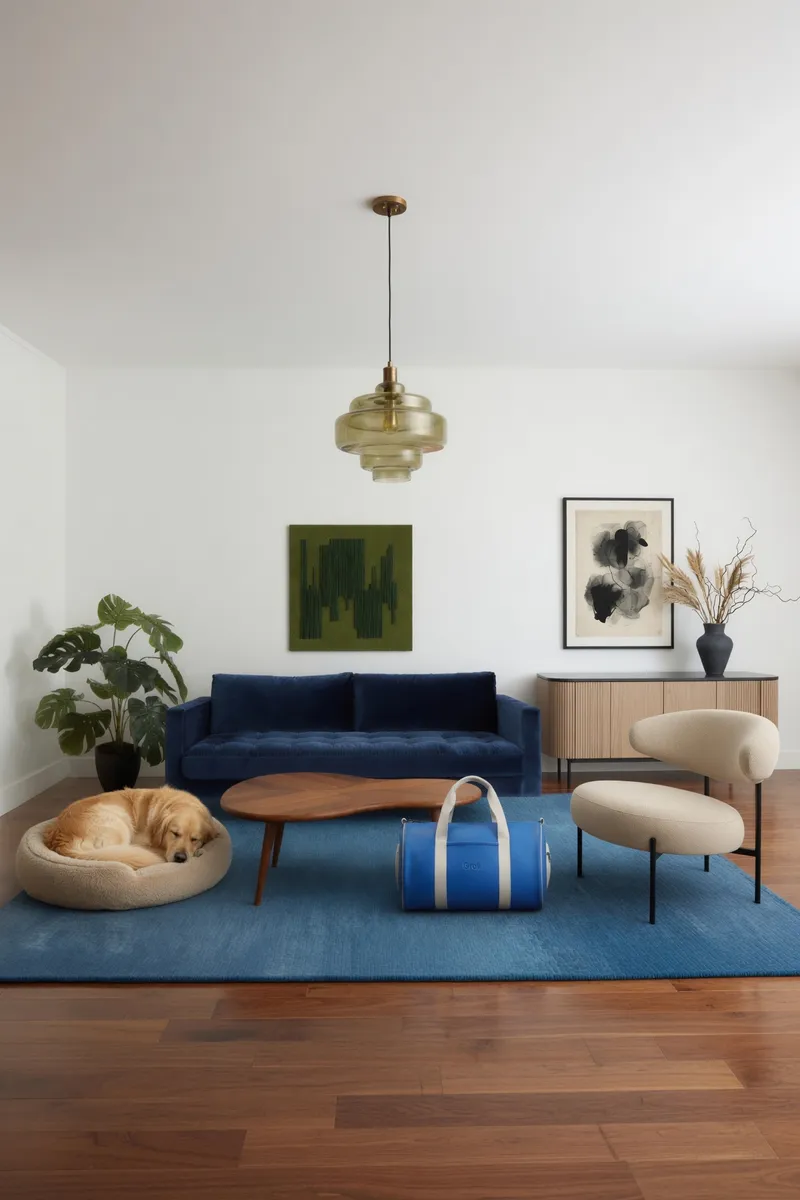
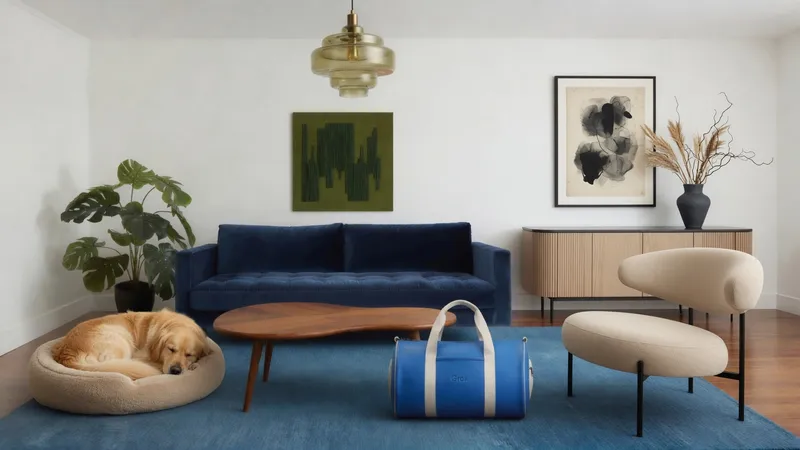
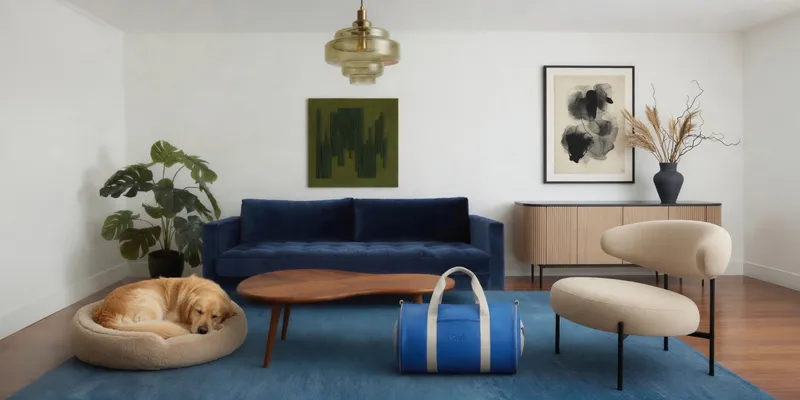
xAI shows nine ratios. The model fills the missing canvas, so resize is closer to outpainting than cropping.
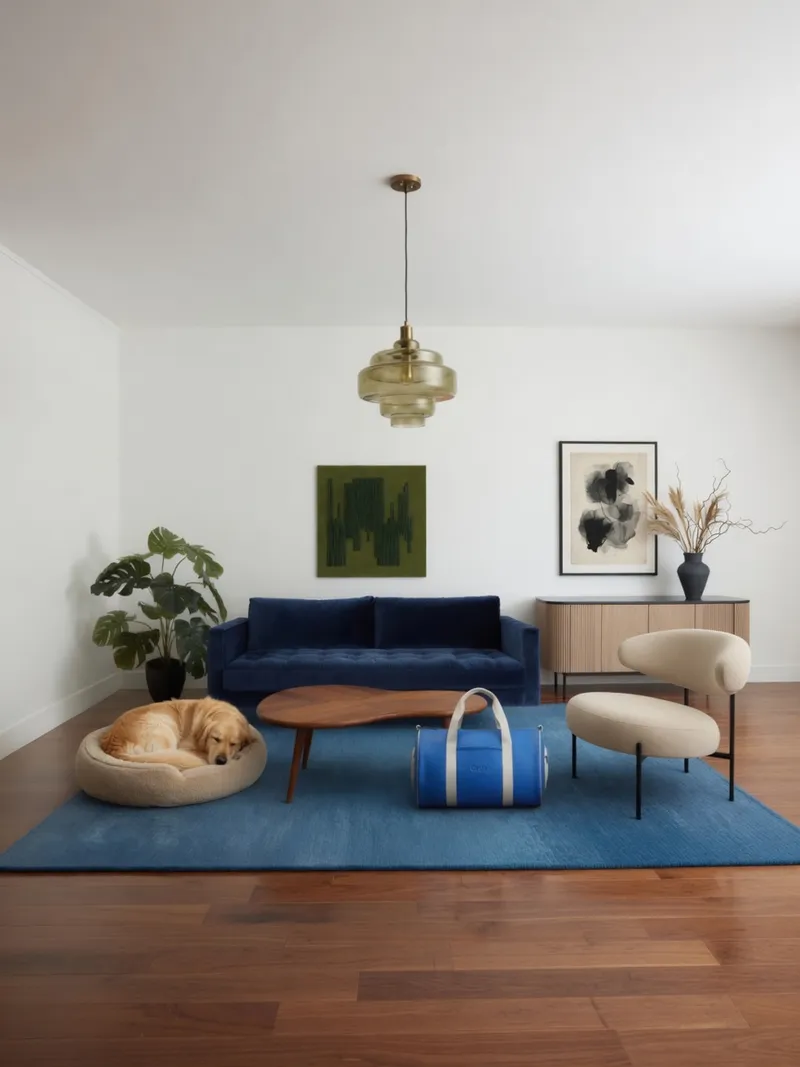
Vertical formats
Use 9:16 for Stories, Reels, Shorts, and TikTok; 2:3 and 3:4 fit portrait posts, pins, and print-like layouts. Tell the model whether the subject should stay the same size or grow with the frame.
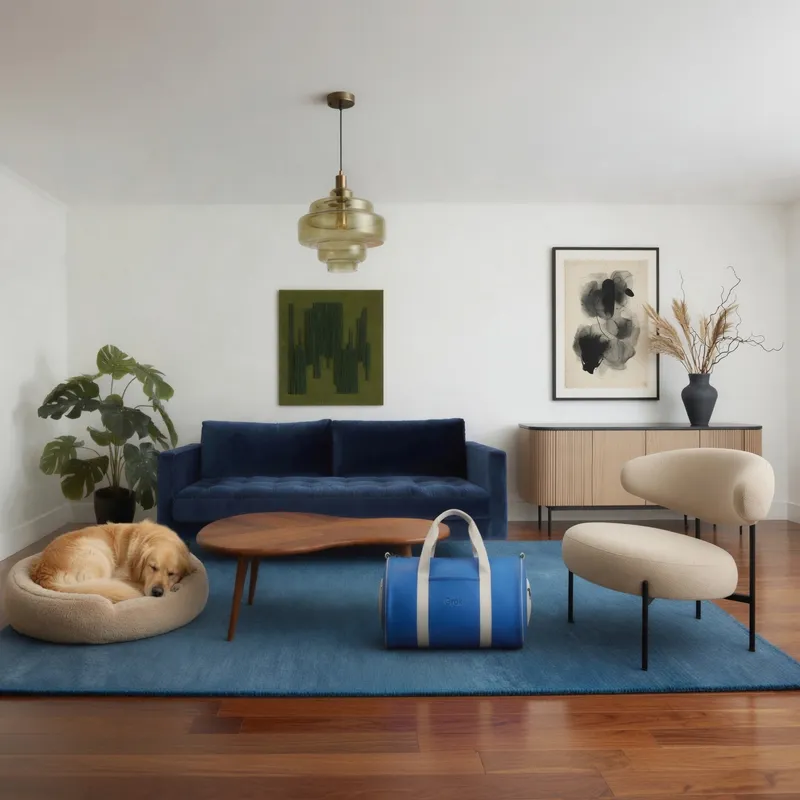
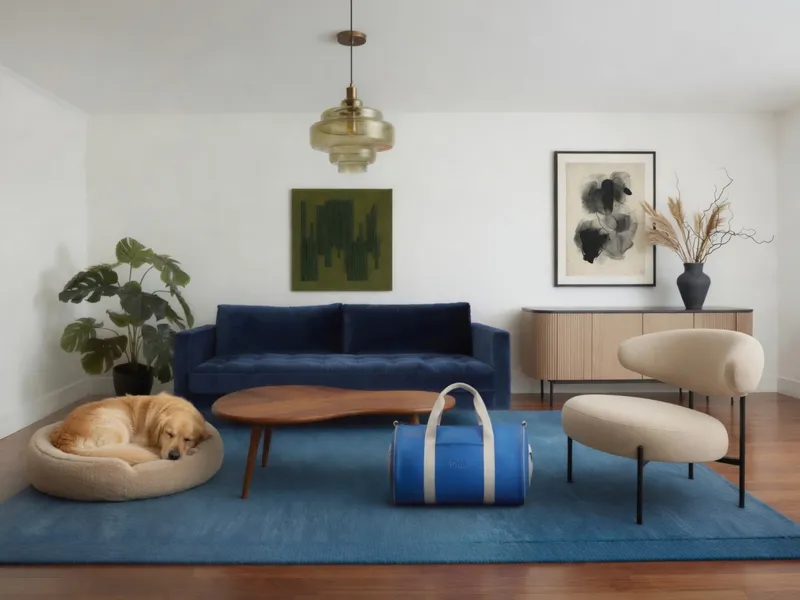
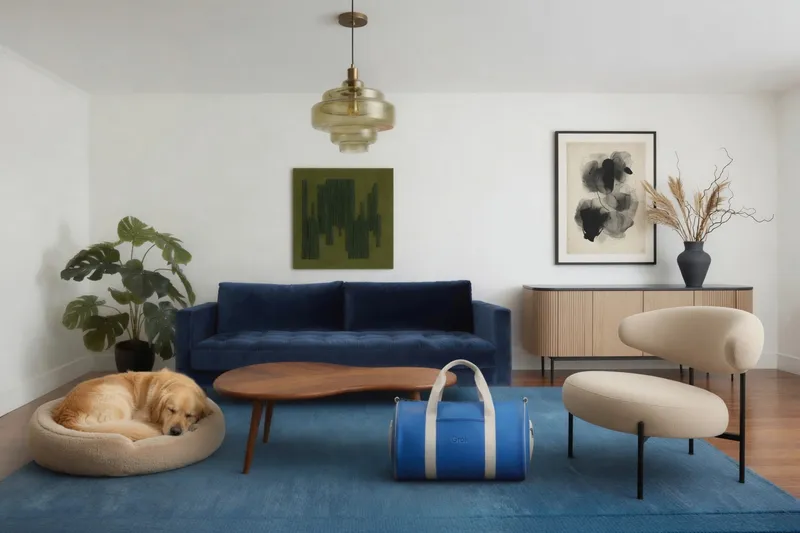
Square and landscape formats
Use 1:1 for square feeds, 4:3 or 3:2 for editorial images, 16:9 for video covers, and 2:1 for banners. Protect any original text by telling the model not to redraw the center.
The preservation checklist
Before approving an edit, compare these against the source:
- face, hands, product silhouette, and distinctive marks
- logo, label text, numbers, and spelling
- camera angle, lens feel, horizon, and object scale
- light direction, shadow softness, and reflections
- texture continuity at the edited boundary
For several delivery sizes, inspect every variant. A clean square master doesn't guarantee clean invented pixels in a tall frame.
Common mistakes
- Selecting the whole image for a local correction.
- Chaining edits after identity or product details have already drifted.
- Forgetting alpha-edge review after background removal.
- Providing several references without assigning roles.
- Treating a resize as a crop and failing to review generated surroundings.
Frequently asked questions
Does the magic wand preserve everything outside the selection?
xAI says it changes the pointed region and leaves the rest untouched. Still compare the full frame after each edit; generative tools can alter nearby pixels.
Can smart resize create a vertical ad from a square image?
Yes. Choose 9:16 and tell the model what should appear in the new upper and lower canvas.
What format should I use for background removal?
Use PNG or another format that keeps transparency. JPEG cannot store an alpha channel.
What if two references conflict?
Assign properties explicitly and remove any reference that isn't needed. Fewer authoritative inputs are easier to control.
Is Grok better than GPT Image 2 for edits?
xAI's August 7 Arena chart places GPT Image 2 slightly ahead. Read the Grok vs GPT Image 2 comparison, then test your specific edit chain.