ChatGPT
 Claude
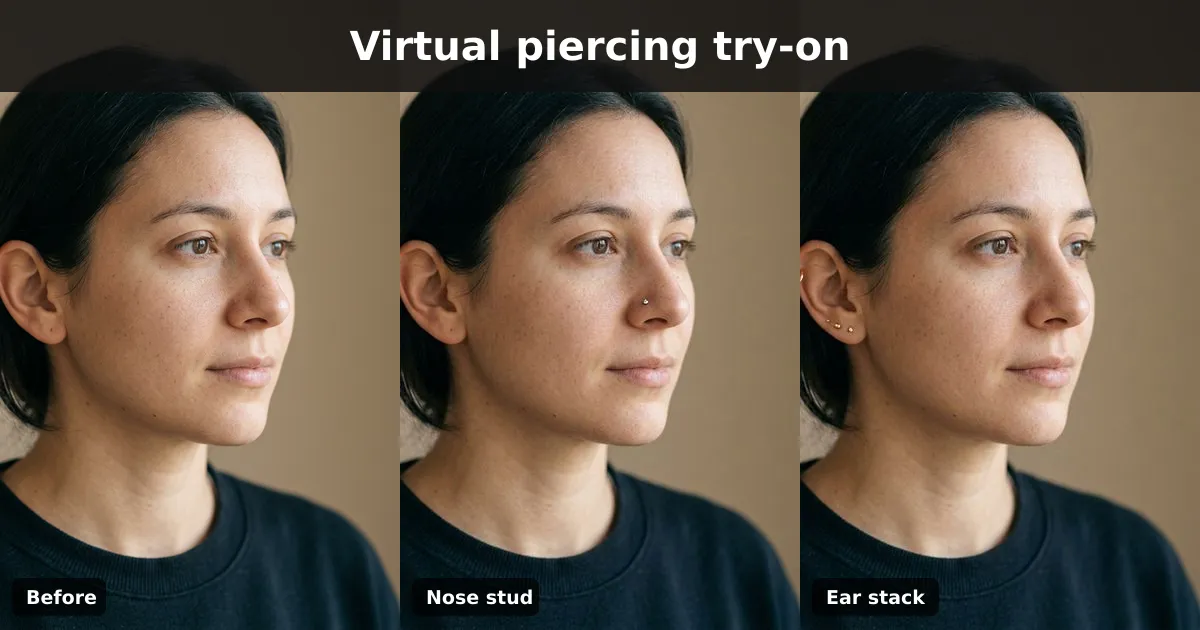
A virtual piercing try on shows a piercing on a photo of your own face before anyone picks up a needle. Upload a clear photo with the ear or nose in view, choose a style such as a nose stud, septum or stacked ear, and an AI model edits the jewellery into the picture with your lighting and skin. Use it to decide between styles. It can't tell you whether a placement suits your anatomy, or how it will heal. That's a conversation with a professional piercer.
Oakgen's virtual piercing try-on offers eight styles across ears, nose, septum, lip and eyebrow. Below is a real before-and-after from it, a comparison with the other online piercing testers, and a checklist for taking the preview to your piercer.
Which virtual piercing tester should you use?
We looked at the pages ranking for "virtual piercing try on" and "virtual piercing tester online" on 2026-11-16. There are two kinds. AI tools redraw the jewellery into your photo. Overlay simulators let you place a jewellery graphic yourself.
| Tool | Type | Best for | Weak spot | Cost note (2026-11-16) |
|---|---|---|---|---|
| Oakgen Virtual Piercing Try-On | AI image-to-image template | Eight common styles, lit like your photo | No menu for metal or gauge; you type those details | 28 to 72 credits per render; paid plans only |
| PiercingAI | AI try-on | A large catalogue with jewellery style and metal choices | A specialist tool for this one job | Check its page |
| Vorla piercing filter | AI photo effect | Thirty preset styles across nose, septum, ear, lip and brow | Presets only | Free, no sign-up, per its page |
| Get-Color piercing simulator | Manual overlay | Placing, resizing and rotating jewellery by hand | Looks like a sticker, not a photo | Free |
| Fotor nose piercing filter | Prompt-based AI | Describing the exact piercing in words | You write the prompt | Credit-based |
Our take: if you want to test placement by hand, an overlay simulator gives you the most control. If you want something that looks like a real photo, use an AI tool. Oakgen is handy when you're already editing the same portrait with other face effects such as glasses, makeup or hair.
How the Oakgen piercing try-on works
These details come from the template's definition in Oakgen's code, checked on 2026-11-16.
- Input: one portrait.
- Piercing Type: Ear Studs (the default), Ear Hoops, Nose Stud, Nose Ring, Septum, Lip Piercing, Eyebrow or Multiple Ear.
- Additional instructions: optional, up to 2,000 characters in the studio. Use it for metal, size or side.
- Models: Nano Banana Pro (the default), Nano Banana 2 and GPT Image 2.
- Estimated time: 8 to 12 seconds on the template page. Our two runs through Oakgen's API took about 30 to 40 seconds each.
The template asks the model to add the chosen piercing "that looks natural and well-positioned", with realistic placement and light on the metal. It tells the model to avoid floating jewellery, the wrong position and an "infected looking" result.
You can open the tool signed out, upload a photo and pick the style and model. Clicking Open in Oakgen carries those settings into the studio, where generating needs a paid plan. Oakgen has no free plan.
Example: a nose stud and a three-piece ear stack
We generated a fictional woman with no jewellery first, at a three-quarter angle so the nose and one ear were both visible. Then we ran that portrait through the template twice on Nano Banana Pro at 1K:
- Nose Stud, with the instruction "Small silver stud on the left nostril."
- Multiple Ear, with "Gold: two small lobe studs and one small helix hoop on the visible ear."
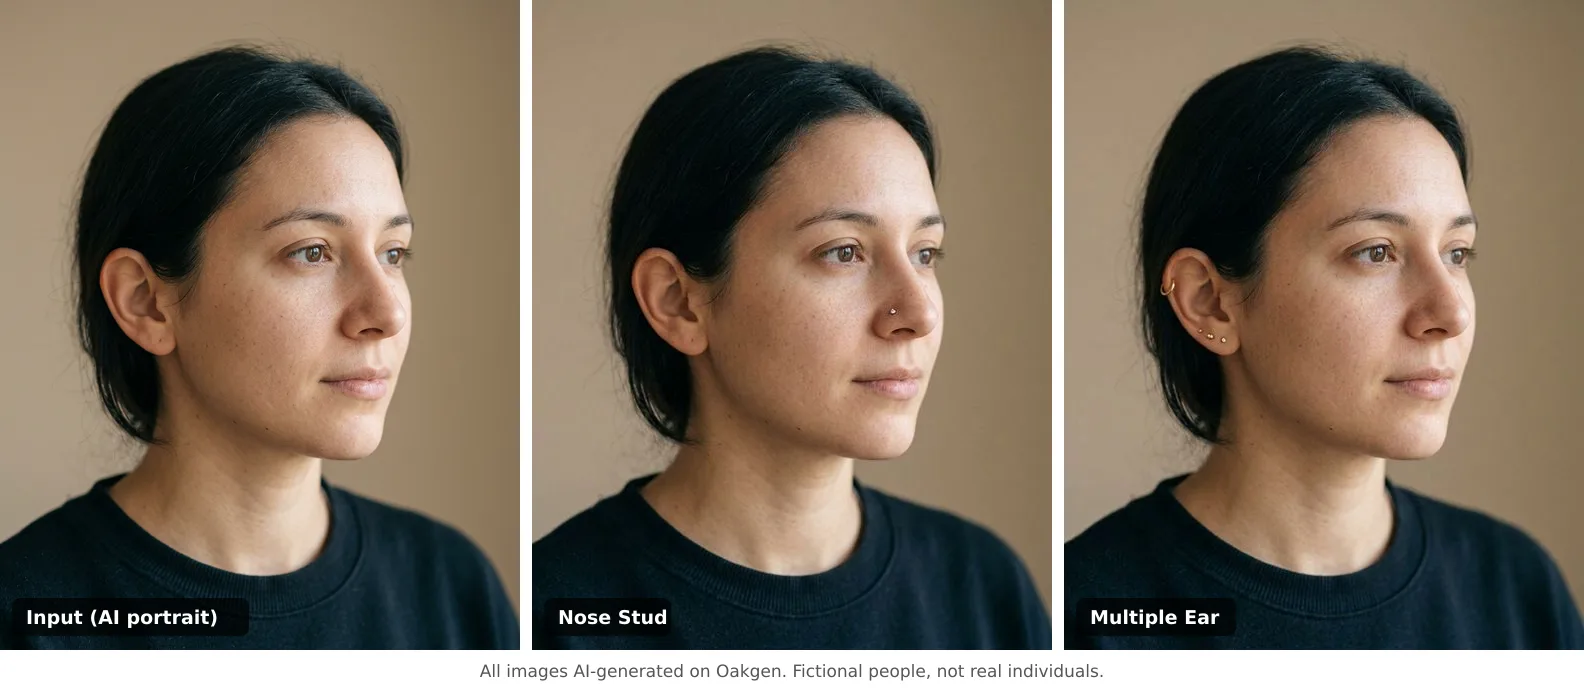
All three images are AI-generated. The woman is fictional.
What worked:
- Scale was right. The nose stud is small and sits on the side of the nostril, not floating in front of it.
- The ear stack followed the instruction. Two studs in the lobe and a small hoop on the upper helix, in gold, with light on the metal that matches the room.
- Nothing else changed. Face, hair, top and background stayed the same, so the before-and-after compare cleanly.
Where it was weaker:
- Small jewellery is easy to miss. At thumbnail size the nose stud almost disappears. Crop in when you compare.
- Exact spot is approximate. The model chose where on the lobe and helix to put each piece. A piercer would mark the spots based on your ear, and they may well be different.
Preview a nose stud or ear stack on your own photo.
Photo checklist for a better piercing preview
Most bad previews come from the input photo. Check these before you upload.
| Check | Why it matters | Quick fix |
|---|---|---|
| The area is fully visible | The model can't place jewellery on what it can't see | Tuck hair behind the ear; face the camera for septum and lip |
| Remove current jewellery | Old pieces confuse the edit | Take studs out, or say "keep my existing lobe studs" |
| Even, soft light | Metal reflections copy the light in the photo | Face a window; avoid harsh overhead light |
| Sharp focus on the face | Small jewellery needs detail | Use the rear camera or a well-lit selfie |
| One person in frame | Avoids the edit landing on someone else | Crop to your own face first |
| One style per run | Easier to judge and compare | Run Nose Stud and Septum separately, then compare |
For angles: a three-quarter view shows a nostril and one ear together. A straight-on photo works best for septum, lip and eyebrow. A side profile is best for a full ear stack.
Step by step
- Take or choose the photo using the checklist above.
- Open the piercing try-on and upload it.
- Pick a Piercing Type. Start with the one you're seriously considering.
- Click Open in Oakgen and sign in. In Additional instructions, add metal, size and side, for example "small rose gold hoop, right nostril".
- Check the credit cost shown and generate.
- Run a second style on the same photo, and keep both results for your appointment.
Common mistakes
- Treating the preview as a placement plan. It shows a style, not the right spot for your anatomy.
- Stacking every style in one run. You'll get a busy result that's hard to judge. Change one thing at a time.
- Forgetting healing time. A cartilage or nostril piercing is a long commitment. The Association of Professional Piercers' piercing FAQ says tougher tissue such as ear cartilage, navels and nostrils may take six months or longer to heal.
- Editing a friend's photo without asking. Get their consent first, especially before you post it.
The preview and the real piercing are separate things
A try-on answers one question: do I like how this looks on me? Everything else is a separate decision for a professional. That includes whether your anatomy suits the placement, jewellery material and size, the piercing itself, and aftercare. The Association of Professional Piercers publishes aftercare guidance and notes it is not a substitute for medical advice. Take your preview to a reputable studio as a reference, and let the piercer decide the details.
Related looks and tools
Piercings often go with other face edits. The same portrait can go through Oakgen's makeup try-on or tattoo try-on. To see every effect in this series, start with our guide to AI photo effects. If you're planning a wider style change, our guide to identifying a haircut from a photo helps you name the cut you want to bring to a salon.
Try a piercing before the appointment
Pick one clear photo, try your top two styles, and bring both results to your piercer. Open the virtual piercing try-on to start. Plans and credit prices are on the Oakgen pricing page.
Frequently asked questions
How can I try on piercings with a photo?
Upload a clear photo where the area is visible, pick the piercing type and generate. AI tools such as Oakgen's Virtual Piercing Try-On edit the jewellery into the photo, so it picks up your lighting. Overlay tools such as Get-Color's simulator let you drag a jewellery graphic onto the photo instead.
Which piercings can I preview on Oakgen?
Eight: Ear Studs, Ear Hoops, Nose Stud, Nose Ring, Septum, Lip Piercing, Eyebrow and Multiple Ear. You can add details such as metal colour or which side in the optional instructions box in the studio.
Is a virtual piercing tester accurate for placement?
It shows roughly how a style reads on your face. It cannot check your anatomy. Whether a placement suits your ear or nose, and where exactly it should go, is a question for a professional piercer who can see you in person.
Does a virtual try-on tell me anything about healing or pain?
No. A preview only shows the look. The Association of Professional Piercers notes that tougher tissue such as ear cartilage and nostrils may take six months or longer to heal. Ask your piercer about healing and aftercare.
How much does the Oakgen piercing try-on cost?
Each render uses credits. At the default 1K setting on 2026-11-16, Oakgen quoted 51 credits for Nano Banana Pro (the default model), 28 credits for Nano Banana 2 and 72 credits for GPT Image 2. Oakgen has no free plan; the studio shows the cost before you generate.
Can I use the piercing try-on without an account?
You can open the tool page, upload a photo, choose the piercing type and pick a model while signed out. Generation happens inside Oakgen after you sign in on a paid plan, and your settings carry over.
Sources
- Oakgen Virtual Piercing Try-On template (read 2026-11-16)
- PiercingAI virtual try-on (read 2026-11-16)
- Vorla piercing filter (read 2026-11-16)
- Get-Color piercing simulator (read 2026-11-16)
- Fotor nose piercing filter (read 2026-11-16)
- Association of Professional Piercers, Piercing FAQ (read 2026-11-16)
- Association of Professional Piercers, Aftercare (read 2026-11-16)
- Oakgen pricing (read 2026-11-16)