

 ChatGPT
 Claude
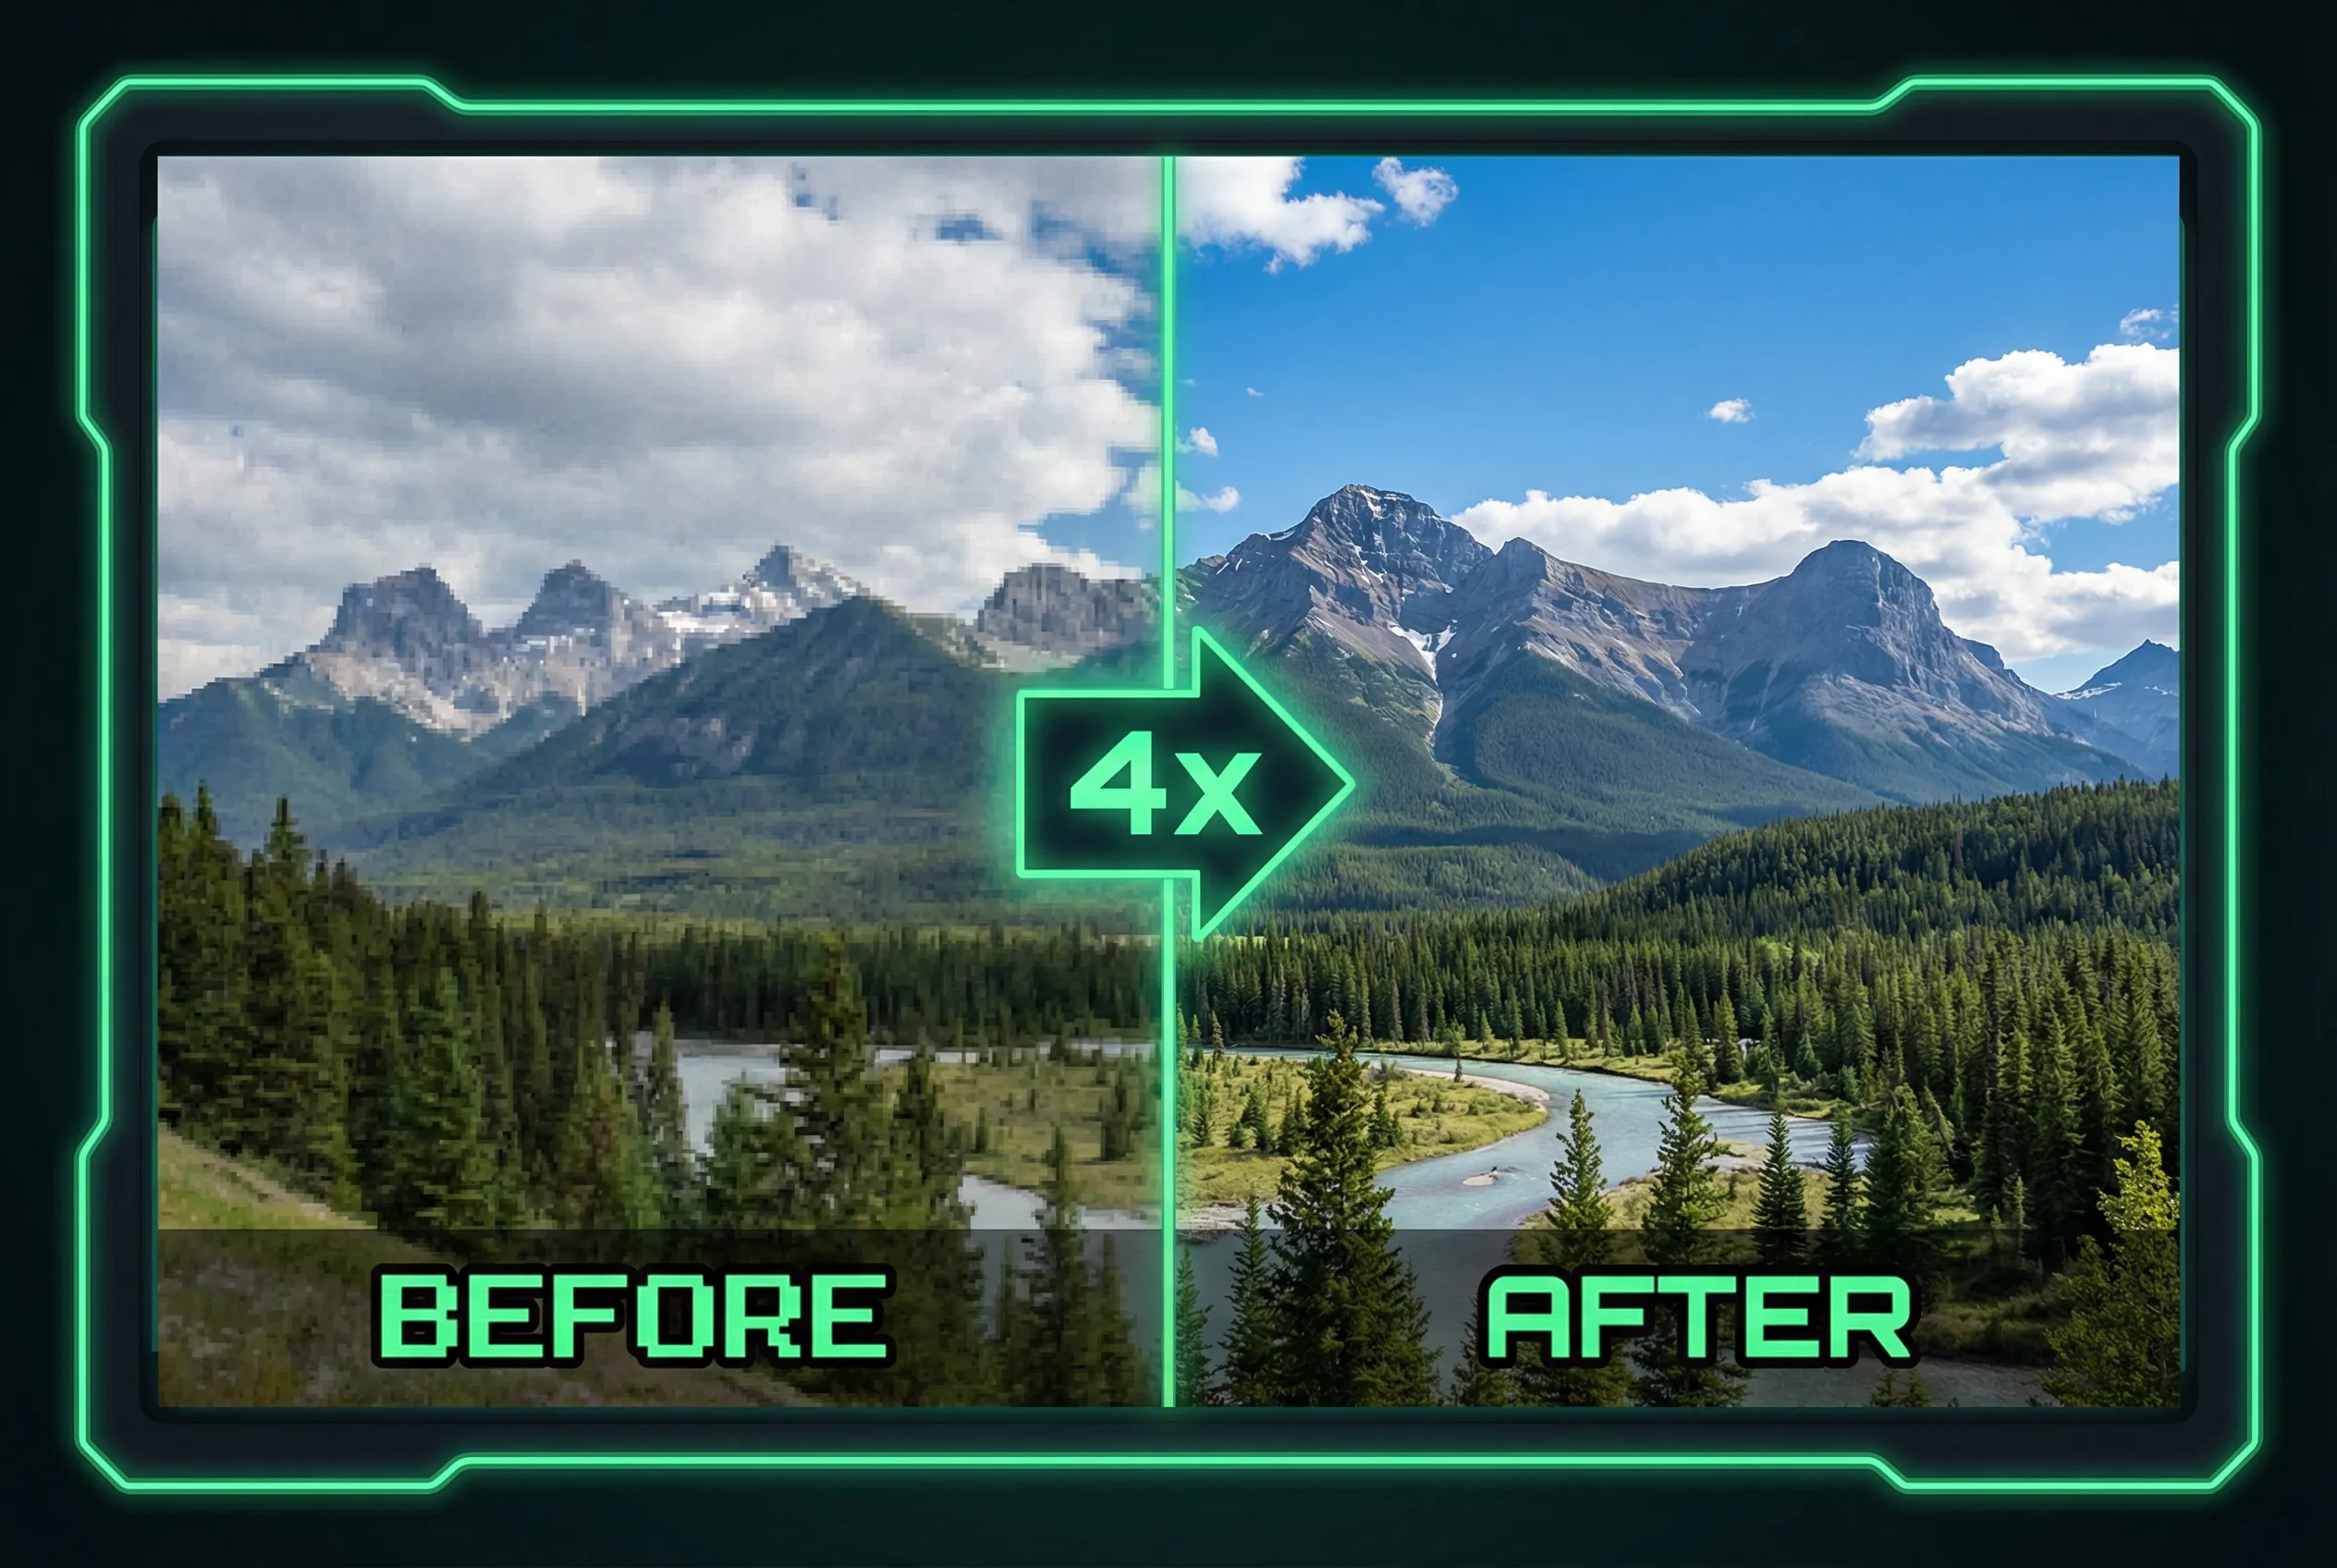
A slide image and a printed handout can use the same composition but need different files. Screens use pixel dimensions and visible contrast, while print depends on the final physical size and the image's density. Prepare separate exports from a shared source so each version can be checked in its actual setting.
Measure the planned placement
For a training deck, suppose an illustration occupies half a widescreen slide and four inches of a printed handout. Determine the slide's actual exported dimensions and estimate the pixels the image occupies there. For print, ask the producer what resolution is expected at the final physical size, then multiply that value by the width in inches. A request for 300 pixels per inch at four inches needs 1,200 pixels across the printed region.
Compare both outputs without resaving the master
Run a projector or presentation preview if possible and see whether labels still read from normal viewing distance. For print, inspect one true-size proof under ordinary light; shadows that look readable on a backlit screen may close up on paper. Save different versions with clear names. Keep any text that belongs in both placements as editable layers in the working document.
Enlarge only where the destination needs it
Try the AI image upscaler if the original falls short on usable pixels. Verify the enlarged copy against the reference so diagrams, faces and packaging don't change. If a print proof remains soft, use a smaller placement or find a sharper original. The screen image can remain smaller when its actual display requirements are met.


