

 ChatGPT
 Claude
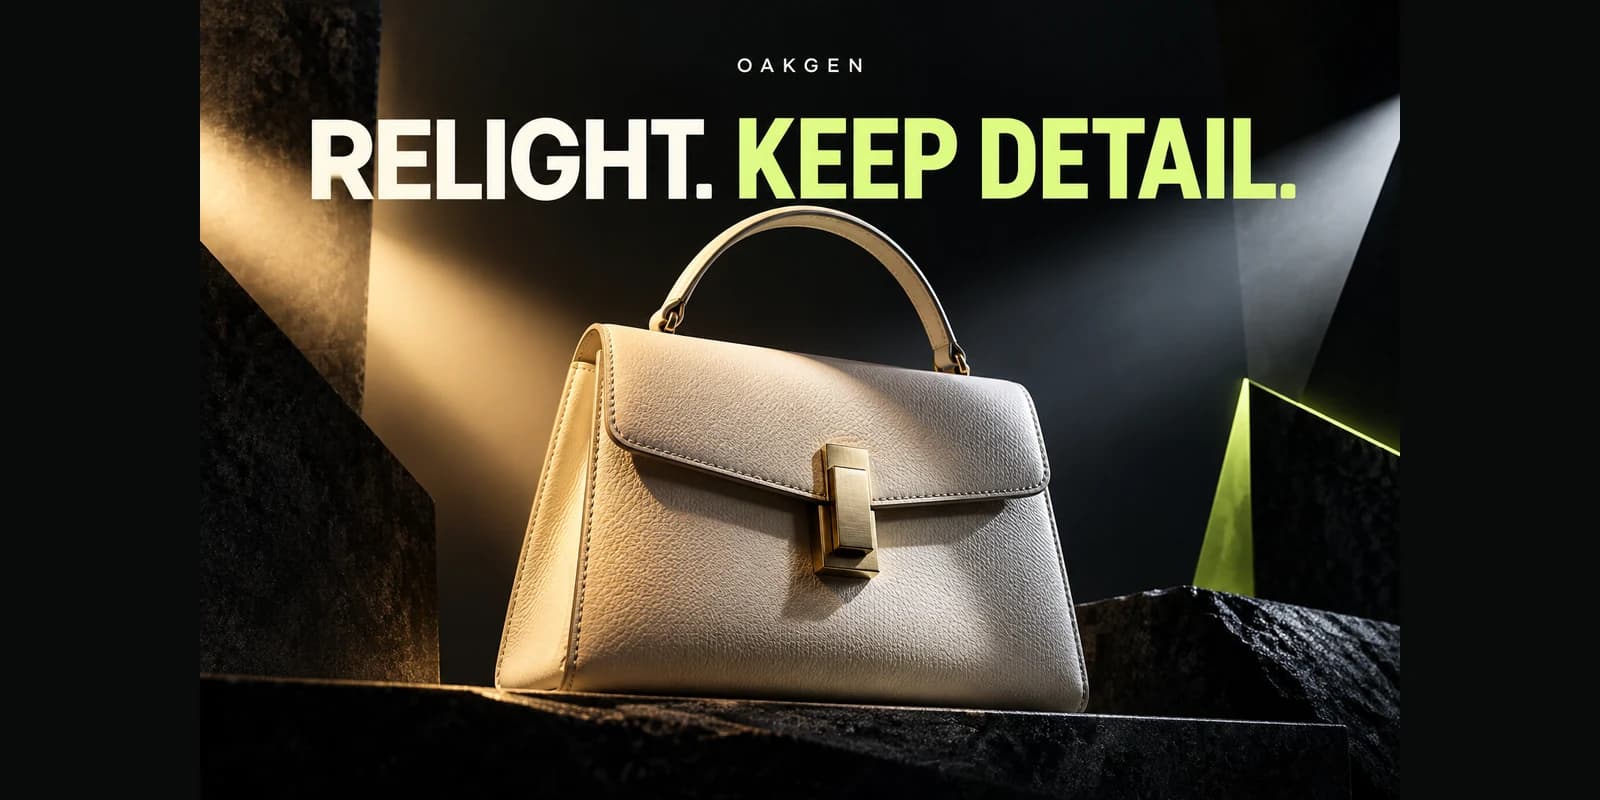
Real photos contain small, uneven changes in texture and contrast. An AI image can look less realistic when smoothing creates uniformly shiny skin, shadowless fabric, or identical repeating fibers. Focus the prompt and the review on what a material should look like under the chosen light.
Describe the real cues you want
For an original character in a knitted hat, say that the light grazes the yarn and leaves a quiet highlight on the cheek. Use ordinary details such as slight fiber variation, visible stitching, and subtle skin detail. Avoid pushing every texture term at once, since a very sharp style can turn natural details into artificial noise. Add context for where the light fades into softer shadows and which area should remain in focus.
Use a still crop and an ordinary display preview
Inspect the cheek and hat where they meet. The yarn should retain direction and spacing, while the cheek should have a different kind of fine texture. If both surfaces become the same shiny material, revise the lighting cue or switch to a different starting model you already have access to. Watch for texture pasted across shadows that should have lower detail contrast.
Choose the version that reads naturally
Try a restrained revision in the AI image generator and compare it at the intended display size. Keep a version where skin, knit, and background have different visual signatures and recognizable boundaries. If adding texture makes the image appear dirty or noisy, lower contrast in the prompt and preserve detail near the focal area.
If the asset will be compressed for a page, test a small export to see whether the added texture survives without becoming distracting noise.


