

 ChatGPT
 Claude
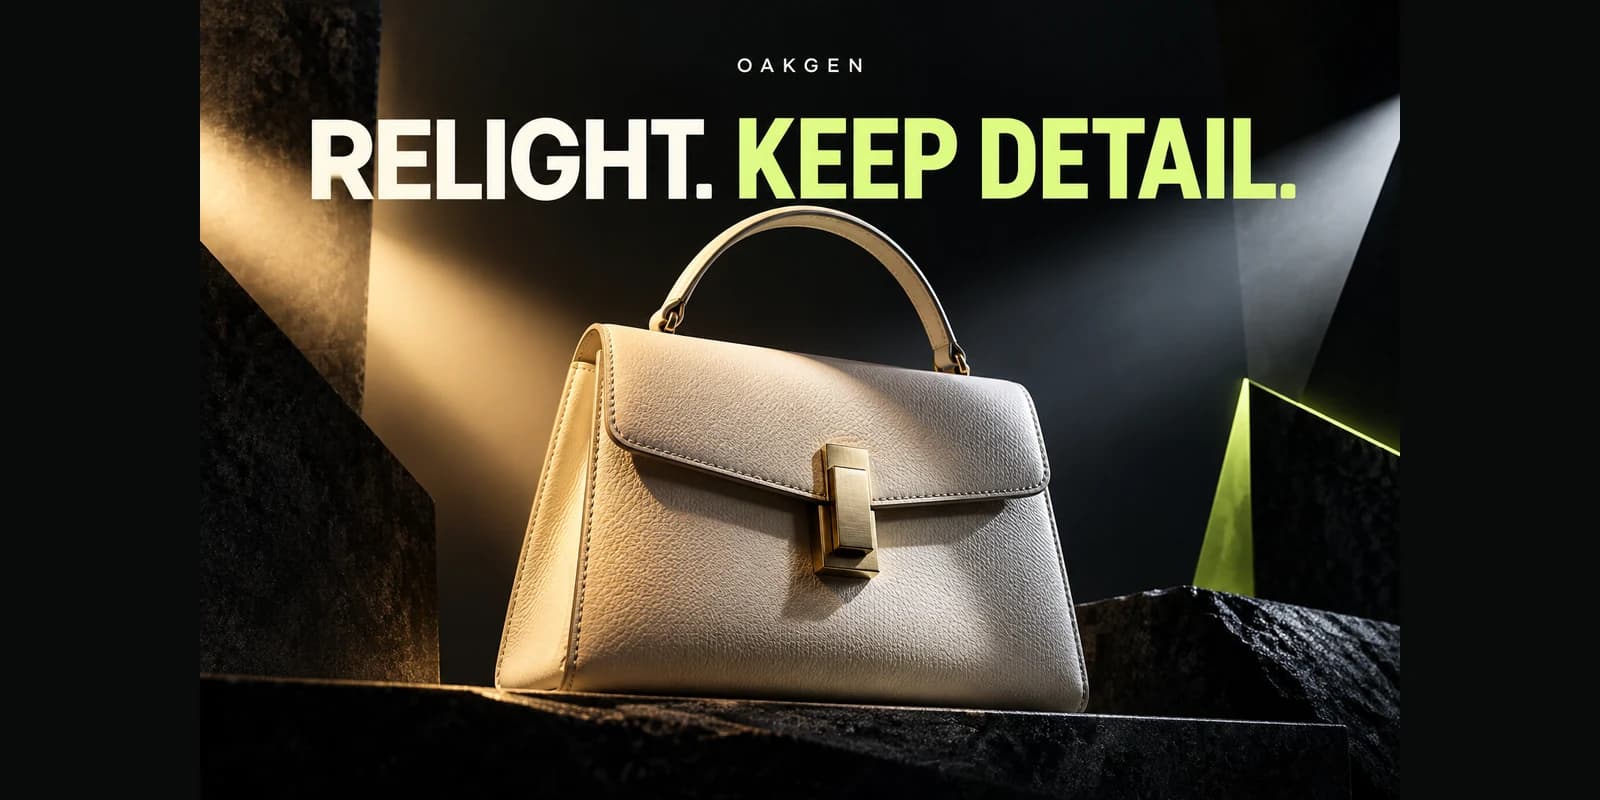
A useful photo-to-prompt translation separates what you can see from what you infer. Describe camera distance, subject position, lighting direction and visible materials. Avoid assigning an exact lens, film, or lighting setup to a single image unless a source confirms it. That keeps the final prompt easier to test and gives another creator room to adapt it.
Transcribe the scene in layers
Consider a reference photo where a vase fills the lower right corner and the back wall carries a soft rectangle of light. Start with subject placement, the apparent light direction, and color. Then add visible material cues such as the faint reflections on a glossy glaze. Treat an exact focal length or window exposure as unknown. As you draft, decide which qualities to preserve and which to change for your own image.
Test the prompt against the working goal
In a new generation, compare the subject size and light direction before judging any accuracy of decorative details. If the layout grew crowded, shorten the list of objects and specify where the background should stay quiet. If the scene feels too flat, describe the visible shadows and depth transitions without adding a random camera brand. A small set of stable visual cues is easier to diagnose than a paragraph of guesses.
Keep a transfer brief, not a copy
Paste a revised brief into the AI image generator and use it for a distinct scene or original subject. Work from a reference you can use and preserve only the aspect you actually need, such as lighting, rhythm or framing. Record the important cues beside the result so the next iteration starts from an intentional decision.


