

 ChatGPT
 Claude
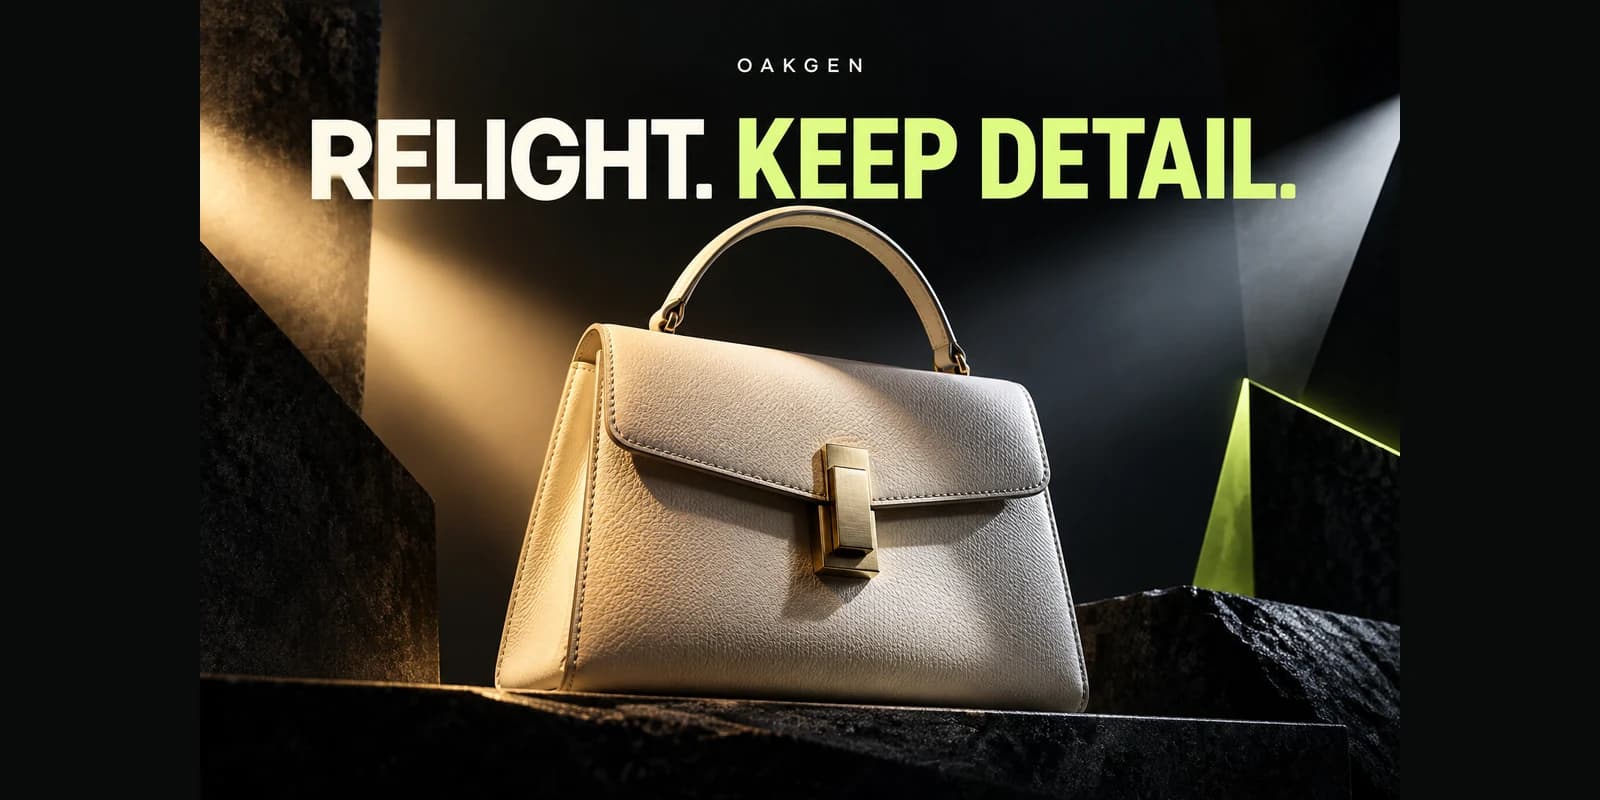
Relighting a product photo can improve the background or balance hard shadows, but the product label is a protected area if the words identify a real item. Isolate which areas may change and decide what visual evidence must remain sourced from the original. When a model redraws the whole image, a realistic result can still contain the wrong packaging.
Set a fixed source and a lighting goal
Imagine a bottle with a readable white label photographed near a bright window. The shot needs a softer background and more even illumination. Save a crop of the label and the bottle rim, then mark the brightest specular reflection. Removing the highlight entirely may turn clear plastic into a matte surface. A directional, softer light cue can fit the brief without making the product appear to have different material.
Compare text and color side by side
Put the candidate next to the original at the same scale. Read the product name, any important numbers such as the size, and the smallest phrase customers depend on. Compare approximate brand color in an unaffected patch. Review whether the change in brightness came from the intended light source instead of an all-over hue shift. Where exact product information is required, keep the original label pixels and blend only the surrounding region in an editor.
Use each edit for a measured purpose
Open the AI image generator with a reference image using a model that supports editing. Choose a narrow request and reject candidates that change the label or the package shape. If editing around the label makes the light look inconsistent, return to the original or reshoot with a softer source. Keep the edited version as a separate file so the source remains available.


