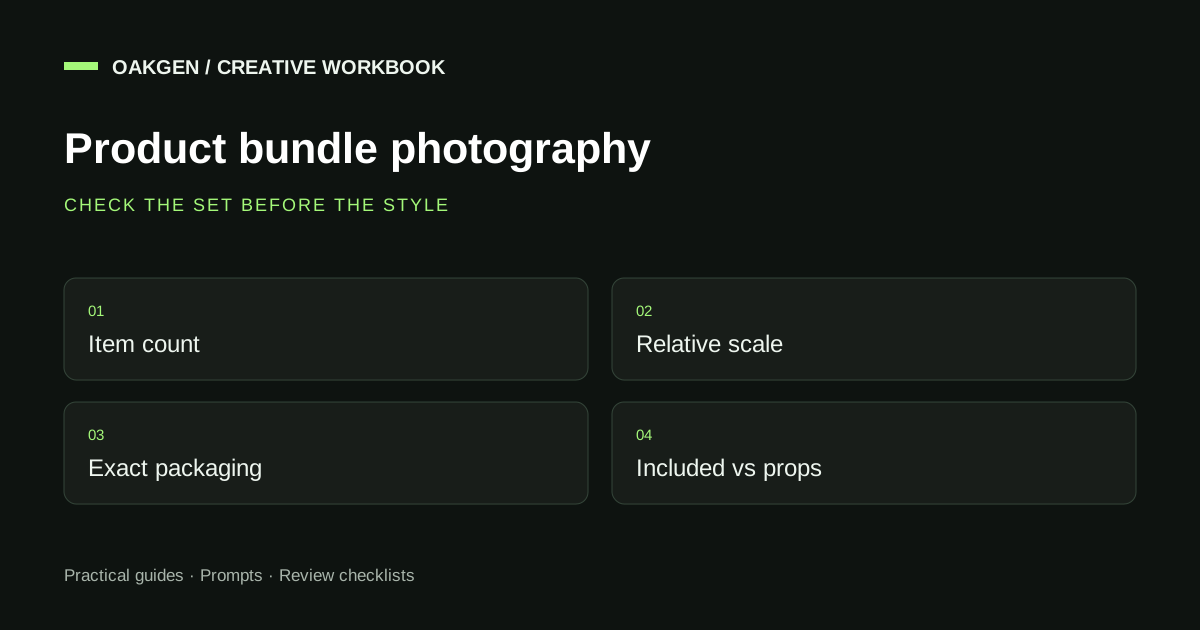
Product bundle photography must show the correct items in the correct quantities and relative sizes. AI can help explore a setting or composition, but a convincing image can still contain the wrong bundle. Start with a contents manifest and a source photo of the real assembled set; approve the sold objects before you review the styling.
For mixed kits, I would photograph the items together whenever possible. That gives you direct evidence of scale and contents. Use Oakgen to plan the photo treatment and create a candidate in the separate product-photography workflow, then compare the result against that evidence.
Plan your bundle treatment in Oakgen. You add the source image after opening the destination workflow; the planner itself does not upload or generate images.
Pick the safest starting point
| Bundle type | Best source to prepare | Main visual risk | Review priority |
|---|---|---|---|
| Identical multipack | Real group photograph or accurately assembled approved cutouts | Extra or missing units | Count every visible item |
| Mixed product kit | All included items photographed together | Wrong relative size or an invented item | Match the contents manifest |
| Gift set with packaging | Actual packaging and contents in the intended configuration | Decorative props look included | Distinguish sold packaging from styling |
| Configurable bundle | Photograph for the specific advertised selection | One image implies every option comes together | Match image, title, selection, and destination |
| Refill set | Real primary product and exact refill quantity | Refill scale or shape changes | Preserve quantity and package identity |
These are editorial starting recommendations, not model guarantees. A plain, accurate source can be more useful than a dramatic generated scene.
Open the product-photography workflow when your source set is ready, or keep reading to build the review record first.
Why a bundle needs a separate workflow
A single-product photograph asks the reviewer to protect one object's identity. A bundle adds relationships: this item is taller than that one, this accessory belongs in the order, this box is packaging rather than an extra product. Those relationships can carry the purchase promise.
Suppose a fictional travel kit includes one fabric pouch and two empty refillable bottles. A picture showing a pouch and three bottles advertises a different quantity. A picture showing two miniature bottles can also mislead if the real bottles are much larger. Neither error disappears because the image looks realistic.
This guide focuses on those multi-item problems. For broader source handling, consult the product consistency workflow. For a seasonal campaign, carry the approved bundle into the Black Friday creative kit rather than regenerating it from scratch for every offer.
Research note, September 13, 2026: the manifest, layouts, and prompts below are proposed editorial resources. We have not generated or validated a bundle with these prompts. Current Google Merchant Center guidance supplies the narrow channel requirements cited below; individual destinations need their own review.
Create a bundle contents manifest
Write what the buyer receives before describing the scene. Use one row per item type, with a separate quantity field. A list saying “bottles” leaves too much room for interpretation.
| Item | Quantity in the fictional example | Identity evidence | Relationship to the picture |
|---|---|---|---|
| Fabric travel pouch | 1 | Approved front and open views | Largest object, rear of composition |
| Empty refillable bottle | 2 | Approved bottle photograph | Both visible in front of pouch |
| Gift box | 0 | Not part of the offer | Must not appear as included packaging |
| Liquid or cosmetics | 0 | Bottles ship empty | Do not imply supplied contents |
Real manifests should identify the actual SKU and variant, including color and packaging version. Record whether a displayed cap belongs to the product or counts as a separate accessory. If you show a bottle with its cap removed, a shopper should not mistake that cap for another included item.
Ask merchandising to approve the manifest. A photographer cannot resolve an unclear commercial bundle by arranging objects attractively. If a customer chooses the bottle color, decide which selection the picture represents and how the destination explains that choice.
Retain the manifest beside the source files. It is the reviewer’s checklist, not a one-time prompt attachment that disappears after generation.
Capture evidence of relative scale
Photograph the real items together on the same surface. Keep the camera position steady and use light that makes edges and contact shadows visible. The goal is to prove the relationships before you invent a setting.
If separate item photographs are unavoidable, record physical dimensions and use consistent viewing angles. Two images taken with different perspective can make a small bottle appear larger than the pouch. A designer can assemble an accurate reference using measurements; an image model should not be the authority on those measurements.
Keep a neutral comparison frame. You do not need to publish it, but you do need something to compare against when a generated layout stretches one object. Put a ruler in a separate measurement photograph if helpful; do not rely on a model to recreate accurate measuring marks.
Label sources by role: complete set, pouch identity, bottle identity, optional scene reference. Avoid providing several conflicting versions of the product without telling the reviewer which one is current. More references can create more ambiguity when they disagree.
For reflective or transparent items, capture more than a bright outline. Show the base, opening, and relevant material detail. A generated bottle can acquire a cloudy fill or a second wall that changes how the product looks; the review needs enough evidence to catch that.
Choose a composition that makes counting easy
For identical multipacks, use separation between units. Heavy overlap may look tidy but makes it hard to know whether the pack contains four or five. An arrangement that hides almost every rear item defeats the point of showing a multipack.
A mixed kit often benefits from a shallow arrangement with the tallest item behind the shorter ones. Keep identifying features visible. If the largest box hides an accessory, make a second contents image rather than expecting the buyer to infer what is behind it.
Gift compositions need restraint. Tissue paper, a ribbon, and a decorative box can imply that the order arrives wrapped. If these things are not included, a cleaner arrangement may communicate the bundle more honestly than a festive set.
For a product page, consider two different jobs: an accurate all-contents image and a contextual image showing how the set sits together. Do not ask one hero image to communicate quantity, every label, a use case, a discount, and a gift message at once.
Plan the supporting assets in Product Creative Studio after the main contents image works. Separate image and video workflows still require their own source review.
Proposed prompt pack for AI bundle images
Treat these as instructions to adapt, not a claim that every model supports every requested control. Where exact item preservation matters, retain approved source pixels through photography or controlled compositing rather than relying only on a prompt.
Clean contents image
Use the supplied photograph of the complete travel kit as the authority for every sold object. Show exactly one pouch and exactly two empty bottles. Preserve the real relative scale, bottle closures, pouch shape, materials, and colors. Keep every included item identifiable with modest spacing and simple contact shadows. Use a plain light setting. Do not add labels, text, liquid, gift boxes, extra bottles, or accessories. Do not hide an item behind another object.
This prompt prioritizes count over decoration. If the result adds a cap or changes the pouch opening, reject it rather than editing the inventory description to match the image.
Gift-oriented secondary image
Keep the approved kit contents and their relative sizes unchanged. Create a restrained tabletop setting suitable for a gift-selection editorial image. Keep the product group clear and leave empty space for separately added campaign copy. Do not add gift packaging, bows attached to the product, cards, extra contents, prices, or text. Background styling must not suggest additional items ship with the order.
If the scene feels too empty, improve the lighting or surface before adding more objects. The subject is a bundle, so it already contains visual complexity.
Close-up of a mixed set
Use the approved complete-set photograph. Frame the two bottle closures beside the visible pouch edge, maintaining the actual material and scale relationships. Keep enough of the pouch visible to identify it. Do not duplicate a closure, change the number of bottles, invent stitching, or alter the product finish. This is a secondary detail image, not the all-contents listing image.
A close-up cannot replace the complete view. Name it as a detail in the handoff so nobody accidentally uses it as the only image of what the buyer receives.
Safe secondary scene when composition keeps failing
Produce only a simple empty tabletop background with soft directional light and enough clear surface for a product group to be composited later. No products, labels, typography, props, packaging, or cast object silhouettes. Match the camera height and light direction described in the approved source photograph.
This last prompt changes the job. You would place the real approved product group onto the background during editing, rather than asking generation to reconstruct it. That can preserve exact labels and quantities when a source-led candidate keeps drifting.
Build a source-led photo prompt using your chosen treatment. Upload the product source only in the next workflow and inspect the resulting asset before using it.
Review in passes so styling doesn't distract you
Begin with inventory. Count items against the manifest and check for partial extras at the edges, reflected duplicates, and missing pieces hidden by overlap. Reflections can legitimately show a second view, but they should not make the quantity ambiguous.
Next, inspect identity and scale. Compare silhouettes, closures, material, color, logos, and small text. Use your neutral source frame to judge relative sizes. Don't measure only the final pixels without accounting for perspective; objects farther from the camera naturally appear smaller.
Then inspect the physical scene. Every item should have plausible contact with the surface. Watch for floating bottle bases, mismatched light directions, or one item casting a shadow across a gap in a way that contradicts the arrangement. These flaws can make a correct bundle look pasted together.
Only after those passes should you judge crop, background, and campaign styling. An image that fails contents review cannot become acceptable by having a better color palette.
Use clear dispositions: accepted for a named destination, revise with a stated defect, or rejected because the source cannot support the view. “Looks good” is too vague to guide the next operator.
Keep listing images separate from promotional artwork
As reviewed on September 13, 2026, Google Merchant Center instructs merchants using the bundle attribute to show all products in the bundle. Its image guidance also addresses accurate product display, promotional elements, and AI-generated image metadata. Review the current requirements before submitting an image; a generated asset does not automatically comply. Google image requirements.
An offer-bearing social ad and a feed image have different jobs. Keep an unlettered, contents-focused source version and make promotional exports separately. This reduces the chance that someone submits a sale badge as the main catalog image.
Do not claim marketplace approval based on a local visual review. The destination can apply additional rules, and account diagnostics may reveal issues that your design checklist doesn't cover. Assign channel approval to someone who can inspect the actual submission.
When the kit changes, update the image and destination together. Replacing one bottle with another while leaving the old picture in a campaign advertises an outdated set. Version by bundle contents, not only by the date a designer exported the file.
Decide when to stop generating
If several candidates repeat the same quantity or label error, change the method. Photograph the group again, simplify the arrangement, or use controlled compositing with approved cutouts. More attempts at the same unsupported angle are not necessarily progress.
Real photography remains the direct option for a bundle whose exact packaging or material appearance carries the buying decision. AI-generated surroundings may still have a role, but they should not replace the product evidence you need.
Before animating the set, decide what motion adds. A clear static contents image may answer the question completely. If you need an unboxing sequence, use source footage that proves the real packing order, or label a generated sequence as a concept rather than evidence. The static-versus-video guide helps separate those jobs.
Frequently asked questions
Can AI create a bundle from separate product photos?
It can produce composition candidates in workflows that accept suitable references, but do not assume accurate scale or quantity. Prepare an approved assembled reference or measured layout and compare the output against it.
What is the difference between a multipack and a mixed bundle image?
A multipack repeats the same item, so count and spacing dominate review. A mixed set contains different items, making relative size, identity, and included accessories equally important. Your manifest should state the actual offer.
Should I include gift boxes and ribbons?
Only present packaging as included when it really ships with the order. Decorative styling can create an unintended promise. If the picture makes the distinction unclear, remove the prop or choose another composition.
Can Oakgen guarantee exact labels and item counts?
No. The photo planner and generation workflow do not guarantee geometry, labels, colors, or small text. Review each result and use real source pixels or photography when exact product identity matters.
Can I use the same image for a listing and a sale ad?
Start with an accurate, unlettered contents image, then create separate promotional exports. Check the destination's current image rules. An acceptable social layout is not automatic evidence of catalog compliance.
What should I do when the generated bundle keeps changing?
Simplify the composition or switch to an approved product group composited onto a separate background. If the source lacks necessary evidence, photograph it. Reject repeated inventory errors rather than treating them as styling differences.
Make the contents unmistakable
Create your bundle-photo candidate in Oakgen from a reviewed source and contents manifest. Keep count and scale review ahead of styling, and approve the asset for a specific destination before exporting more versions.