Product photography punishes the wrong kind of sharpness. The best AI image upscaler for product photography is the one that increases usable resolution without redrawing the label, bending a clean package edge, changing the material, or shifting the brand color. For most ecommerce teams, that means a conservative upscaler first and a creative upscaler only for non-factual campaign renders.
Oakgen is the practical starting point if you want to compare several upscaling models and keep the result in the same image and video workspace. Topaz Gigapixel suits photographers who want desktop control. Lightroom fits an existing Adobe catalog. Magnific makes more sense when added detail matters more than literal product fidelity, while Upscayl covers the free, local option.
Research note: This guide compares documented controls and workflow fit as of September 3, 2026. We did not run a controlled cross-platform output benchmark, so the recommendations below are a shortlist for your own SKU test, not a claim that one tool wins every image.
Test Your Hardest Product Photo First
Run one label-heavy or reflective SKU through Oakgen's upscaling models, then inspect it with the scorecard in this guide.
Quick Recommendations
| Tool | Best Starting Use | Processing | Main Watchout |
|---|---|---|---|
| Oakgen Image Upscaler | Trying multiple upscaling approaches inside one creative workflow | Cloud | Choose a conservative model for exact packaging; inspect each result |
| Topaz Gigapixel | Photographers, print files, controlled desktop batches | Local or cloud | Model choice still needs a product-fidelity check |
| Adobe Lightroom Generative Upscale | RAW and catalog photos already managed in Lightroom | Adobe workflow | Generative credits and output limits depend on the current plan |
| Magnific / Freepik Precision | Polished campaign renders and AI-made product scenes | Cloud | Creative modes can invent texture or package detail |
| Upscayl | Free local enlargement of clean, mildly low-resolution sources | Local GPU | Official guidance says it is not a deblur or focus-repair tool |
Those are editorial starting points based on the controls each vendor documents. Your bottle, shoe, watch, circuit board, or snack pouch may expose a different failure. Use the same source, output size, and review crop for every test.
If you want the broader generation workflow before the final resolution pass, read the AI product photography guide. If the product already looks right and only needs more pixels, continue here.
Who This Guide Is For
Use this process if you manage Shopify or marketplace images, produce paid-social creative, deliver product files to clients, or prepare a catalog for print. It is especially useful when the team keeps arguing about whether an output “looks better” without checking whether it still shows the same SKU.
The decision changes by asset. A white-background listing image needs faithful geometry and readable packaging. A lifestyle banner can tolerate modest texture reconstruction. A concept render for an internal mood board can allow much more invention.
One slider setting cannot serve all three.
Why Product Photos Need a Different Upscaler Test
General upscaler comparisons reward visible detail. Product work has a harder standard: the new detail must not become a new product.
A model can make a serum bottle look expensive while quietly moving the dropper seam, replacing four label letters, and turning frosted glass into glossy plastic. At feed size, nobody notices. On a product detail page with zoom, the error becomes the photograph.
Judge five things before sharpness:
- Identity: silhouette, proportions, parts, closures, ports, stitching, and hardware remain the same.
- Packaging: brand mark, label hierarchy, legal copy, ingredient blocks, barcodes, and small rules do not mutate.
- Material: glass stays glass; brushed metal does not become chrome; woven fabric does not turn into synthetic noise.
- Color: the product and package remain inside the approved color range under the same source profile.
- Edge integrity: masks, transparent areas, reflections, and fine outlines do not gain halos or false contours.
Sharpness comes after those checks because a crisp fabrication is still wrong.
The Best AI Image Upscalers for Product Photography
1. Oakgen Image Upscaler: Best for Comparing Models in One Production Path
Oakgen's AI Image Upscaler currently exposes Topaz, Clarity, and Crystal model paths. The useful part for a product team is choice: you can try a restrained pass, compare it with a more interpretive result, then continue into image editing, generation, or video work without building a separate tool chain.
Oakgen is our product. We include it because the workflow fits this query, but a dedicated desktop application can be better when offline processing, color-managed print production, or a fixed local batch pipeline is mandatory.
I would start with Oakgen when the goal is to turn a chosen campaign image into several delivery assets. Keep the package-critical areas conservative, review them at 100 percent, then use the approved still as the source for an AI product video.
Compare the Result, Not the Marketing Copy
Use the same source image and target size across Oakgen's upscaling options. Keep the version that passes label, geometry, material, and color review.
2. Topaz Gigapixel: Best for Desktop Control and Large Output
Topaz documents local and cloud rendering, model selection, batch processing, plugin support, and a maximum output dimension of 32,000 pixels in Gigapixel. Its current product documentation also separates balanced, high-fidelity, low-resolution, text-and-shape, face, and generative model types.
That control is useful for photographers handling different source problems. A clean studio RAW crop should not receive the same treatment as a compressed marketplace thumbnail. Local rendering also matters when unreleased client assets cannot leave the workstation.
Do not treat “text and shapes” as permission to skip packaging review. An AI model can infer a plausible edge without knowing the approved letterform. For a hero pack shot, compare the original and result with a difference blend or rapid layer toggle.
3. Adobe Lightroom Generative Upscale: Best for Existing Photo Catalogs
Adobe's June 2026 Lightroom documentation describes Generative Upscale powered by Topaz, with 2x and 4x output choices, plus a separate AI Sharpen control. Lightroom can place the result beside the original or group both in a stack.
That makes Lightroom a sensible choice when the source already carries RAW adjustments, color work, ratings, and collection metadata. There is less file shuffling, and the original stays nearby for comparison.
Use it for real photographs that need a larger crop or delivery file. If your job starts with AI generation and ends in several ad formats, a broader creative workspace may fit better. Adobe also notes that Generative Upscale consumes credits according to output size, so check the current plan before processing a large catalog.
4. Magnific or Freepik Precision: Best for Creative Product Renders
Magnific's own 2026 upscaler guide distinguishes faithful “Precision” processing from “Creative” processing that adds plausible detail. The same guide recommends precision-oriented processing for product photos and warns, by implication, that creative methods generate information beyond the source. Current plan prices and upscaler credit costs are in our Magnific AI pricing breakdown.
That distinction matters. Creative reconstruction can make a synthetic sneaker render, fabric swatch, or cosmetic campaign scene feel richer. It can also replace a product fact with an attractive guess.
I would use Precision for a real SKU and reserve Creative for areas that do not define the item: a stone surface, condensation, foliage, wall texture, or a purely fictional concept. Mask or composite the approved product back into the scene if the label has to be exact.
5. Upscayl: Best Free Local Option
Upscayl is an open-source desktop application built around Real-ESRGAN and Vulkan. Its official repository supports Windows, macOS, and Linux, documents local processing and batch work, and says a Vulkan-compatible GPU is required for the standard path.
The same official FAQ draws a useful boundary: Upscayl can enlarge low-resolution or pixelated images, but it does not repair an out-of-focus source. That honesty makes the buying decision easier. Use it when the source is structurally sound and the budget is zero; reshoot when focus or factual label detail is missing.
Linkable Asset: The Product Upscale Acceptance Test
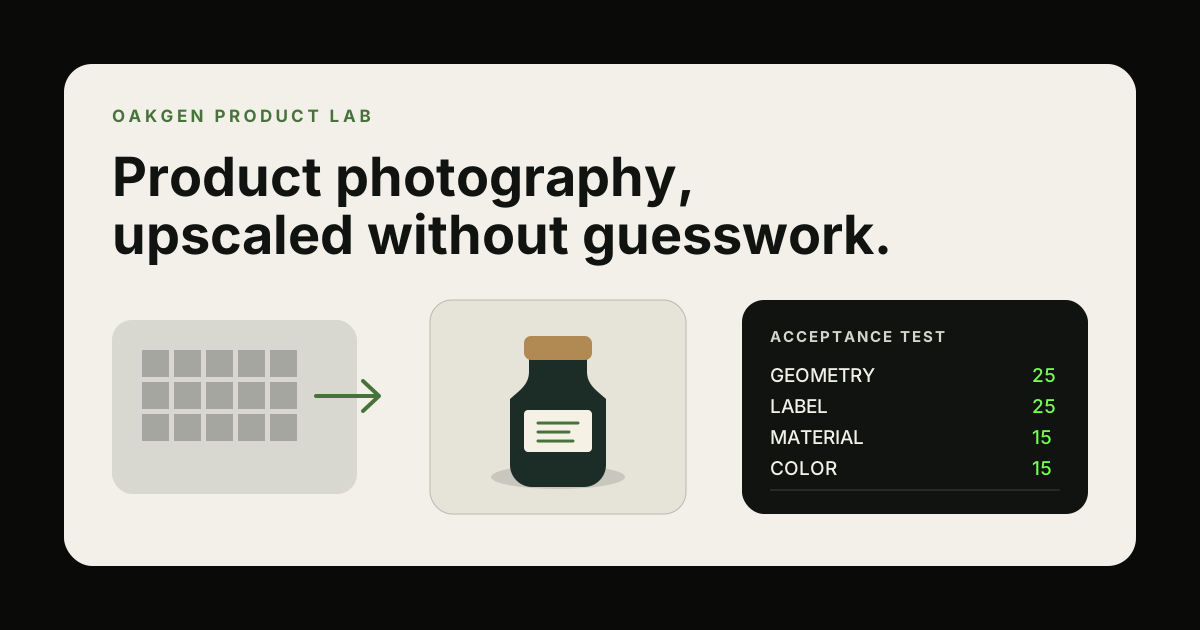
Use this 100-point scorecard on the hardest SKU in the batch. It is designed to stop “looks sharper” from overruling product accuracy.
| Review Area | Weight | Pass Standard |
|---|---|---|
| Product geometry | 25 points | Silhouette, proportions, parts, seams, and openings match the source |
| Label and logo | 25 points | Brand mark and required copy remain readable and correctly placed |
| Material and finish | 15 points | Texture, transparency, gloss, grain, and reflections remain plausible |
| Color fidelity | 15 points | Product and package colors do not shift outside the approved reference |
| Mask and edges | 10 points | No fringe, clipped corners, doubled outlines, or invented transparent detail |
| Useful resolution | 10 points | The target crop survives storefront zoom or required output size |
Automatic rejection: any wrong safety mark, model number, ingredient, connector, control, barcode, dosage, or regulated statement. A score cannot compensate for a false product fact.
Use 90 as a reasonable internal approval threshold for a listing image, but set your own bar before testing. A concept board may pass lower. A package-front hero image should usually require perfect identity and label scores.
Copy the scorecard into your creative review document, add the source and output filenames, and keep the rejected samples. Those failures will tell you which SKU groups need separate settings.
A Reproducible Five-Image Test
Do not compare tools with five unrelated photographs. Use one product set that forces the same problems across every candidate.
Frame A: Clean Front Pack Shot
Choose the straight-on image with the clearest label. This tests type, logo shape, product proportions, and edge control. Record the source pixel dimensions and file type.
Frame B: Reflective Three-Quarter View
Metal, glass, gloss varnish, and transparent plastic reveal false texture quickly. Check whether reflections remain attached to the actual geometry instead of becoming decoration.
Frame C: Macro Detail
Crop a zipper, cap thread, stitch, button, port, or embossed mark. An upscaler's invented micro-detail becomes obvious at this scale.
Frame D: Lifestyle Crop
Use the product at smaller scale inside a real scene. The test is not whether the background gets prettier. Check whether the item survives after occupying less of the frame.
Frame E: Difficult Compressed Source
Include one image pulled from an older catalog or marketplace export. This tests artifact handling, but keep the expectation realistic. If the source does not contain legible facts, no tool can retrieve them with certainty.
For each frame, use the same target dimensions. Turn off optional creative controls for pass one. Then add one control at a time and record what changed. OpenAI's current image guidance recommends small, targeted revisions for the same reason: broad changes make drift harder to diagnose.
Build a Product Proof Set
Generate or edit five controlled source frames in Oakgen, then upscale only the approved versions at the end of the workflow.
Match the Method to the Product
Printed packaging
Use the least generative setting available. Inspect every word that matters, then composite approved label artwork if the upscale changes it. For dense legal copy, the source file or vector artwork remains the authority.
Fabric and apparel
Texture recovery can help, but check weave direction, print repeat, seam position, and hardware. A richer texture that changes the actual fabric is not an improvement.
Jewelry and watches
Check stone count, prongs, links, engraving, hand position, crown shape, and reflections. Generative detail can easily turn one design into another.
Food and cosmetics
Inspect package copy, fill line, color, cap, applicator, and texture. Avoid processing that implies a different portion, shade, viscosity, or ingredient.
Electronics
Ports, vents, camera modules, buttons, indicator lights, and screen UI are factual. If the original is too small to resolve them, find a better source rather than accepting a plausible reconstruction.
Where Upscaling Sits in the Product Photo Workflow
Upscaling should usually be late, after creative selection and factual cleanup but before the final delivery crops.
- Start with the cleanest available product photograph.
- Correct exposure and color against an approved reference, then remove the background or repair the scene in the AI image editor.
- Fix label artwork, masks, and product geometry.
- Approve the creative at ordinary resolution.
- Upscale the winner to the required output size.
- Run the acceptance test at full size.
- Create storefront, social, and print derivatives from that approved master.
Generating twenty large files before choosing the creative wastes processing and gives reviewers more bad pixels to inspect. The one-product-photo ad workflow explains how to build variations first; upscale only the small set that survives review.
Common Mistakes
Judging at fit-to-screen size. A broken label can disappear when the full image is reduced to a laptop window. Review 100 percent crops of the package front, edge, material, and small hardware.
Choosing the highest scale by default. Output dimensions should come from the delivery job. Excessive enlargement increases file weight and gives the model more room to invent detail.
Using creative reconstruction on a factual product area. It may look expensive while becoming less accurate. Separate the product layer from the surrounding scene when possible.
Batching before the hard SKU passes. Glass, fur, foil, transparent plastic, and tiny typography need different handling. Group the catalog by failure type, not by folder name alone.
Throwing away the original. Keep the untouched source, an approved working master, the upscale settings, and the final export. Review becomes guesswork without lineage.
Decision Framework
Choose Oakgen when you need to compare upscaling models and carry an approved still into generation, editing, or video. Choose Topaz when desktop control, local files, plugins, or large print output lead the job. Choose Lightroom when the photo already belongs to an Adobe catalog. Choose Magnific's restrained path for polished renders, and its creative path only when invention is acceptable. Choose Upscayl when free local processing matters more than managed cloud workflow.
Then ignore the brand names for ten minutes and score the output.
FAQ
What is the best AI image upscaler for product photography?
No single tool wins every material and source. Start with a fidelity-first option, then test the hardest SKU using the same size and the 100-point scorecard above. Product accuracy should decide the winner.
Can an AI upscaler recover unreadable package text?
It can make a plausible guess, which is precisely the risk. If the original letters cannot be read, source the approved artwork or photograph the package again. Do not publish generated regulatory or ingredient copy as fact.
Should I use a creative upscaler for ecommerce images?
Use it for non-factual scene detail or clearly fictional campaign art. Keep the real product layer conservative, especially around logos, print, proportions, hardware, and controls.
How much should I upscale a product image?
Work backward from the largest delivery. Set the crop first, note the required pixel dimensions, and choose the smallest upscale that clears that requirement. Bigger is not automatically better.
Is local processing better than cloud processing?
Local processing can help with confidential assets and predictable workstation workflows. Cloud tools remove hardware setup and may connect more directly to generation or editing. Output review remains necessary in both cases.
Can I upscale AI-generated product renders?
Yes, but compare the result with the approved design reference, not only with the generated input. A render may already contain a product error that the upscaler makes sharper.
What file should I keep as the master?
Keep the untouched source and a lossless or lightly compressed approved master with its color profile. Derive marketplace JPEGs, social crops, and print files from that master rather than repeatedly processing prior exports.
Sources and Further Reading
- Topaz Gigapixel product page
- Topaz Gigapixel upscale documentation
- Adobe Lightroom Generative Upscale documentation
- Magnific's 2026 AI image upscaler guide
- Upscayl official repository and FAQ
- OpenAI Academy image-generation guidance
- Oakgen's general 4K upscaling tutorial
- Oakgen's product photography versus photoshoot guide
Upscale the Approved Product, Not the Draft
Choose the final creative, run a conservative resolution pass, and reject any output that changes the SKU.