Oakgen works best when you choose the tool by output, not by model name. If you need a new visual, start in the Image Generator. If you need motion, start in the AI Video Generator. If you need a person or product to stay consistent, use Photo Studio or UGC Ads. If you already have an asset and want to fix it, use the Image Editor, Image Upscaler, or Image Restorer.
The mistake most creators make is opening the fanciest model first. The faster move is to ask: what asset do I need at the end of this workflow? That answer points to the right Oakgen tool.
Quick decision table
| What you need | Start here | Why |
|---|---|---|
| A new image from a prompt | Image Generator | Best for original visuals, concepts, thumbnails, ads, and style exploration |
| A polished version of an existing image | Image Editor | Best for inpainting, outpainting, background changes, and targeted edits |
| Higher resolution | Image Upscaler | Best when the image is already right but too small or soft |
| A restored old photo | Image Restorer | Best for scratches, blur, faded detail, and memory photos |
| A side-by-side model test | Image Arena | Best when you are choosing between image models for the same prompt |
| Consistent personal or product photos | Photo Studio | Best for repeatable photo sets and professional visual packs |
| A short AI video | AI Video Generator | Best for text-to-video, image-to-video, motion, and model selection |
| A talking avatar or lip-sync clip | Talking Photo | Best when a portrait needs to speak an audio track |
| UGC-style ad videos | UGC Ads | Best for avatar reads, product-in-hand images, and B-roll ad clips |
| Original voiceover | Voice Generator | Best for narration, character voice, ads, and short-form audio |
| Original music | Music Generator | Best for songs, beds, intros, loops, and soundtracks |
| A 3D object | Text to 3D | Best for game assets, AR prototypes, product concepts, and 3D mockups |
If you are creating from nothing, use a generator. If you are improving something that already exists, use an editor, upscaler, restorer, or template.
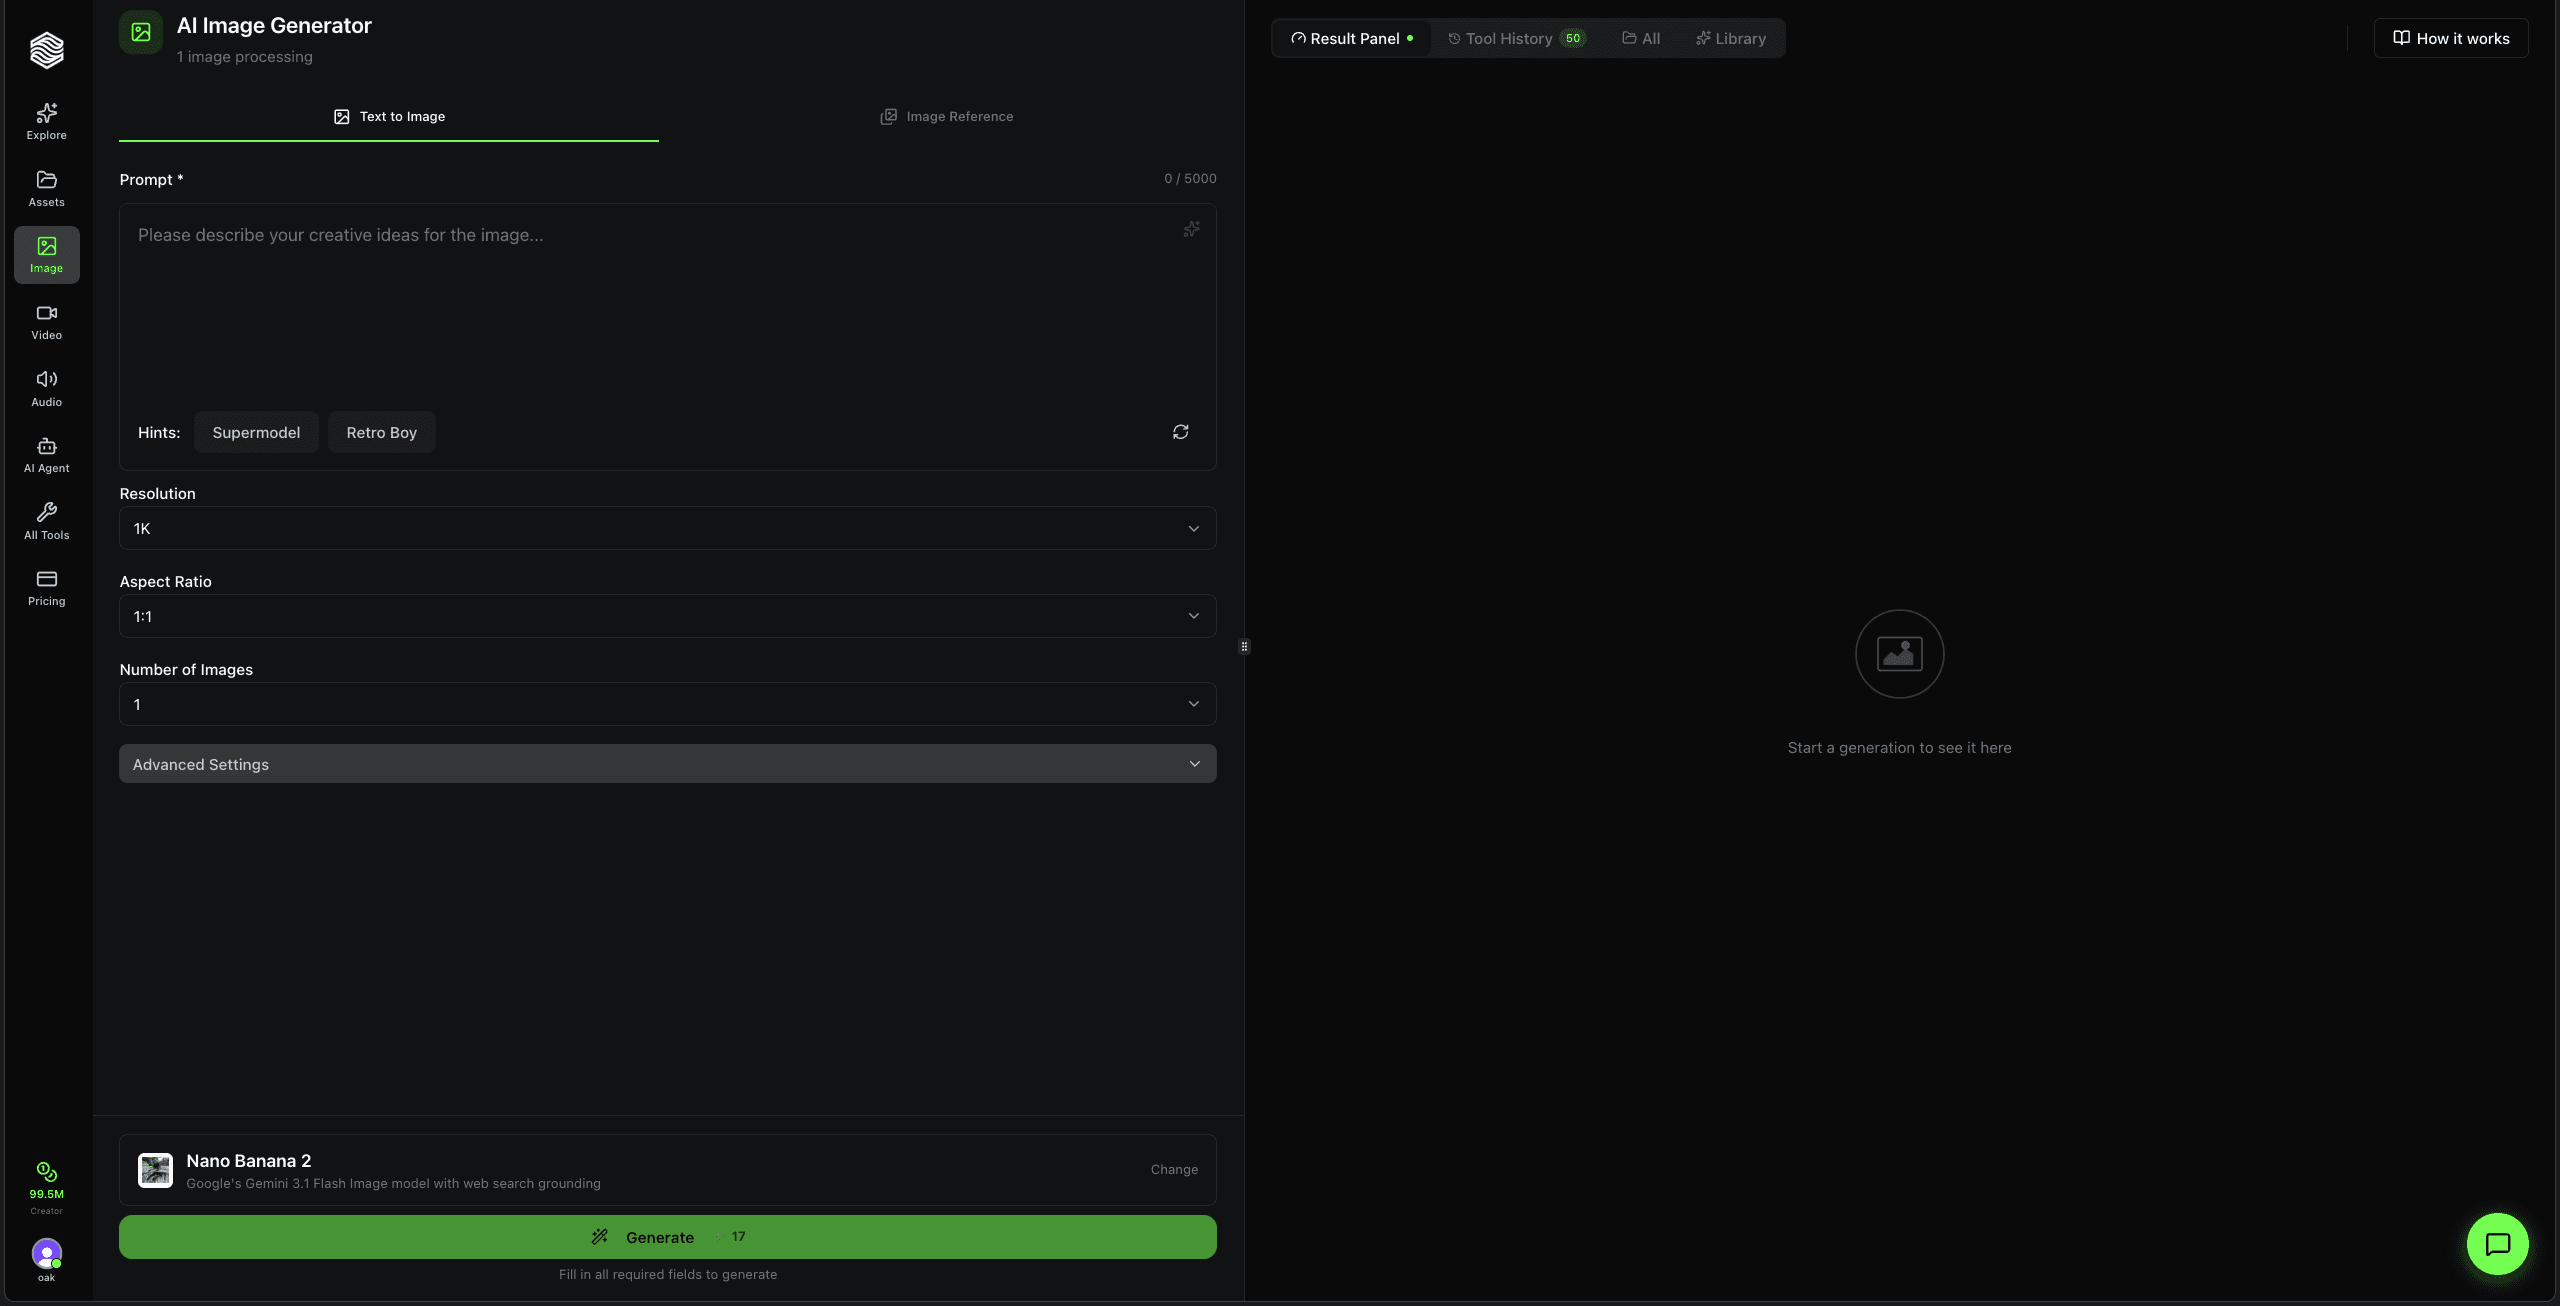
Start with Image Generator when the idea is still loose
Use the Image Generator when you need the first visual direction. This is where you explore style, composition, subjects, lighting, and mood.
Good starting prompts include:
Product hero image for a new matcha energy drink, clean studio lighting, condensation on the can, bright green background, premium DTC brand style, 4:5 vertical crop.
YouTube thumbnail concept for a video about building an AI content workflow, bold text area on the left, expressive creator portrait on the right, high contrast, 16:9.
Once you have a winner, do not keep regenerating forever. Send the image to Image Editor for targeted changes or to Image Upscaler when the image is right but needs more resolution.
Use Image Arena when model choice matters
If the same prompt could work in several styles, use Image Arena. It is built for side-by-side comparison. This matters when the final asset has a specific job:
- Product shots need material accuracy and clean lighting.
- Posters need composition and readable text zones.
- Character art needs identity consistency.
- Social ads need a strong first-frame hook.
- Brand visuals need a repeatable look across multiple outputs.
Image Arena prevents a common workflow problem: deciding too early. Run the same prompt across a few models, pick the best direction, then continue polishing.
Use Image Editor when the asset is 80 percent right
The Image Editor is for finishing work. Use it after generation, photography, or template creation when you know what needs to change.
Common edits:
- remove an object from the background
- extend an image into a new aspect ratio
- replace a product backdrop
- retouch a face or garment
- add room, props, or atmosphere
- fix an awkward crop
- make a product image match a campaign style
If you need a preset workflow rather than a blank editor, use a template tool under /template-tool/<id>. The template catalog covers style transfer, face and portrait edits, clothing and fashion, backgrounds, viral formats, technical enhancement, interiors, products, and marketing images.
Use Photo Studio when consistency matters
Use Photo Studio when you need a set, not a one-off. The difference is consistency.
Examples:
- a founder headshot pack
- product photos across multiple backgrounds
- lifestyle scenes for a DTC brand
- real-estate or interior concepts
- creator photos for social profiles
- professional portraits for a team page
For a product launch, Photo Studio usually comes before video. Generate the strongest stills first, then use those stills as references or starting frames for video, ads, and social formats.
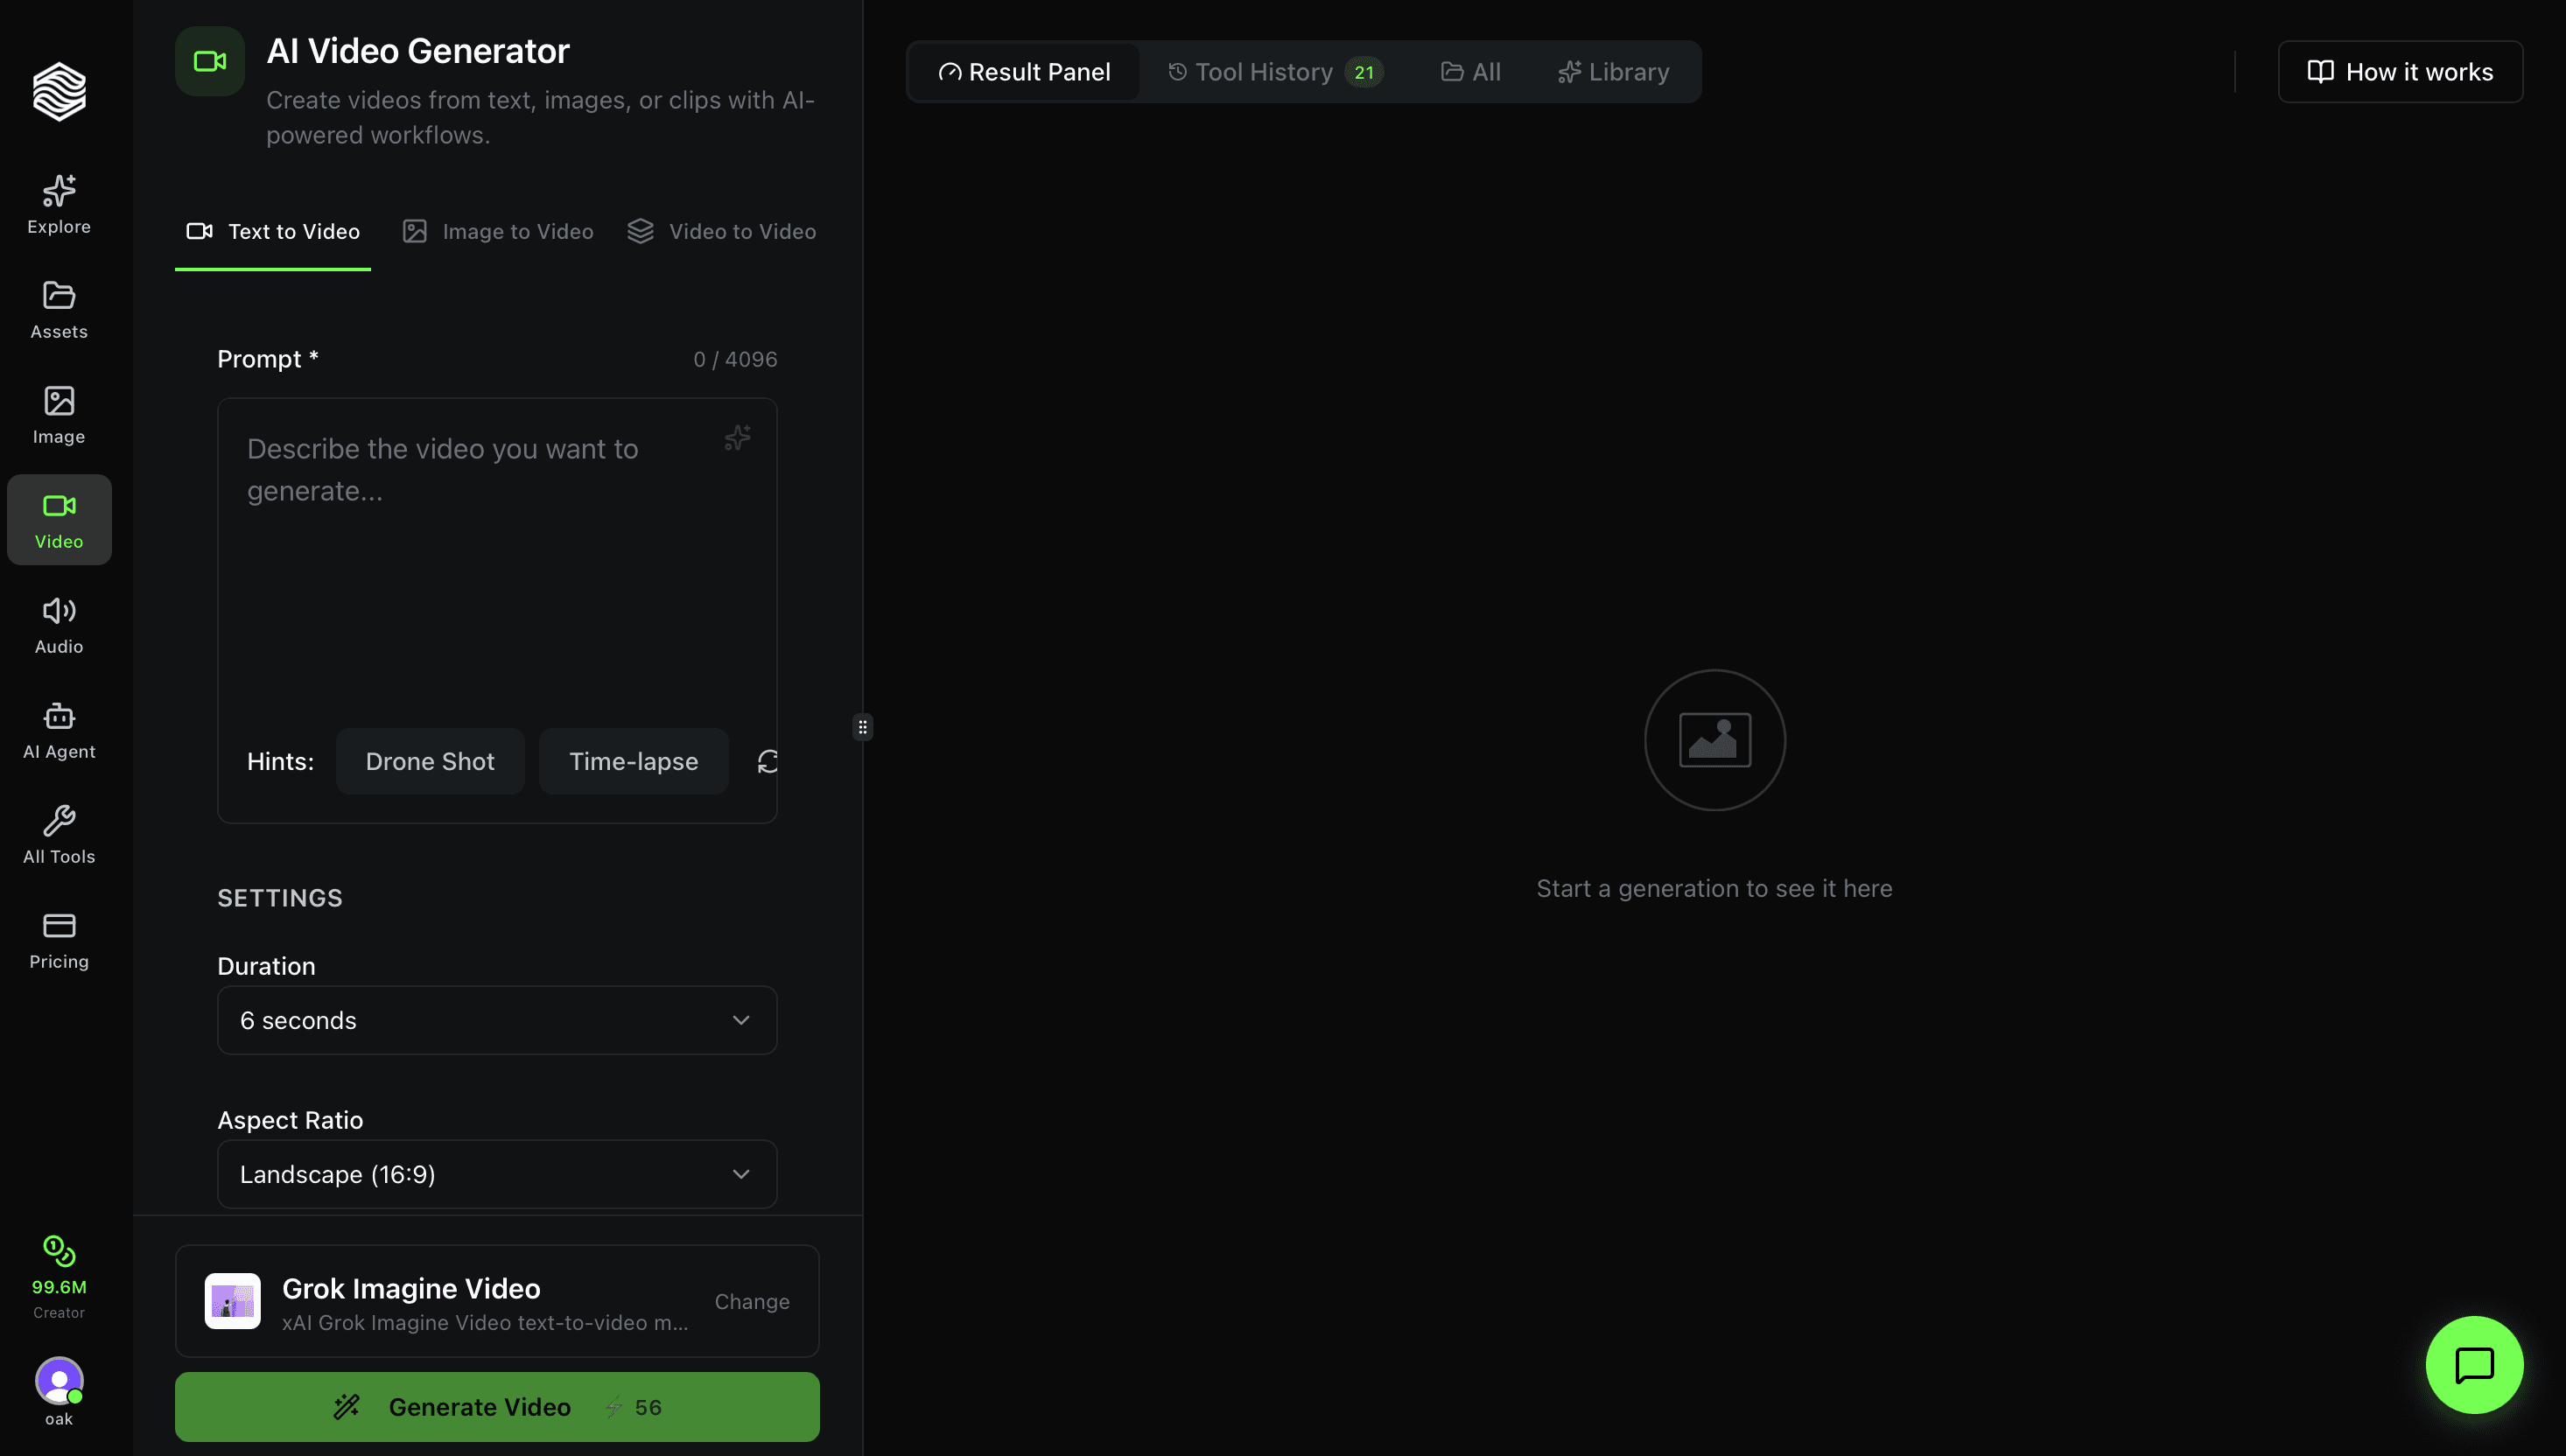
Use AI Video Generator when motion is the asset
The AI Video Generator is the right starting point when the deliverable is a moving clip: a product shot, cinematic scene, social video, teaser, explainer, or visual loop.
Use text-to-video when the scene does not exist yet. Use image-to-video when you already have a good keyframe. Use motion-control or reference-driven options when the movement matters more than the style.
For most campaign workflows, the clean sequence is:
- Generate or upload the still image.
- Choose the video model that matches the shot.
- Write the movement prompt.
- Generate short variants.
- Upscale or pair with audio if needed.
Use UGC Ads when the goal is performance creative
UGC Ads is not just a video generator. It is a performance-ad workflow. Use it when you need creator-style ad reads, product-in-hand visuals, avatar scripts, and B-roll variations.
UGC Ads is the right tool when the output sounds like:
- "I need five hooks for this product."
- "I need a creator holding the product."
- "I need a talking-head ad without booking talent."
- "I need B-roll that matches the product page."
- "I need variants for Meta, TikTok, Shorts, or Reels."
Pair it with Voice Generator for scripts, Music Generator for background beds, and Image Editor when you need a product composite to look cleaner before lip-sync.
Use Audio and Music when sound is the differentiator
Sound changes the perceived quality of a video. Use Voice Generator for narration, voiceovers, training clips, ads, and talking-photo audio. Use Music Generator for intros, backing tracks, product loops, podcast beds, cinematic cues, and social videos.
The easiest workflow:
- Write the script.
- Generate the voiceover.
- Generate a music bed if the clip needs energy.
- Use the audio with Talking Photo, UGC Ads, or AI Video Generator.
Keep the voice track clean if it will drive lip-sync. Background music can come later.
A practical routing example
Imagine you are launching a new skincare product. The complete Oakgen routing map looks like this:
| Asset | Tool |
|---|---|
| Product hero image | Photo Studio or Image Generator |
| Background cleanup | Image Editor |
| 4K product detail | Image Upscaler |
| Model comparison | Image Arena |
| Short product video | AI Video Generator |
| Founder or creator ad read | UGC Ads |
| Voiceover | Voice Generator |
| Ad music bed | Music Generator |
| Product mockup variation | /template-tool/product-photography |
That is the real advantage of using Oakgen as a workspace rather than a single-model tool. Each asset can move to the next step without rebuilding the workflow from scratch.
Open the Oakgen tool catalog
Browse image, video, audio, UGC, editing, and template tools from one workspace.