This is a complete walkthrough of the Voice Cloning tool on Oakgen.ai. Clone any voice from an audio sample and use it for text-to-speech generation.
Interface Overview
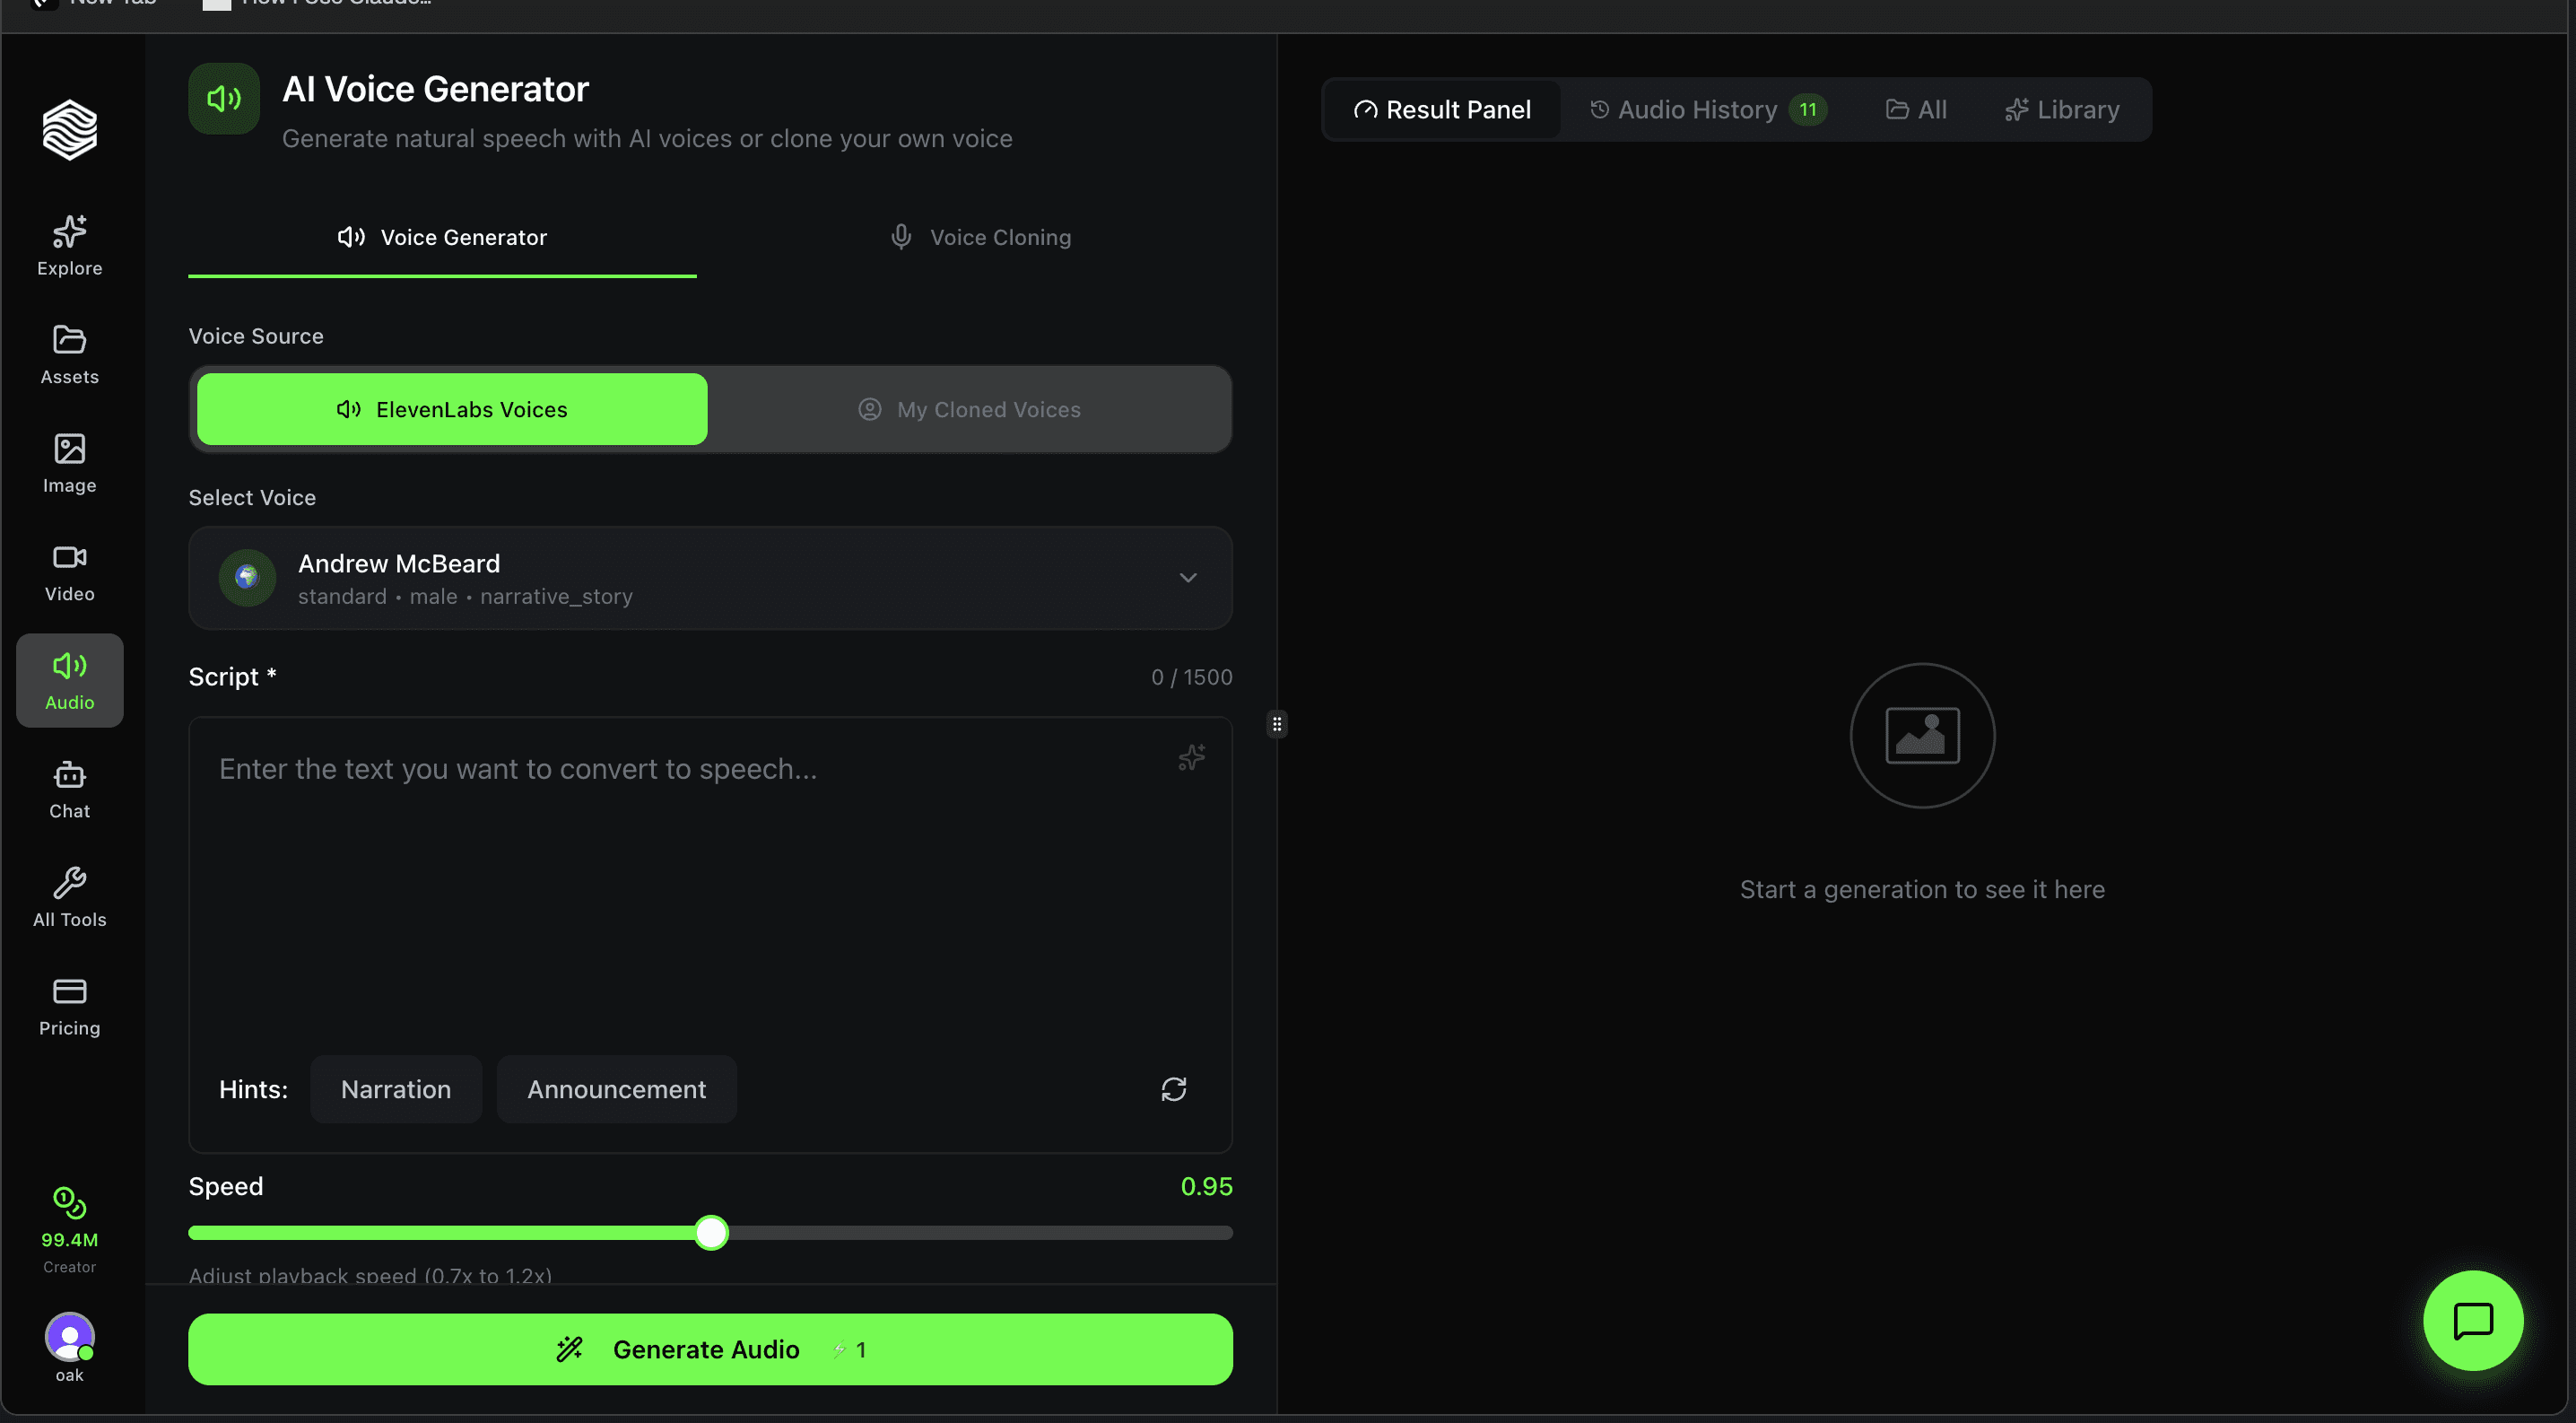
Voice Cloning lives inside the AI Voice Generator page. Switch to it by clicking the Voice Cloning tab at the top of the page.
The cloning form has four sections:
- Voice Name -- Name your cloned voice
- Voice Sample -- Upload or record the source audio
- Preview Text -- Optional text to hear a preview after cloning
- Advanced Options -- Quality and processing settings
The right panel shows your generation history -- any previously generated audio clips will still be visible here.
Step 1: Name Your Voice
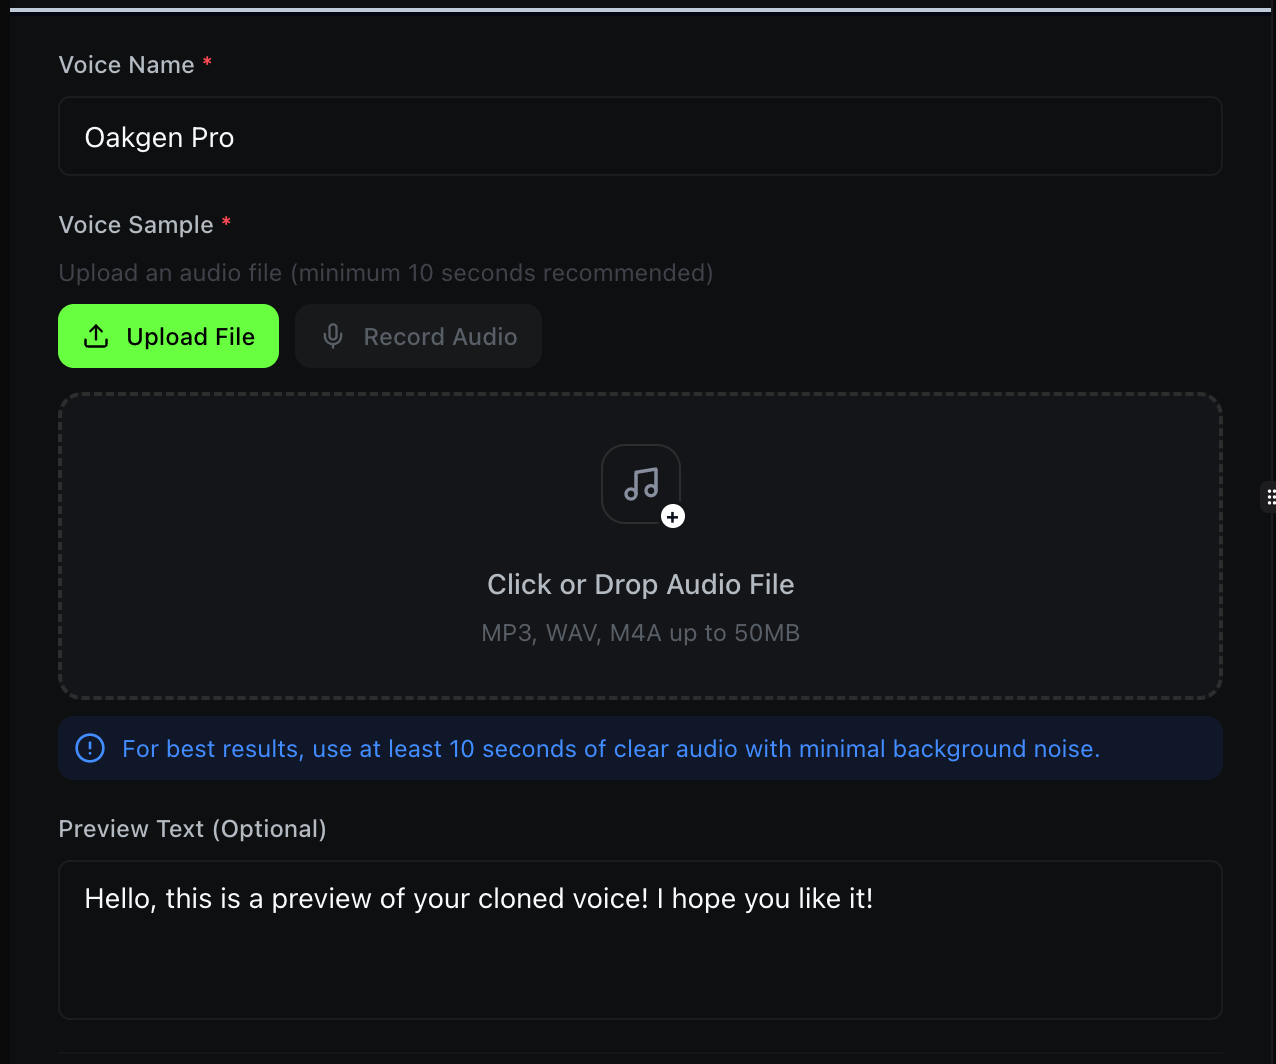
Enter a descriptive name in the Voice Name field (required). This is how the voice will appear in your My Cloned Voices dropdown when generating speech later.
Use clear, recognizable names like "Studio Narrator", "Marketing Sarah", or "Product Demo Voice" so you can quickly find the right voice across multiple projects.
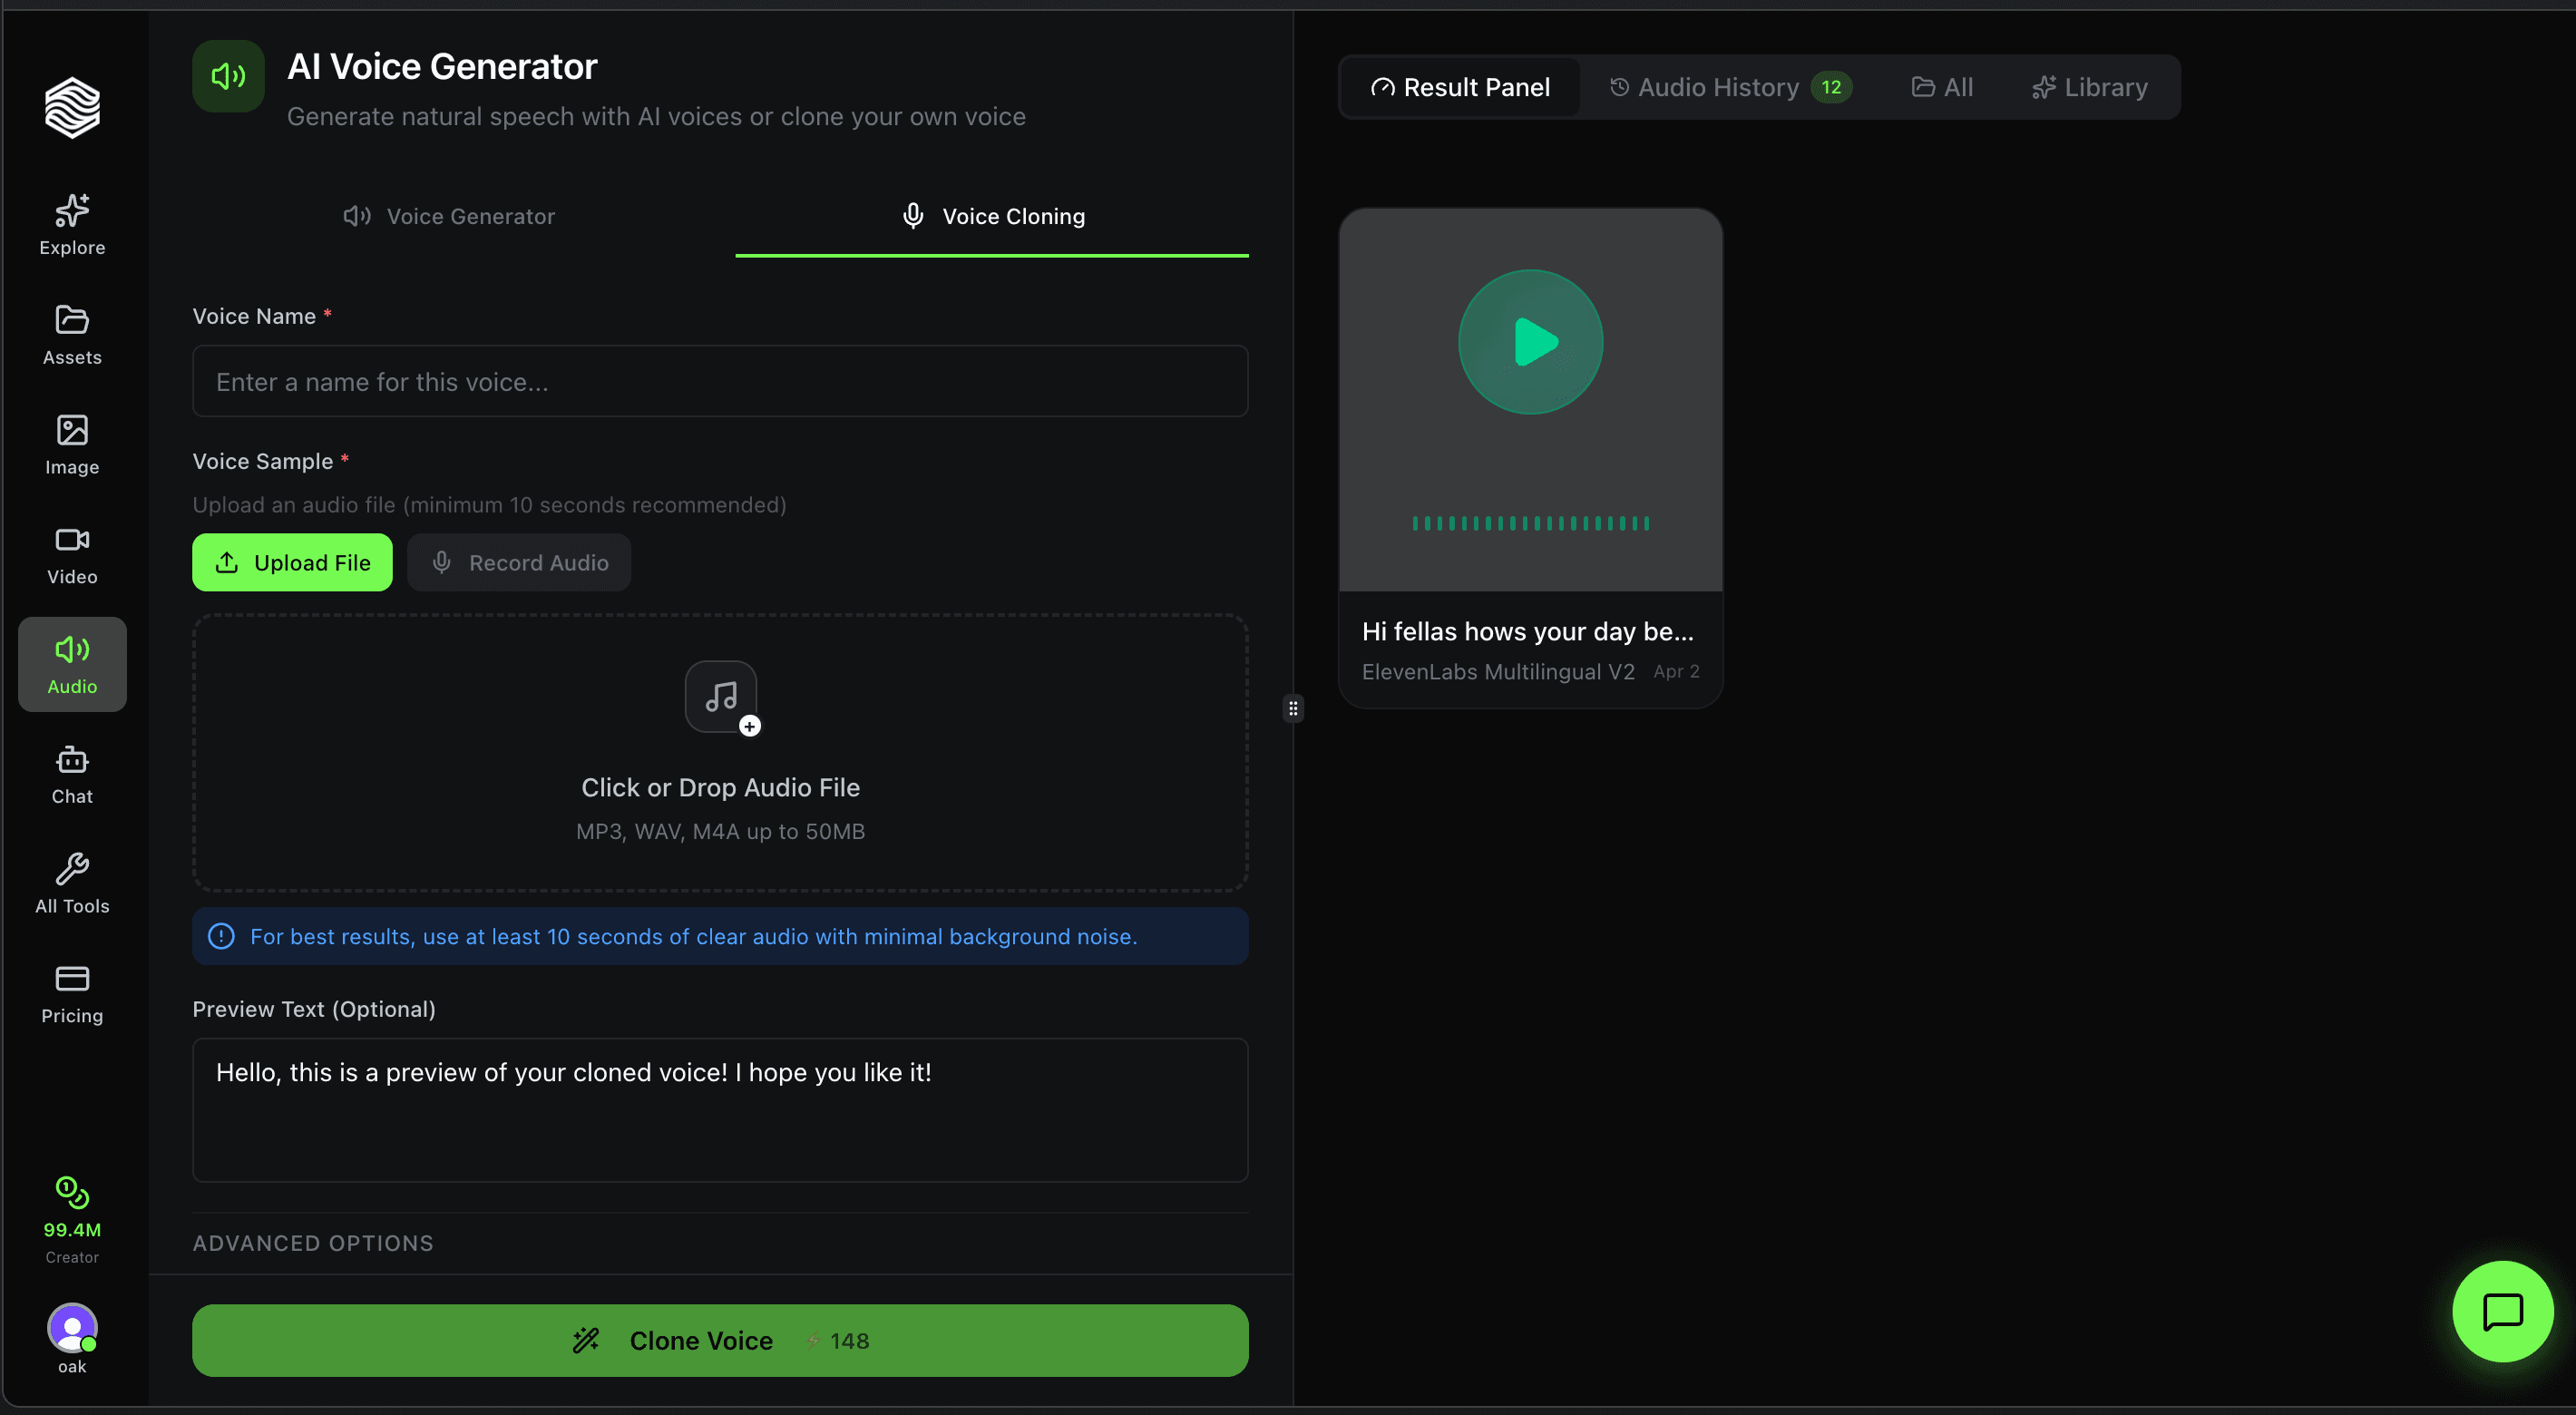
Step 2: Upload a Voice Sample
The Voice Sample section gives you two input methods:
- Upload File -- Drag and drop or click to upload an audio file
- Record Audio -- Record directly from your microphone in the browser
Upload Requirements
| Requirement | Details | |-------------|---------| | Minimum length | 10 seconds recommended | | Supported formats | MP3, WAV, M4A, OGG, WebM | | Max file size | 50 MB | | Max duration | 5 minutes |
For the best clone quality, use at least 10 seconds of clear audio with minimal background noise. A clean, well-recorded sample produces a significantly more accurate voice clone. Avoid samples with music, multiple speakers, or heavy reverb.
Step 3: Add Preview Text (Optional)
The Preview Text field lets you provide a sentence that will be spoken in the cloned voice once cloning is complete. This gives you an immediate preview of how the clone sounds.
The default text is: "Hello, this is a preview of your cloned voice! I hope you like it!"
You can change this to anything that represents your typical use case -- a product tagline, a narration sample, or a greeting.
Step 4: Configure Advanced Options
Expand the Advanced Options section to access quality controls.
Preview Model
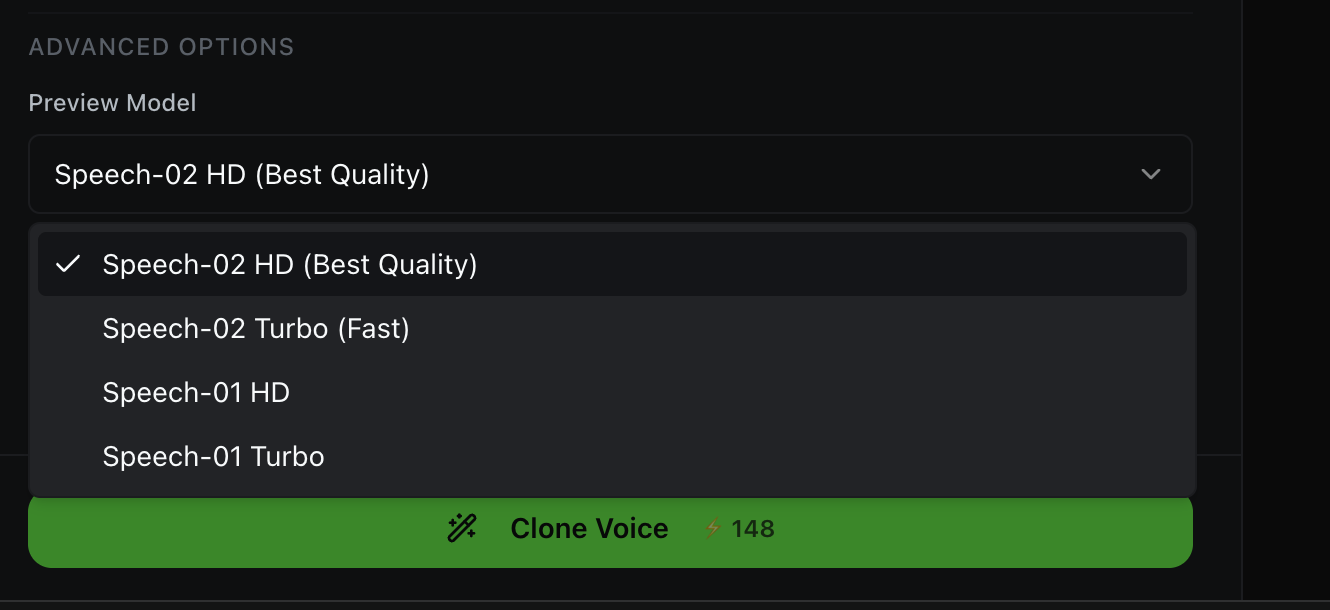
Choose which speech model generates your voice preview:
| Model | Best For | |-------|----------| | Speech-02 HD (Best Quality) | Highest fidelity, most natural output | | Speech-02 Turbo (Fast) | Quick preview with good quality | | Speech-01 HD | Previous-gen high quality | | Speech-01 Turbo | Previous-gen fast option |
Speech-02 HD is selected by default and recommended for the most accurate preview of your cloned voice.
Processing Options
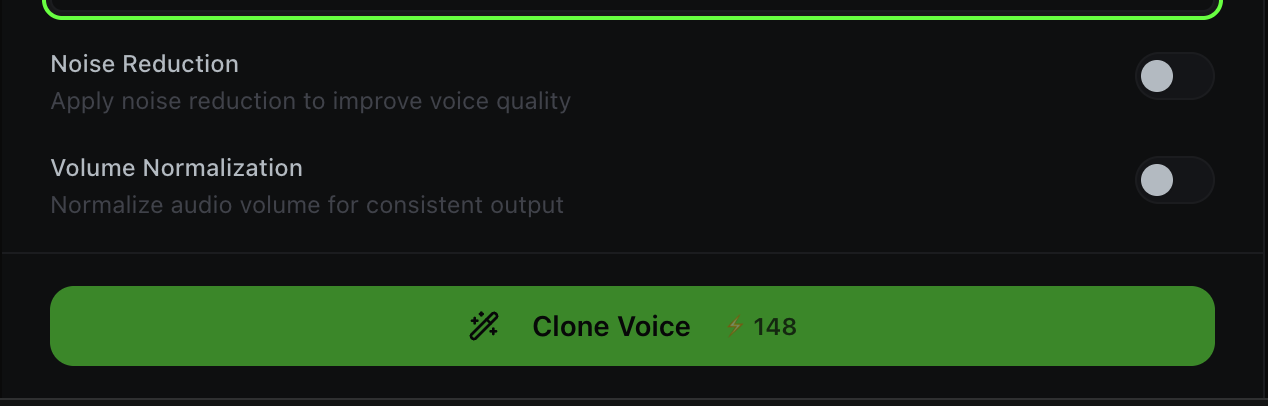
Two toggle switches control audio processing:
- Noise Reduction -- Apply noise reduction to improve voice quality. Turn this on if your audio sample has background noise, hum, or hiss.
- Volume Normalization -- Normalize audio volume for consistent output. Turn this on if your sample has uneven volume levels.
Both are off by default. Enable them only if your source audio needs cleanup -- applying noise reduction to an already clean sample can sometimes reduce quality.
If you recorded in a quiet studio, leave both toggles off. If you recorded on a phone in a coffee shop, turn both on. The AI will clean up the sample before cloning.
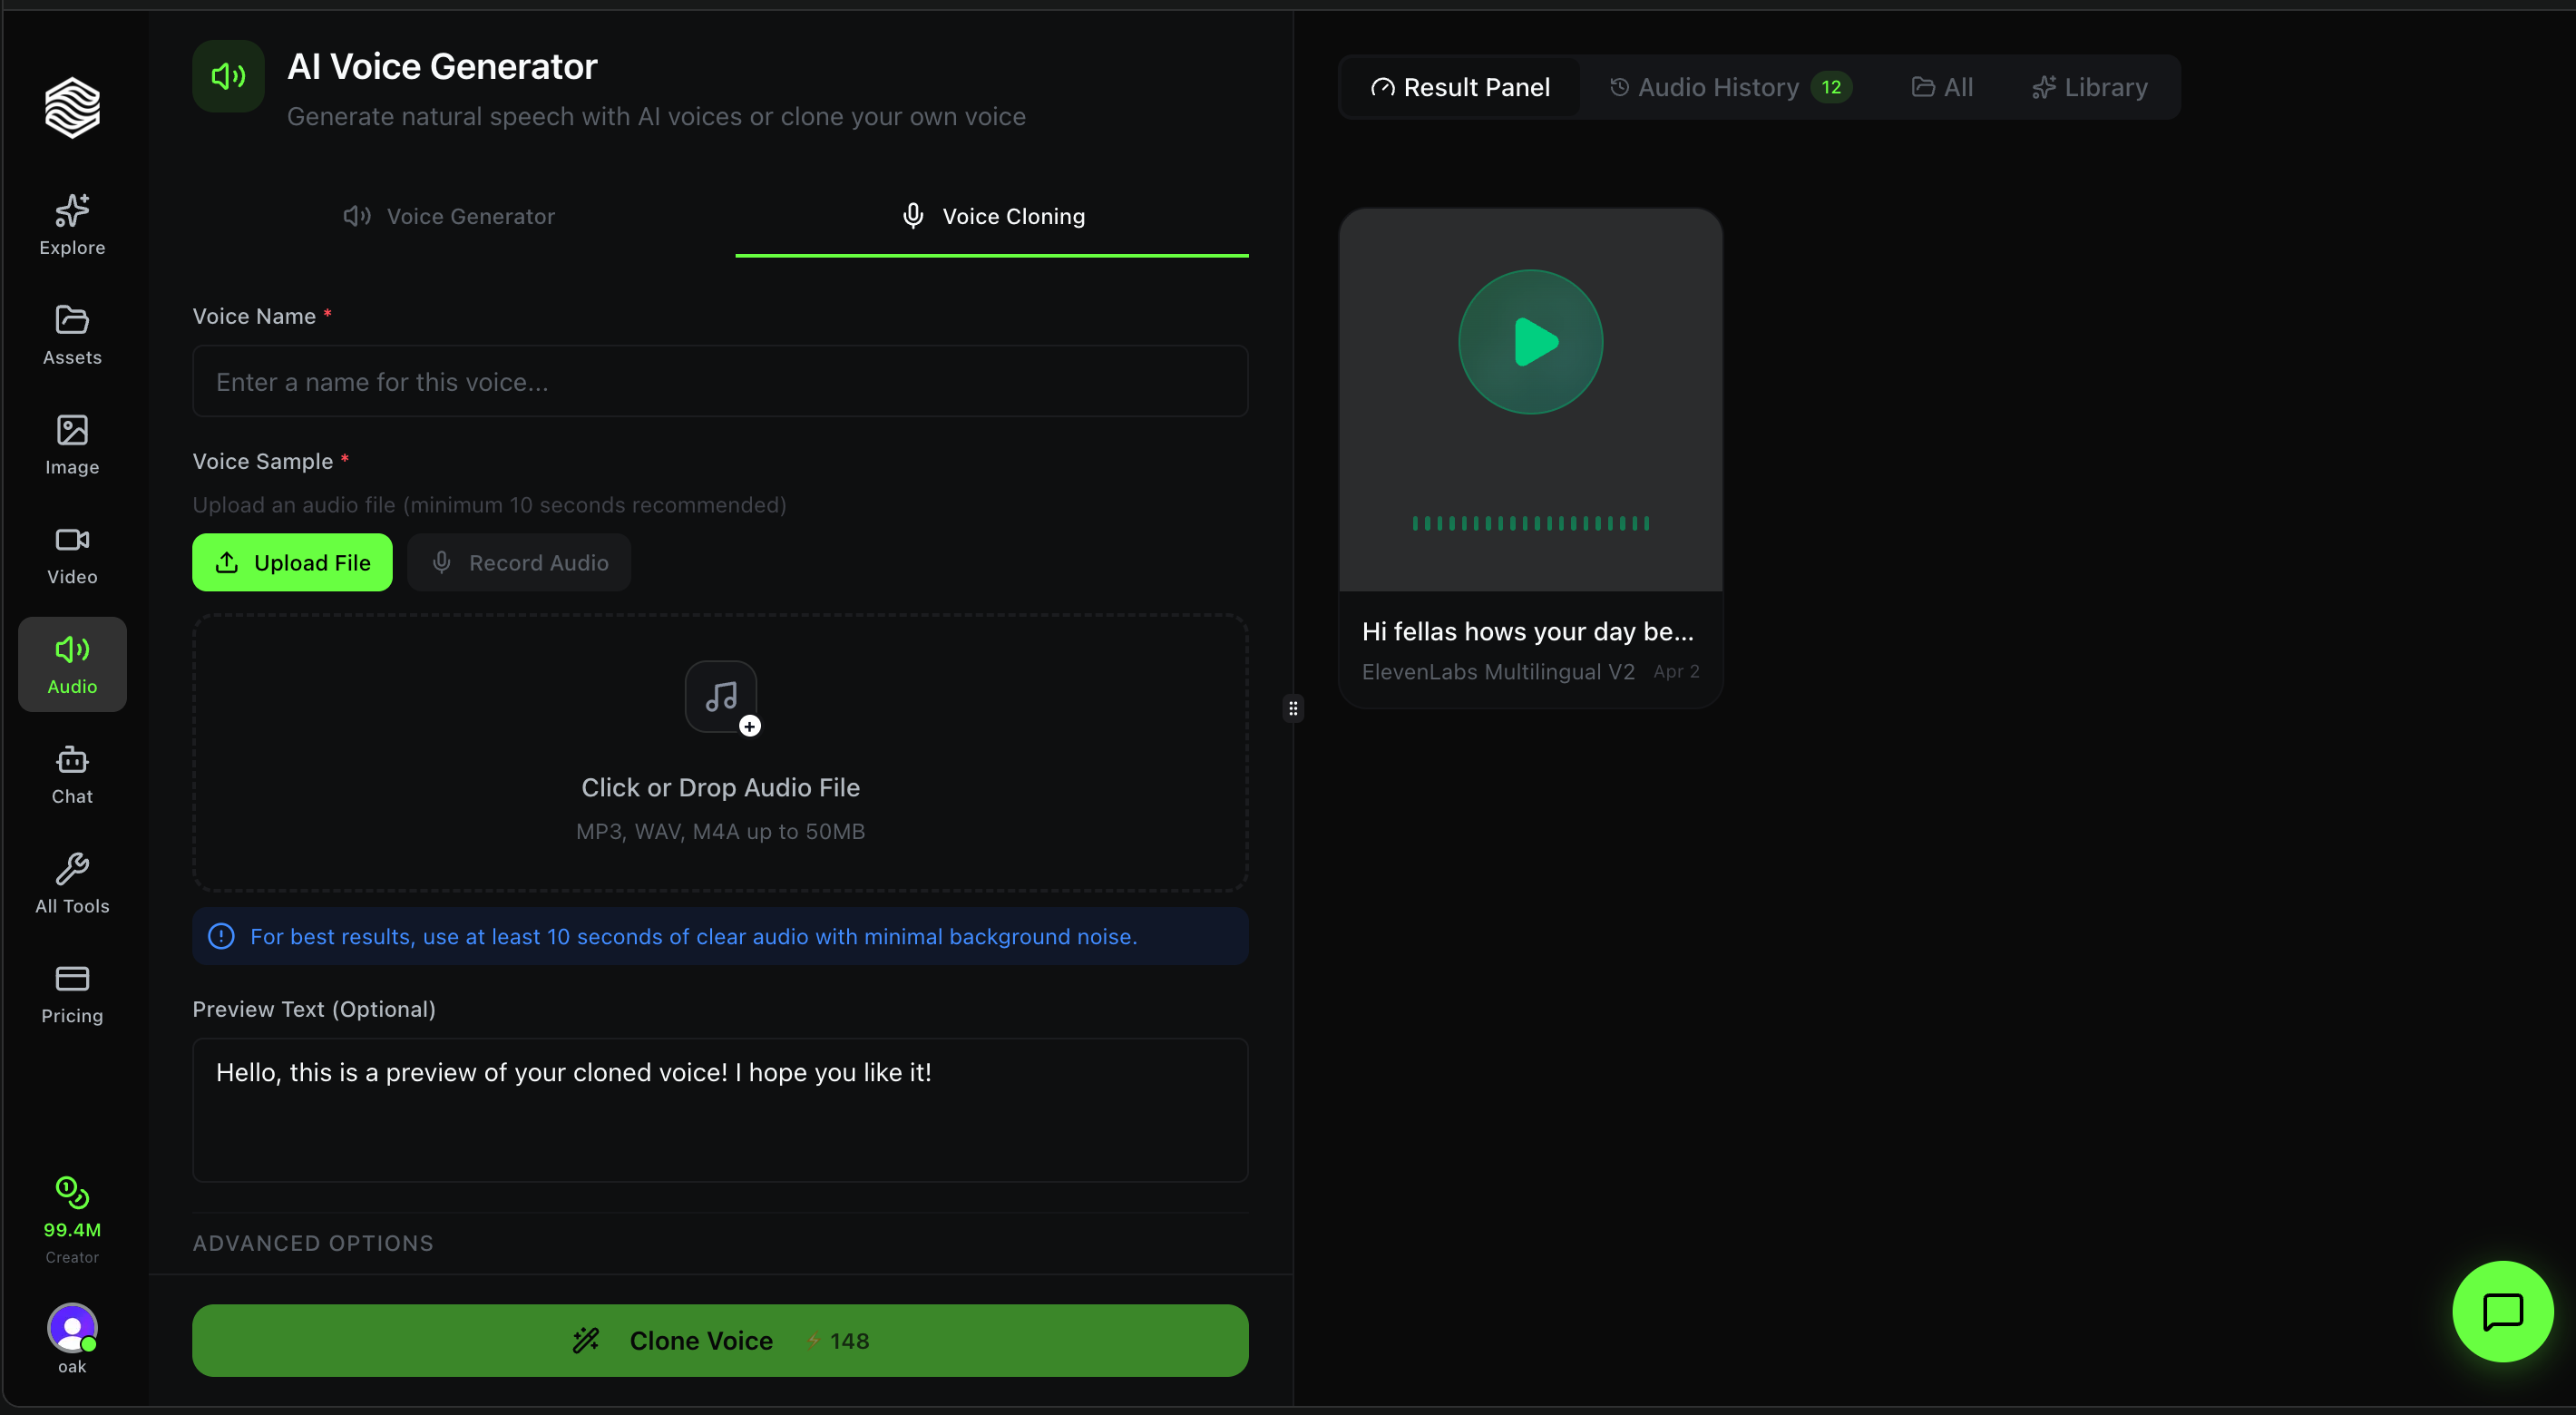
Cloning Your Voice
Click the Clone Voice button to start. The button displays the credit cost (148 credits for a voice clone).
Once cloning is complete, your new voice will appear in the My Cloned Voices dropdown on the Voice Generator tab. You can use it immediately for text-to-speech generation.
Using Your Cloned Voice
After cloning, switch back to the Voice Generator tab:
- Select My Cloned Voices under Voice Source
- Choose your newly cloned voice from the dropdown
- Enter your script and click Generate Audio
Your cloned voice works with the MiniMax Speech HD engine, which supports 36+ languages including English, Spanish, French, German, Japanese, Korean, Chinese, Hindi, Arabic, and more. You can generate speech in any of these languages using your cloned voice.
Quick Reference
| Feature | Where to Find It | |---------|-----------------| | Switch to Voice Cloning | Voice Cloning tab at top of page | | Name the voice | Voice Name field (required) | | Upload audio sample | Voice Sample section → Upload File | | Record from mic | Voice Sample section → Record Audio | | Set preview text | Preview Text field (optional) | | Choose preview model | Advanced Options → Preview Model | | Enable noise cleanup | Advanced Options → Noise Reduction toggle | | Normalize volume | Advanced Options → Volume Normalization toggle | | Use cloned voice | Voice Generator tab → My Cloned Voices |
Clone Your Voice with AI
Upload a 10-second audio sample and create a reusable AI voice clone. Use it for TTS in 36+ languages. Free credits on signup.