This is a complete walkthrough of the AI Image Editor on Oakgen.ai. Upload any image, describe what you want changed in plain English, and the AI edits it for you. Every edit is saved so you can iterate, compare, and go back to any version.
Interface Overview
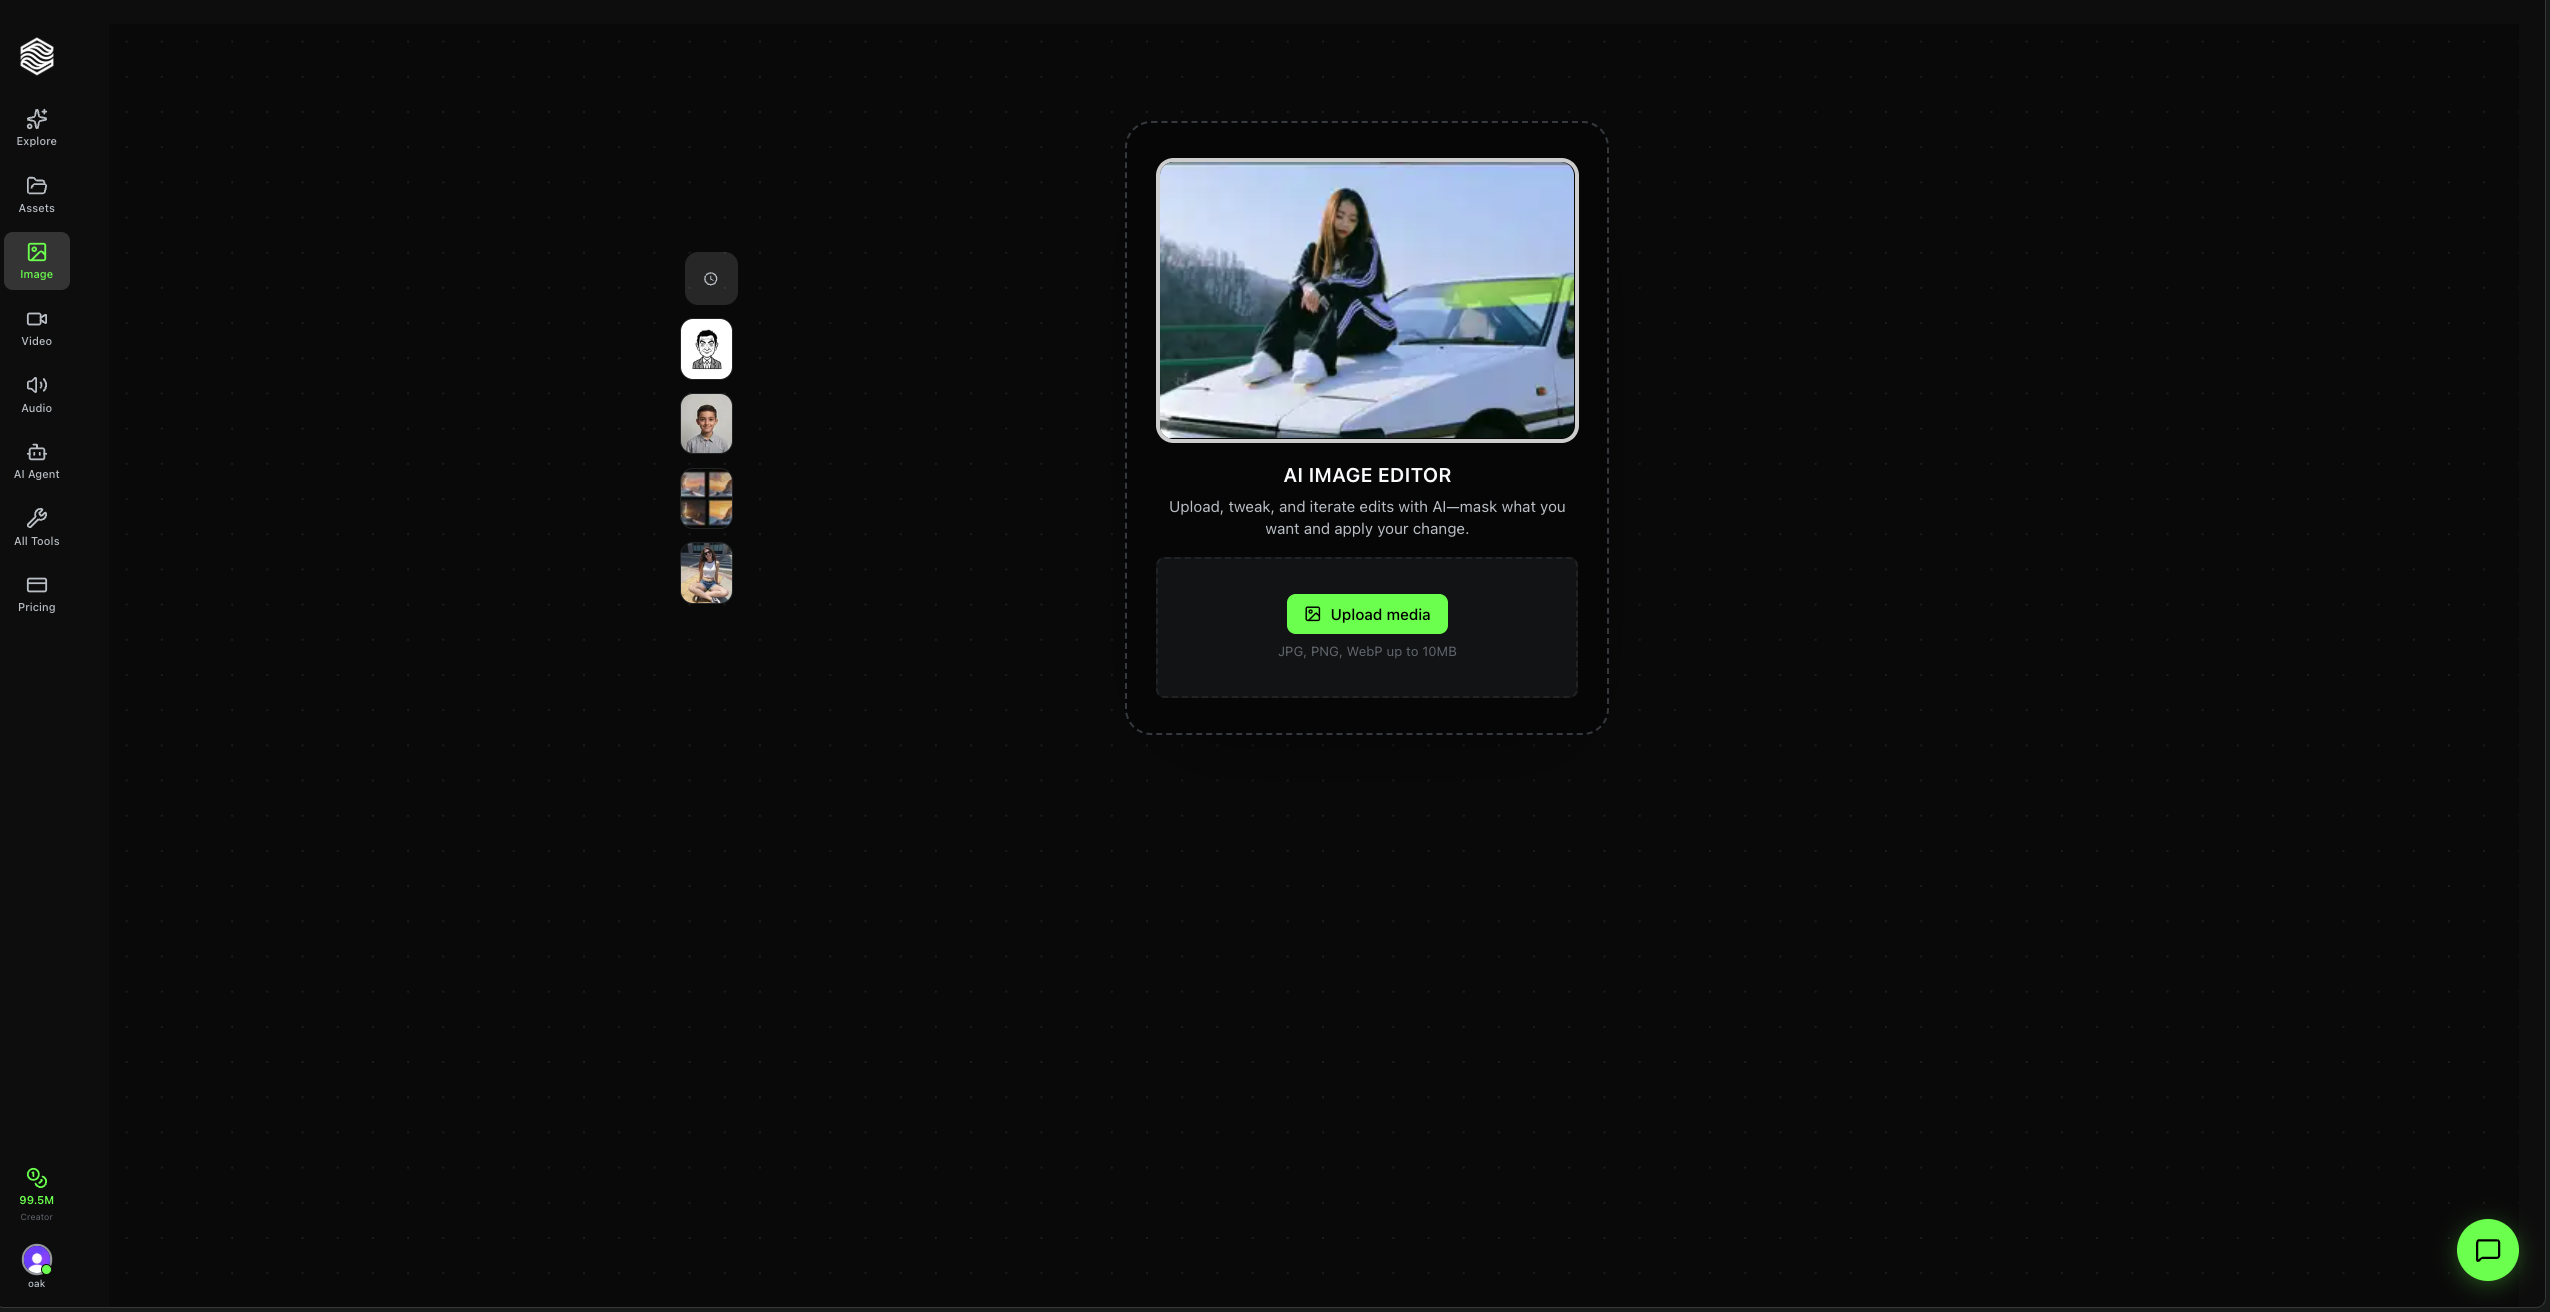
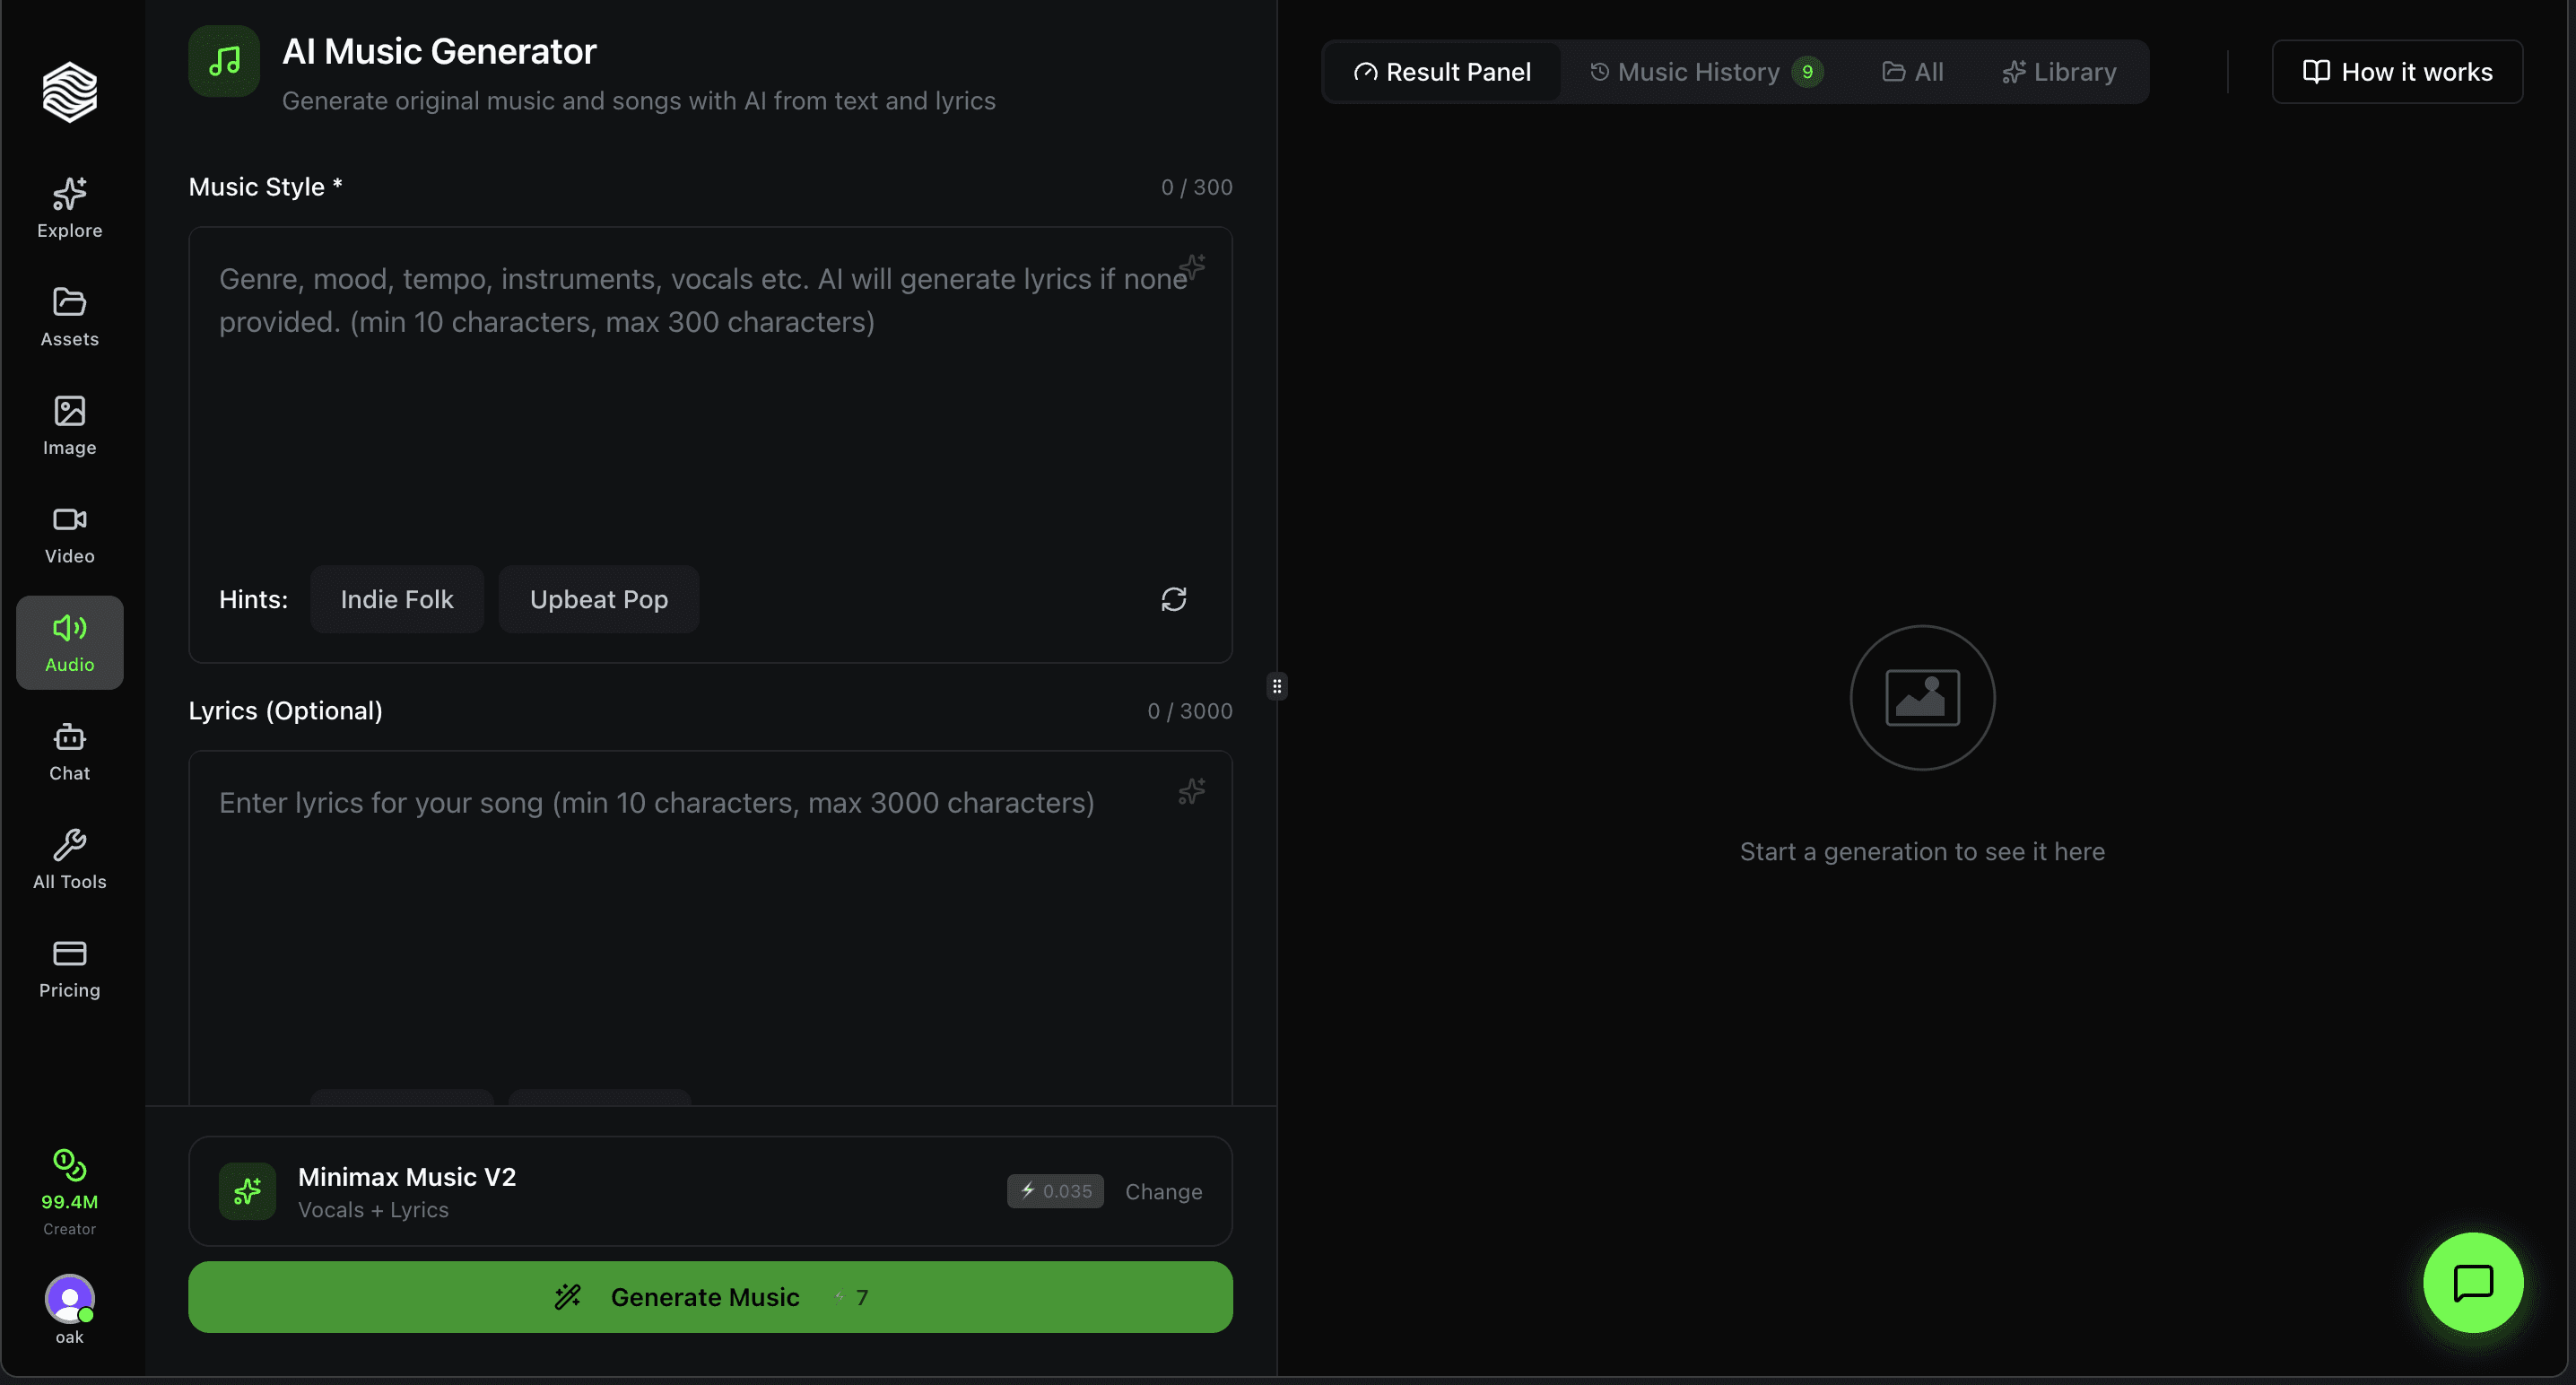
When you open the Image Editor, you see the landing page with:
- Upload area -- Drop or browse for an image (JPG, PNG, WebP up to 10MB)
- Featured sessions -- Scroll through example editing sessions on the left side for inspiration
- Sidebar navigation -- Access other Oakgen tools (Image, Video, Audio, etc.)
Step 1: Upload Your Image
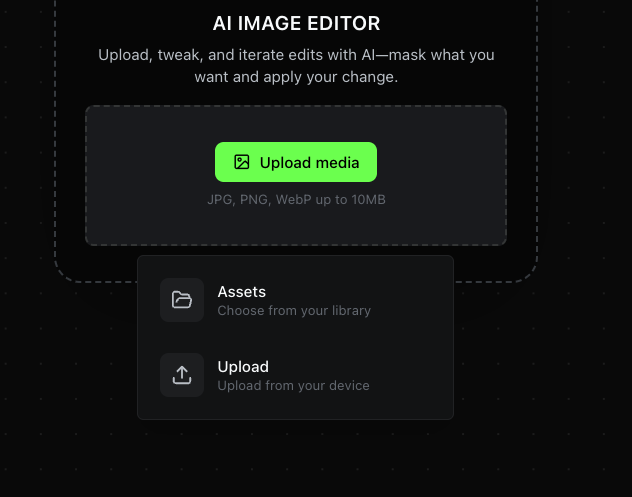
Click Upload media to get two options:
- Assets -- Choose from your existing Oakgen library
- Upload -- Upload a new image from your device
Supported formats: JPG, PNG, WebP up to 10MB.
Once uploaded, a new editing session is created automatically and you are taken to the main editor.
Step 2: The Main Editor
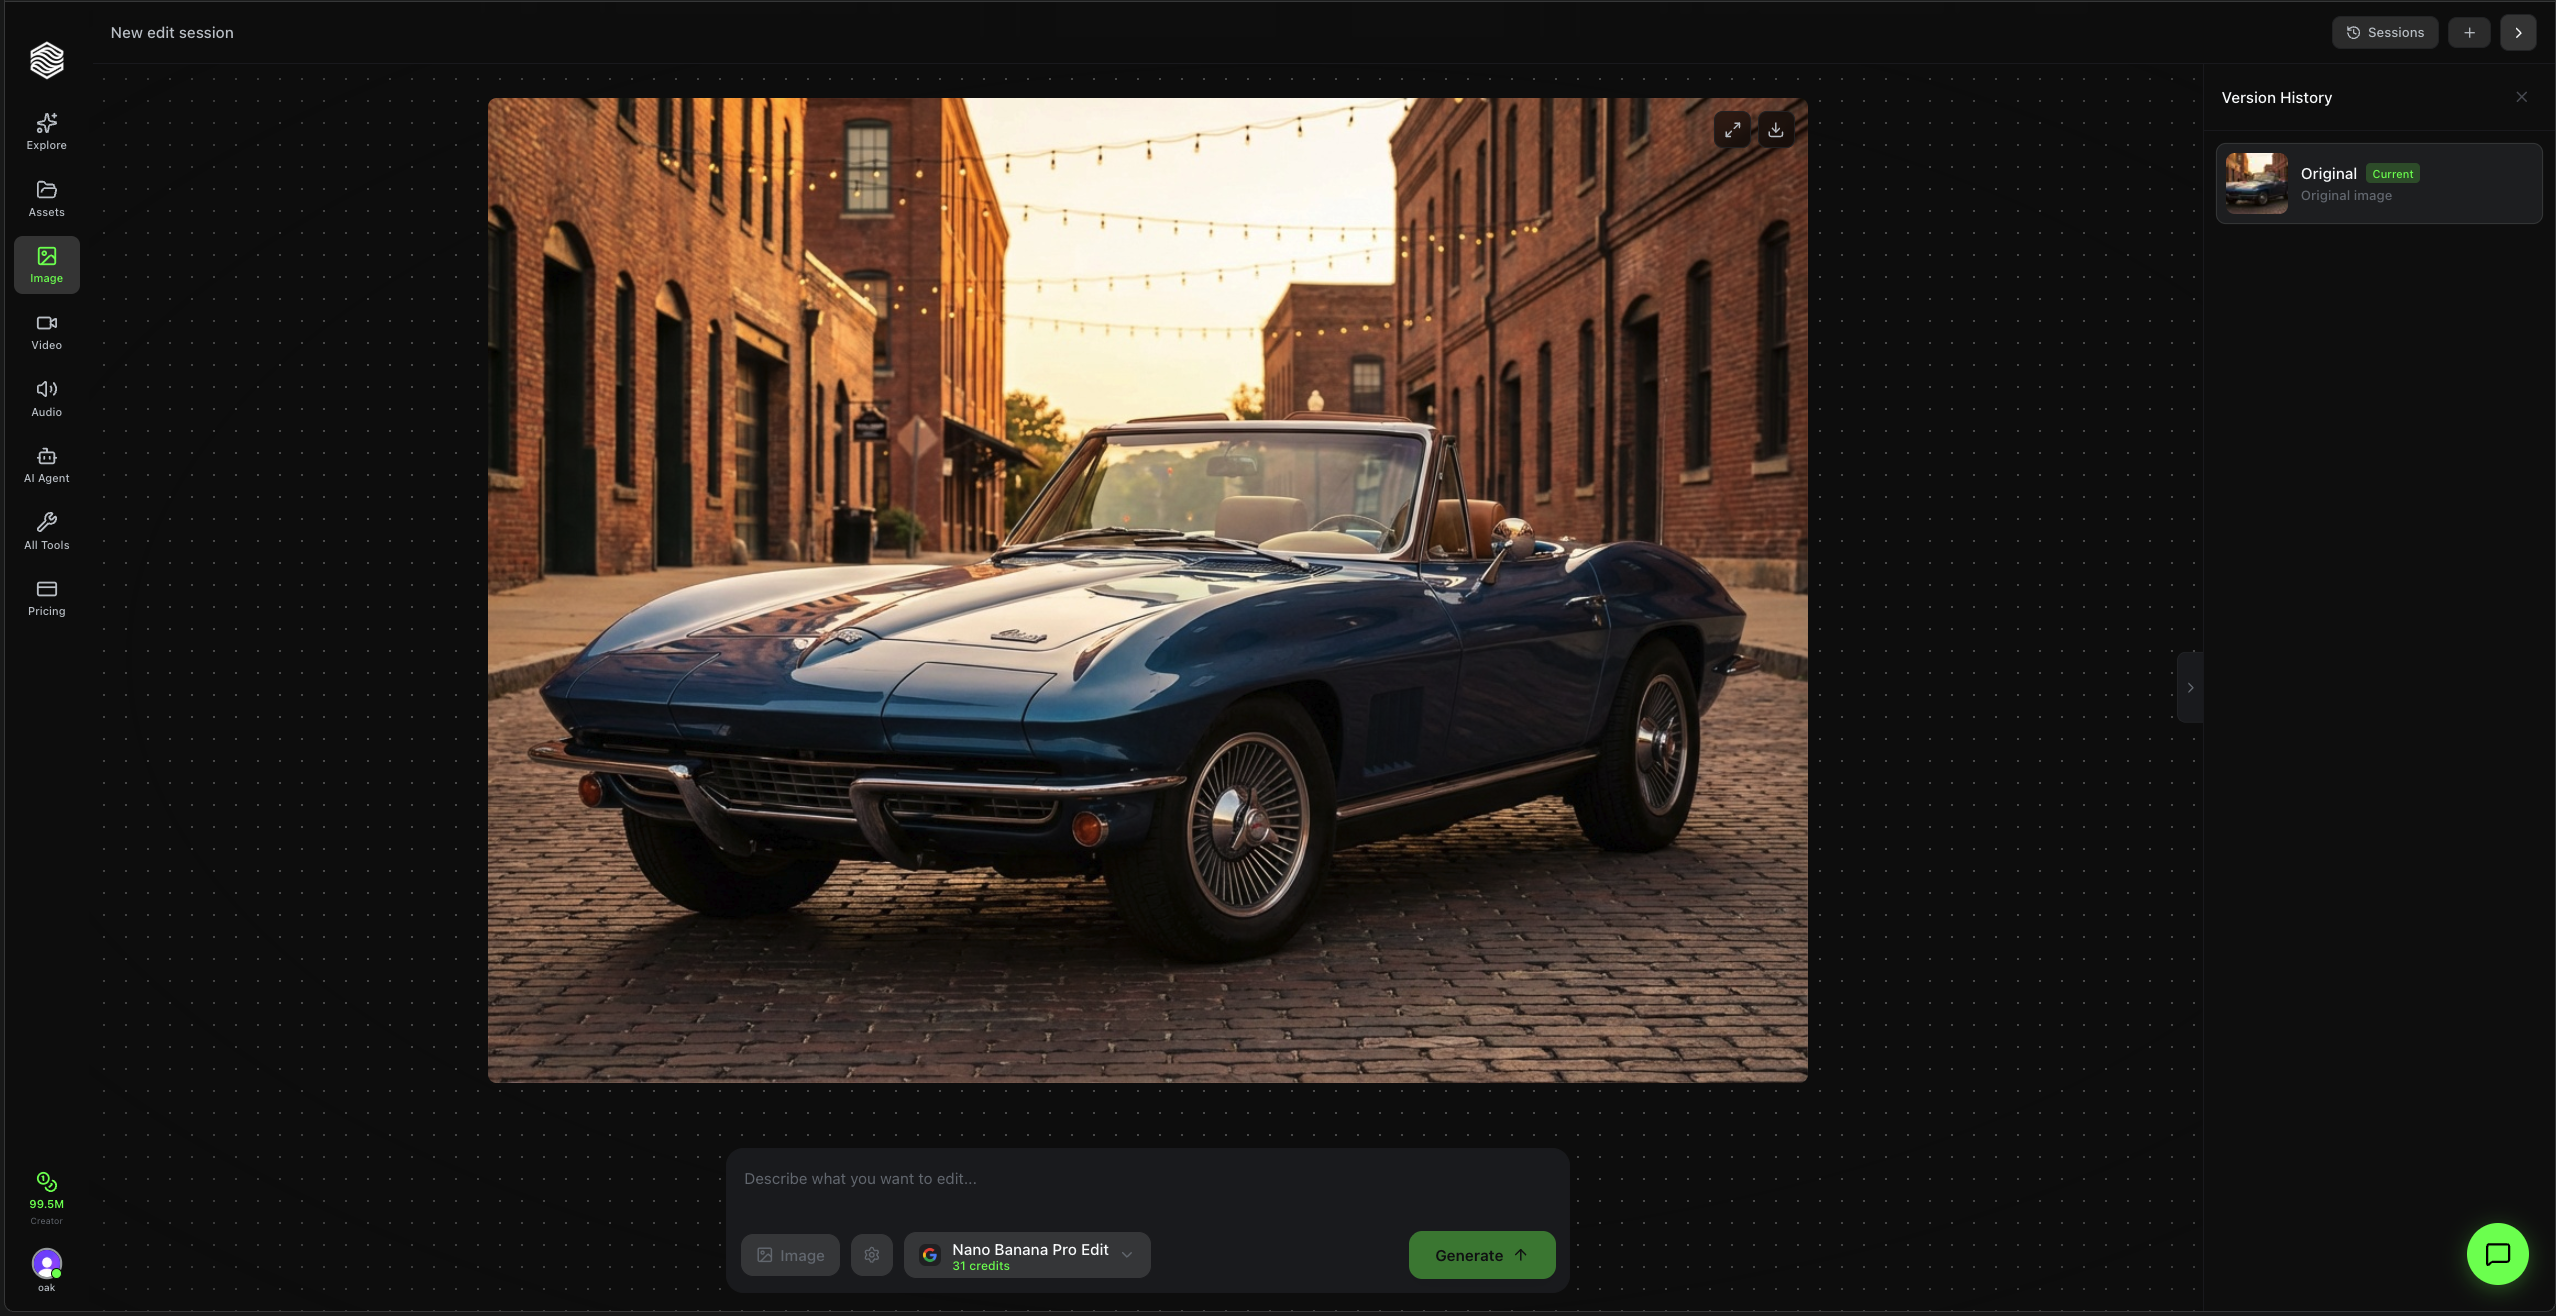
After uploading, the editor opens with three areas:
- Center -- Your image, displayed large with zoom and fullscreen controls
- Bottom bar -- Prompt input, model selector, reference image button, settings, and the Generate button
- Right sidebar -- Version History showing your original image and all subsequent edits
Step 3: Write Your Edit Prompt
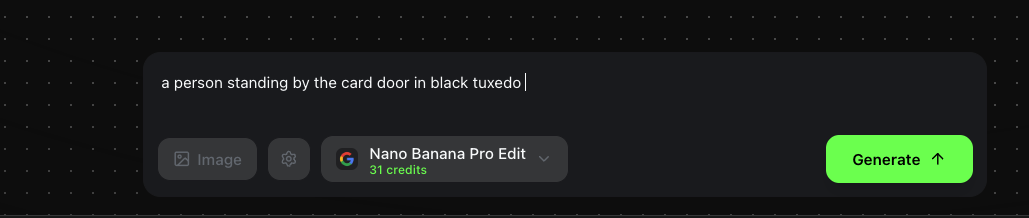
Type what you want to change in the prompt bar at the bottom. Be specific and descriptive.
Examples:
- "a person standing by the car door in black tuxedo"
- "add a beautifully dressed lady with him, and they both are posing for the camera"
- "remove the background and replace with a sunset beach"
- "make it look like an oil painting"
The prompt field supports up to 2,000 characters. Press Enter to submit or Shift+Enter for a new line.
Be specific about what you want changed. Instead of "make it better," say "increase brightness, add warm color grading, and sharpen the subject." The more detail you give, the more accurate the result.
Step 4: Choose a Model
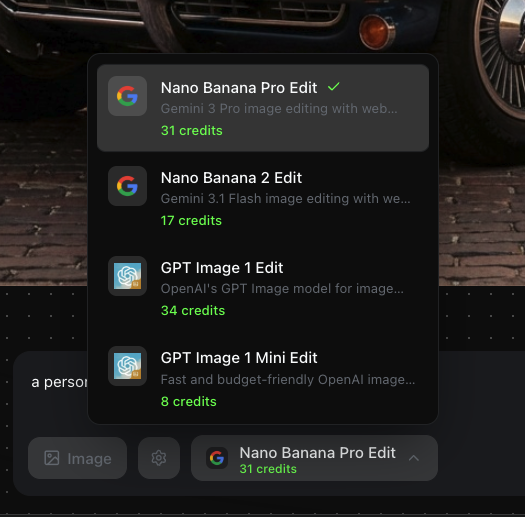
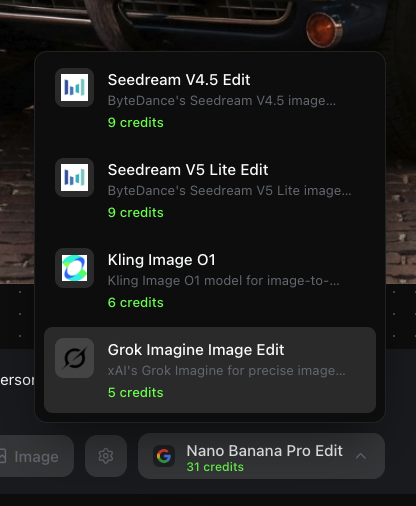
Click the model name in the bottom bar to open the model selector. Oakgen offers 10 editing models at different price points:
| Model | Provider | Credits | |-------|----------|---------| | Nano Banana Pro Edit | Google (Gemini 3 Pro) | 31 | | Nano Banana 2 Edit | Google (Gemini 3.1 Flash) | 17 | | GPT Image 1 Edit | OpenAI | 34 | | GPT Image 1 Mini Edit | OpenAI | 8 | | Seedream V4.5 Edit | ByteDance | 9 | | Seedream V5 Lite Edit | ByteDance | 9 | | Kling Image O1 | Kling | 6 | | Grok Imagine Image Edit | xAI | 5 |
- Nano Banana Pro Edit is the default -- highest quality, powered by Gemini 3 Pro with web search grounding.
- GPT Image 1 Mini Edit and Grok Imagine Image Edit are the most budget-friendly at 8 and 5 credits respectively.
- Seedream models from ByteDance offer a good balance of quality and cost at 9 credits each.
Each model shows its provider logo, a short description, and the credit cost so you can pick the right one for your task.
Step 5: Adjust Settings (Optional)
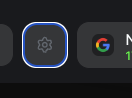
Click the gear icon next to the model name to open additional settings. These vary by model but can include:
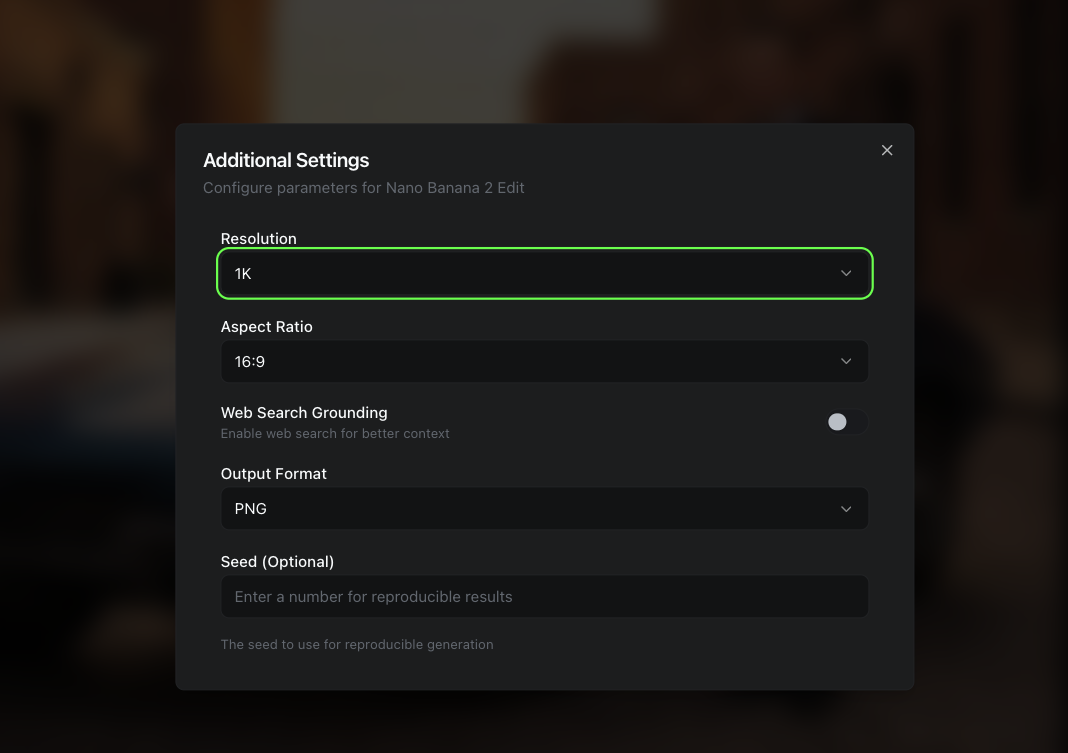
| Setting | Description | |---------|-------------| | Resolution | Output quality (1K, 2K, etc.) | | Aspect Ratio | Output dimensions (1:1, 16:9, 4:3, etc.) | | Web Search Grounding | Enable web search for better context (model-specific) | | Output Format | PNG, JPG, or WebP | | Seed | Set a number for reproducible results |
Not every model supports every setting. The dialog automatically shows only the parameters available for your selected model.
Step 6: Add Reference Images (Optional)
Click the Image button in the bottom bar to attach up to 6 reference images. These guide the AI's style and direction -- useful when you want the edit to match a specific look, color palette, or aesthetic.
Step 7: Generate
Click the green Generate button. The editor shows a loading overlay while your edit is processed.

Processing typically takes 10-30 seconds depending on the model. You will receive a real-time notification when it is done -- no need to stay on the page.
Step 8: Review and Iterate
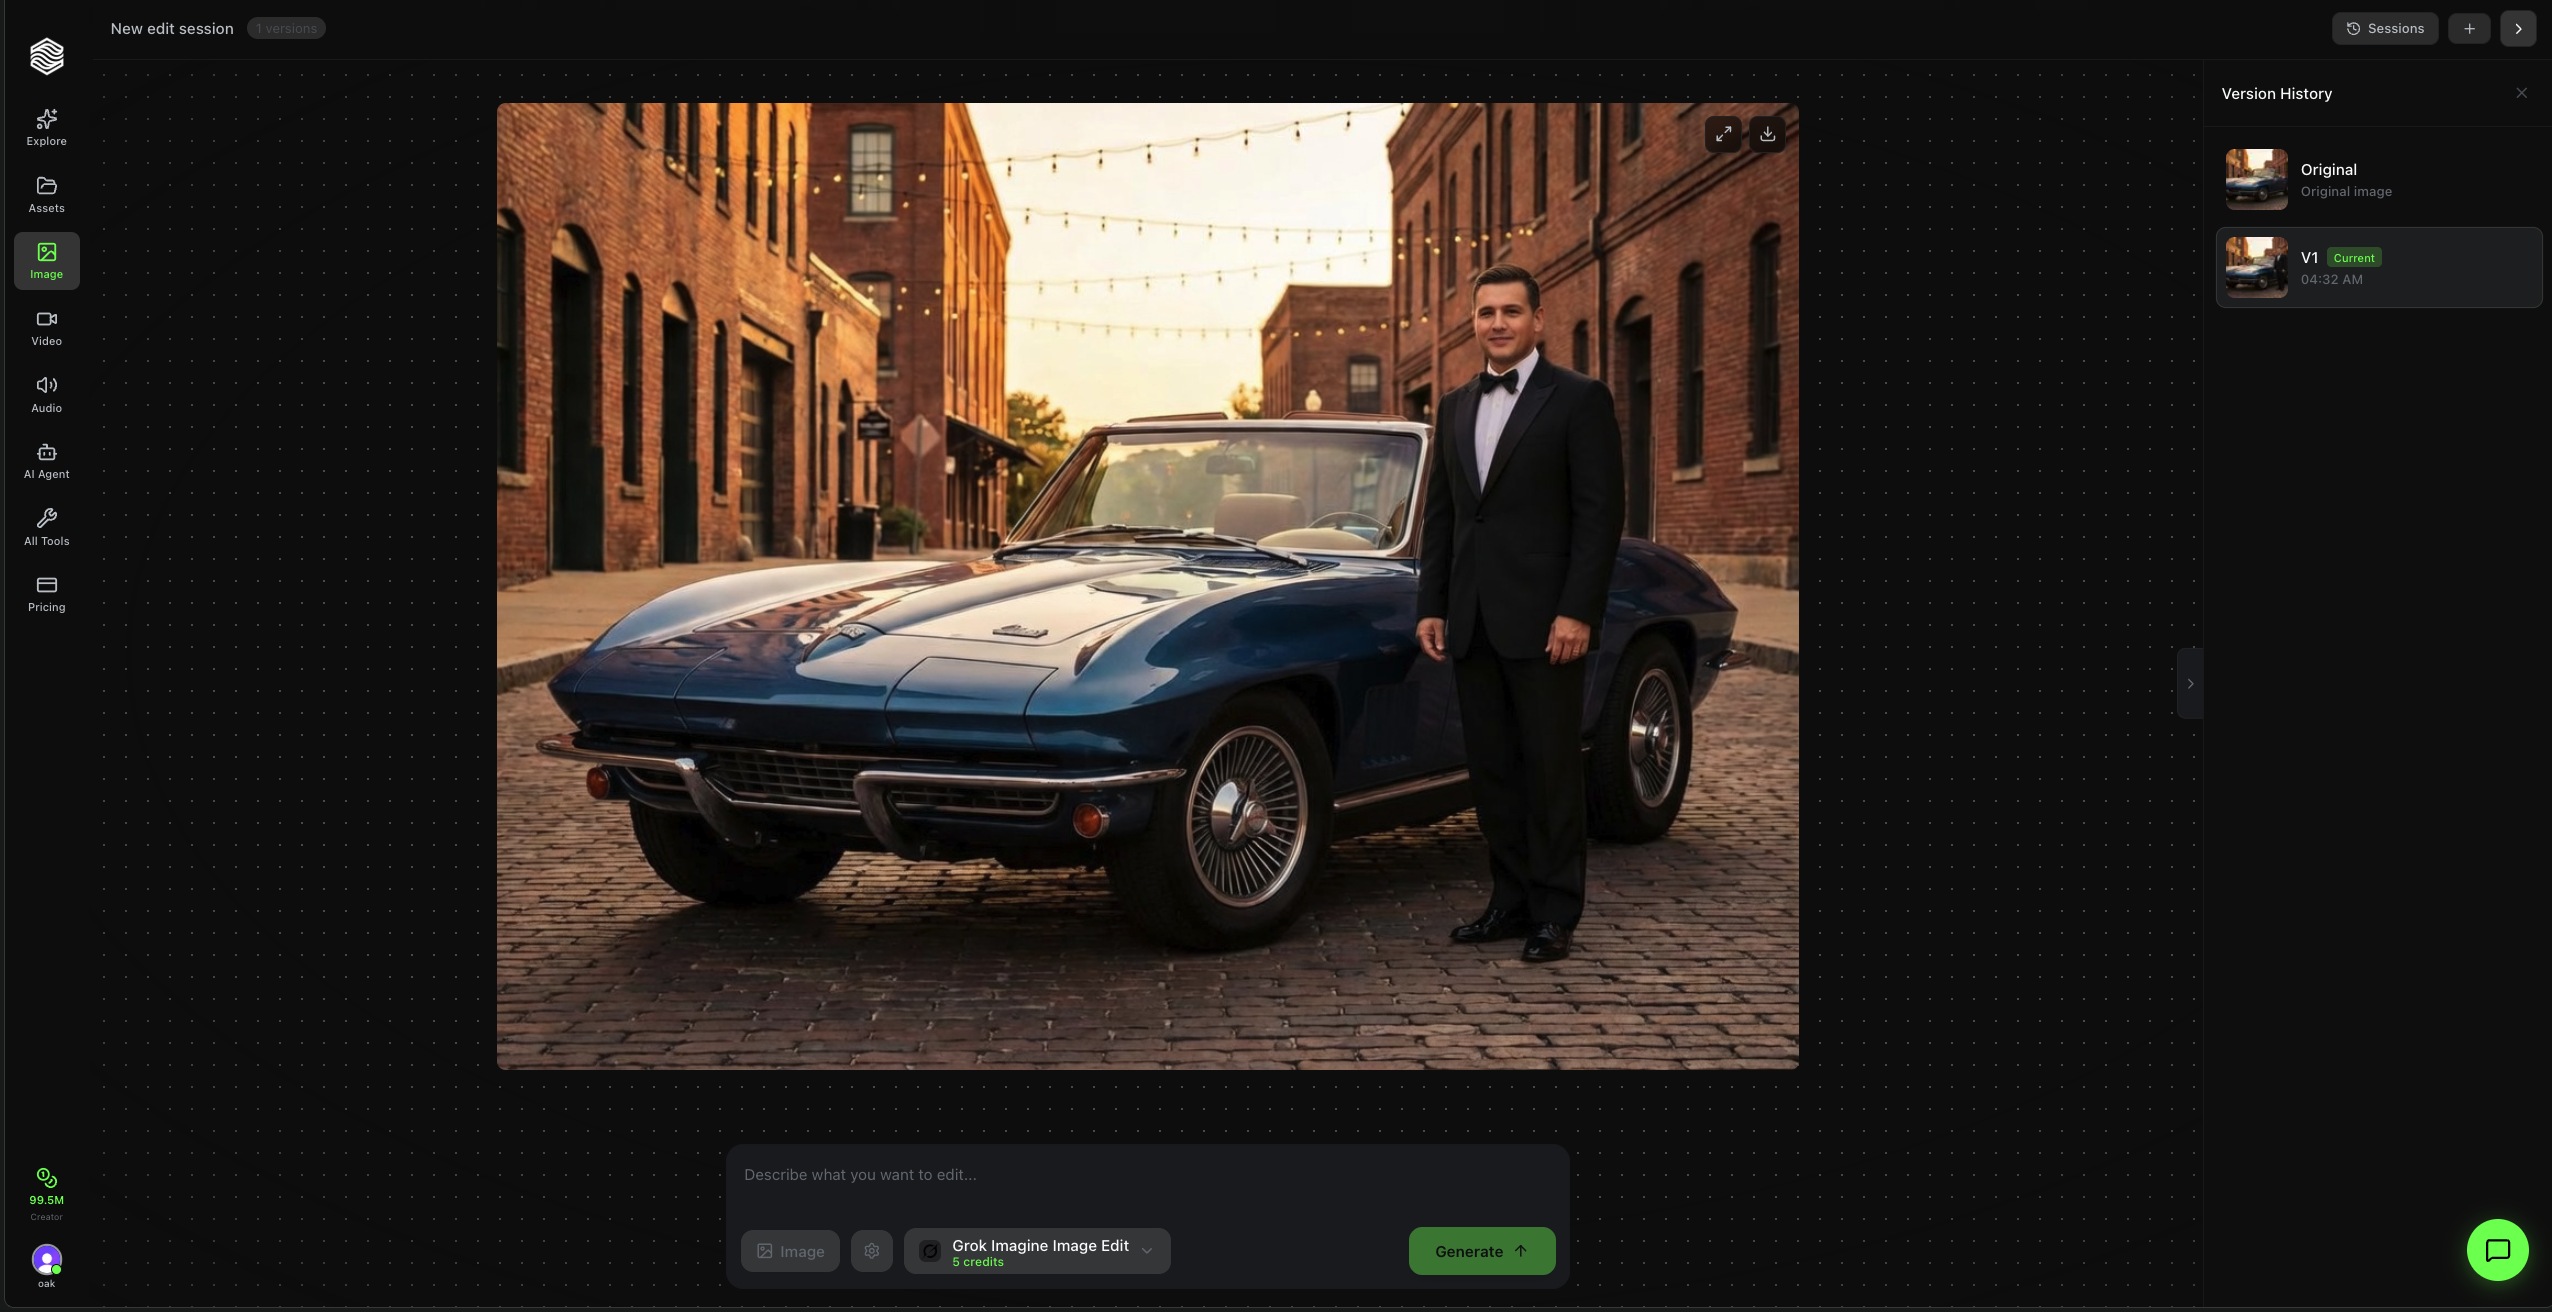
Your edited image appears in the center canvas. The Version History sidebar on the right now shows:
- Original -- Your uploaded image
- V1 -- The first edit, with a timestamp
You can click any version to view it. Each version is stored permanently in your session.
Keep Editing
This is where the Image Editor shines. You can keep stacking edits on top of each other. Each new prompt builds on the current version.
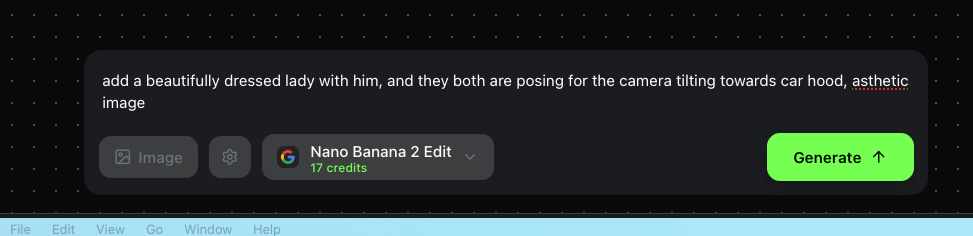
In the example above, the first edit added a person in a tuxedo next to the car. The second prompt asks to "add a beautifully dressed lady with him" -- building on V1.
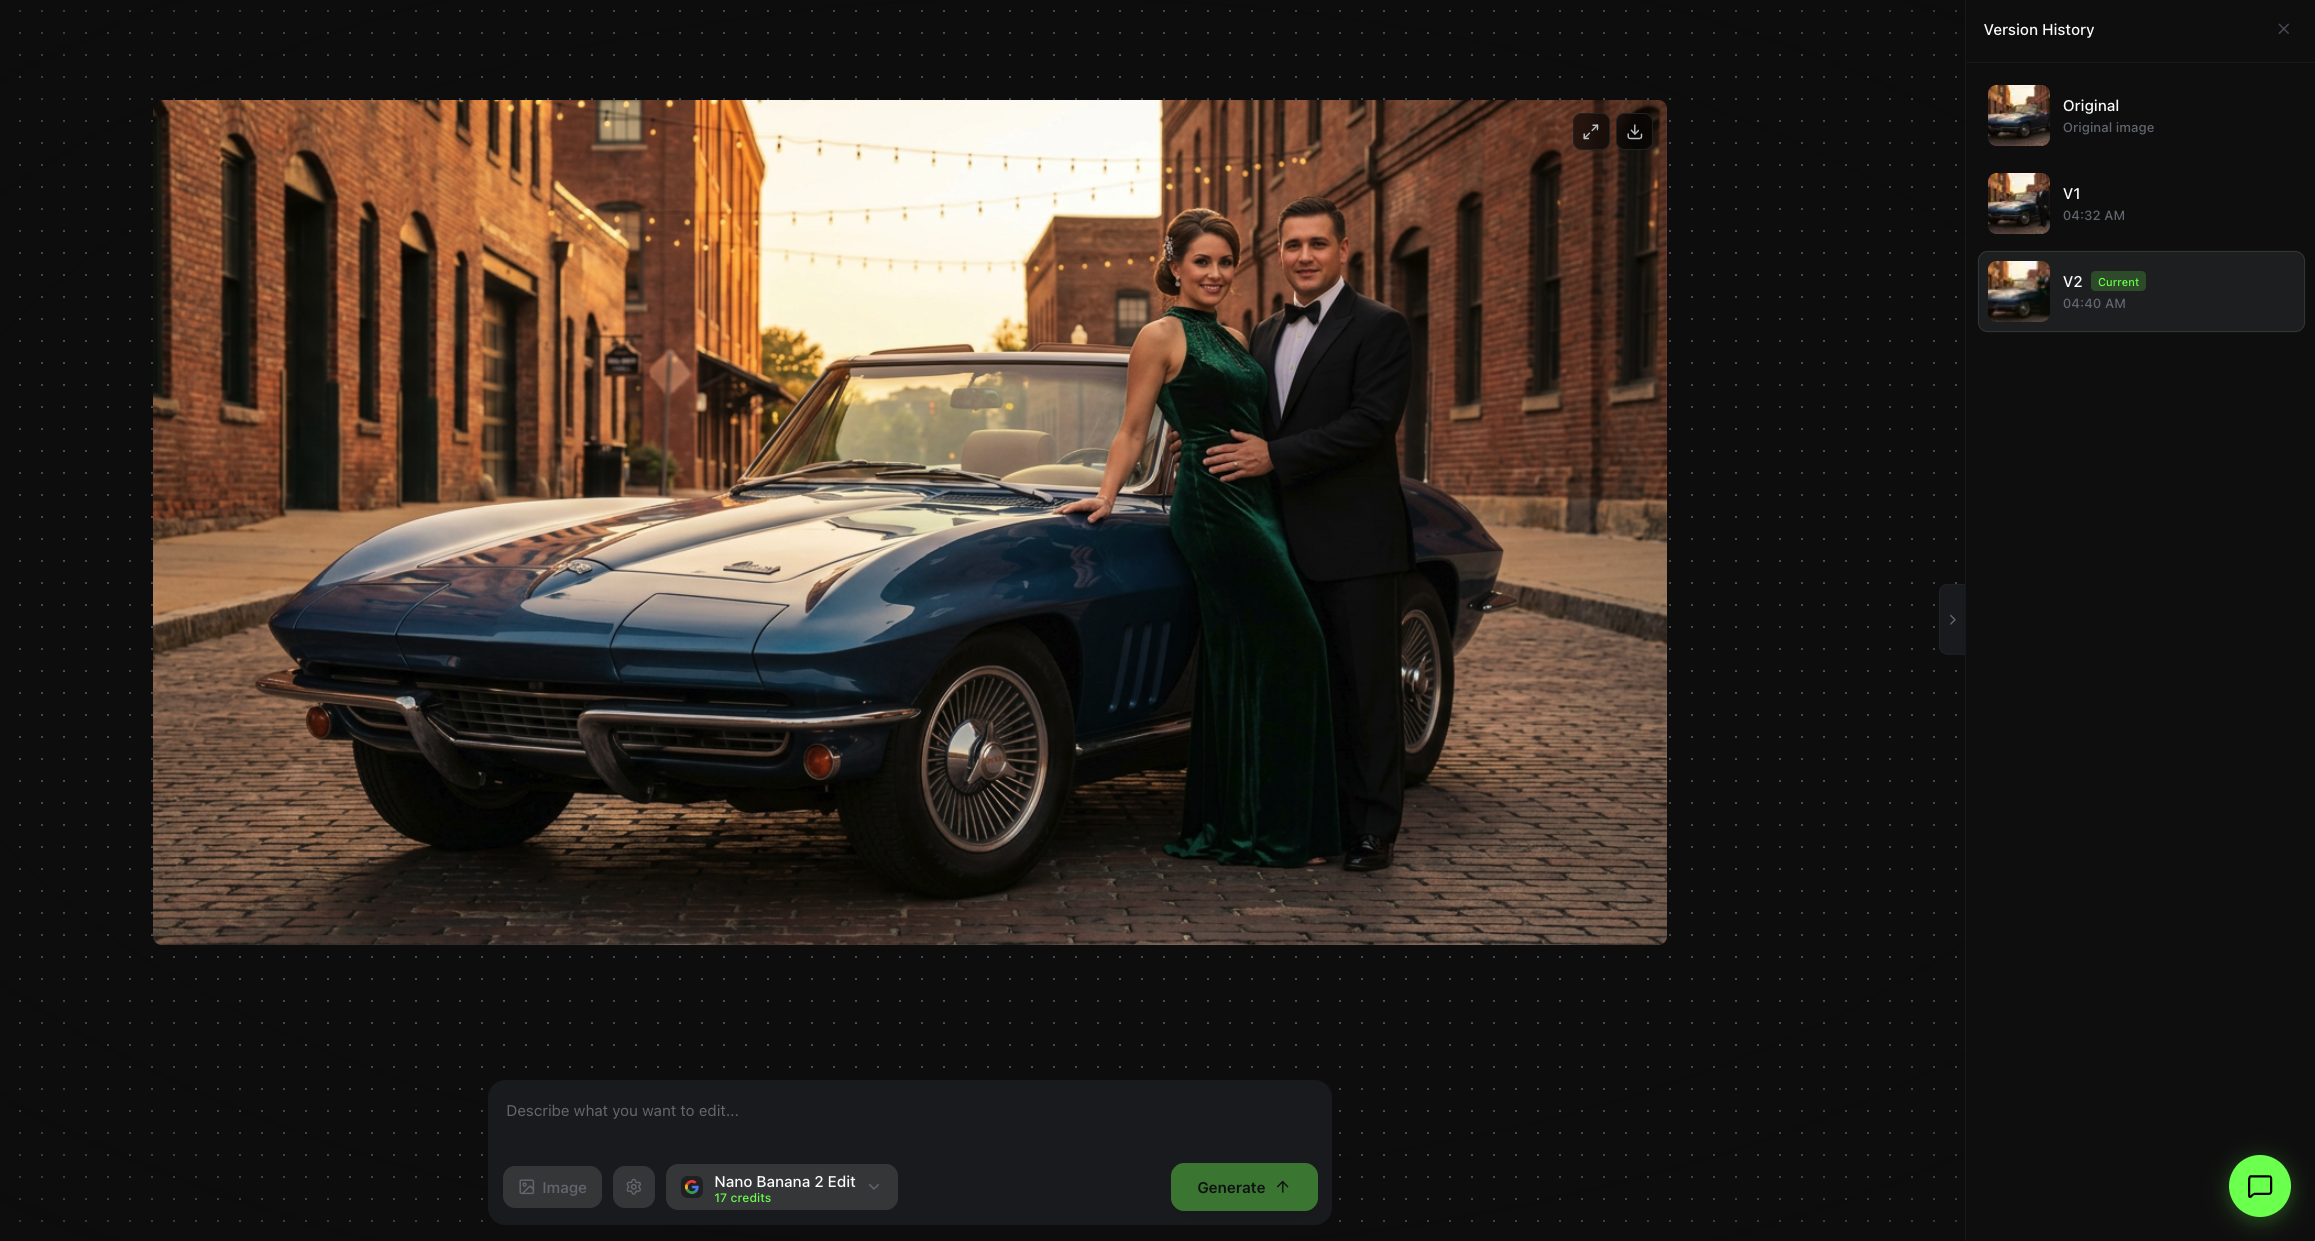
The result shows both figures posing by the car, with V2 added to the version history. You can go back to any previous version at any time and branch your edits from there.
Quick Reference
| Feature | Where to Find It | |---------|-----------------| | Upload an image | Landing page upload area or Assets library | | Write edit instructions | Prompt bar at the bottom | | Switch AI model | Click model name in bottom bar | | Adjust output settings | Gear icon next to model name | | Add style references | "Image" button in bottom bar (up to 6) | | View all versions | Version History sidebar (right) | | Download result | Download button on image (top-right) | | Start a new session | "New edit session" button (top-left) | | Browse past sessions | "Sessions" button (top-right) |
Edit Any Image with AI
Upload a photo, describe your changes, and watch the AI transform it. Iterate with full version history. Free credits on signup.